YMDK
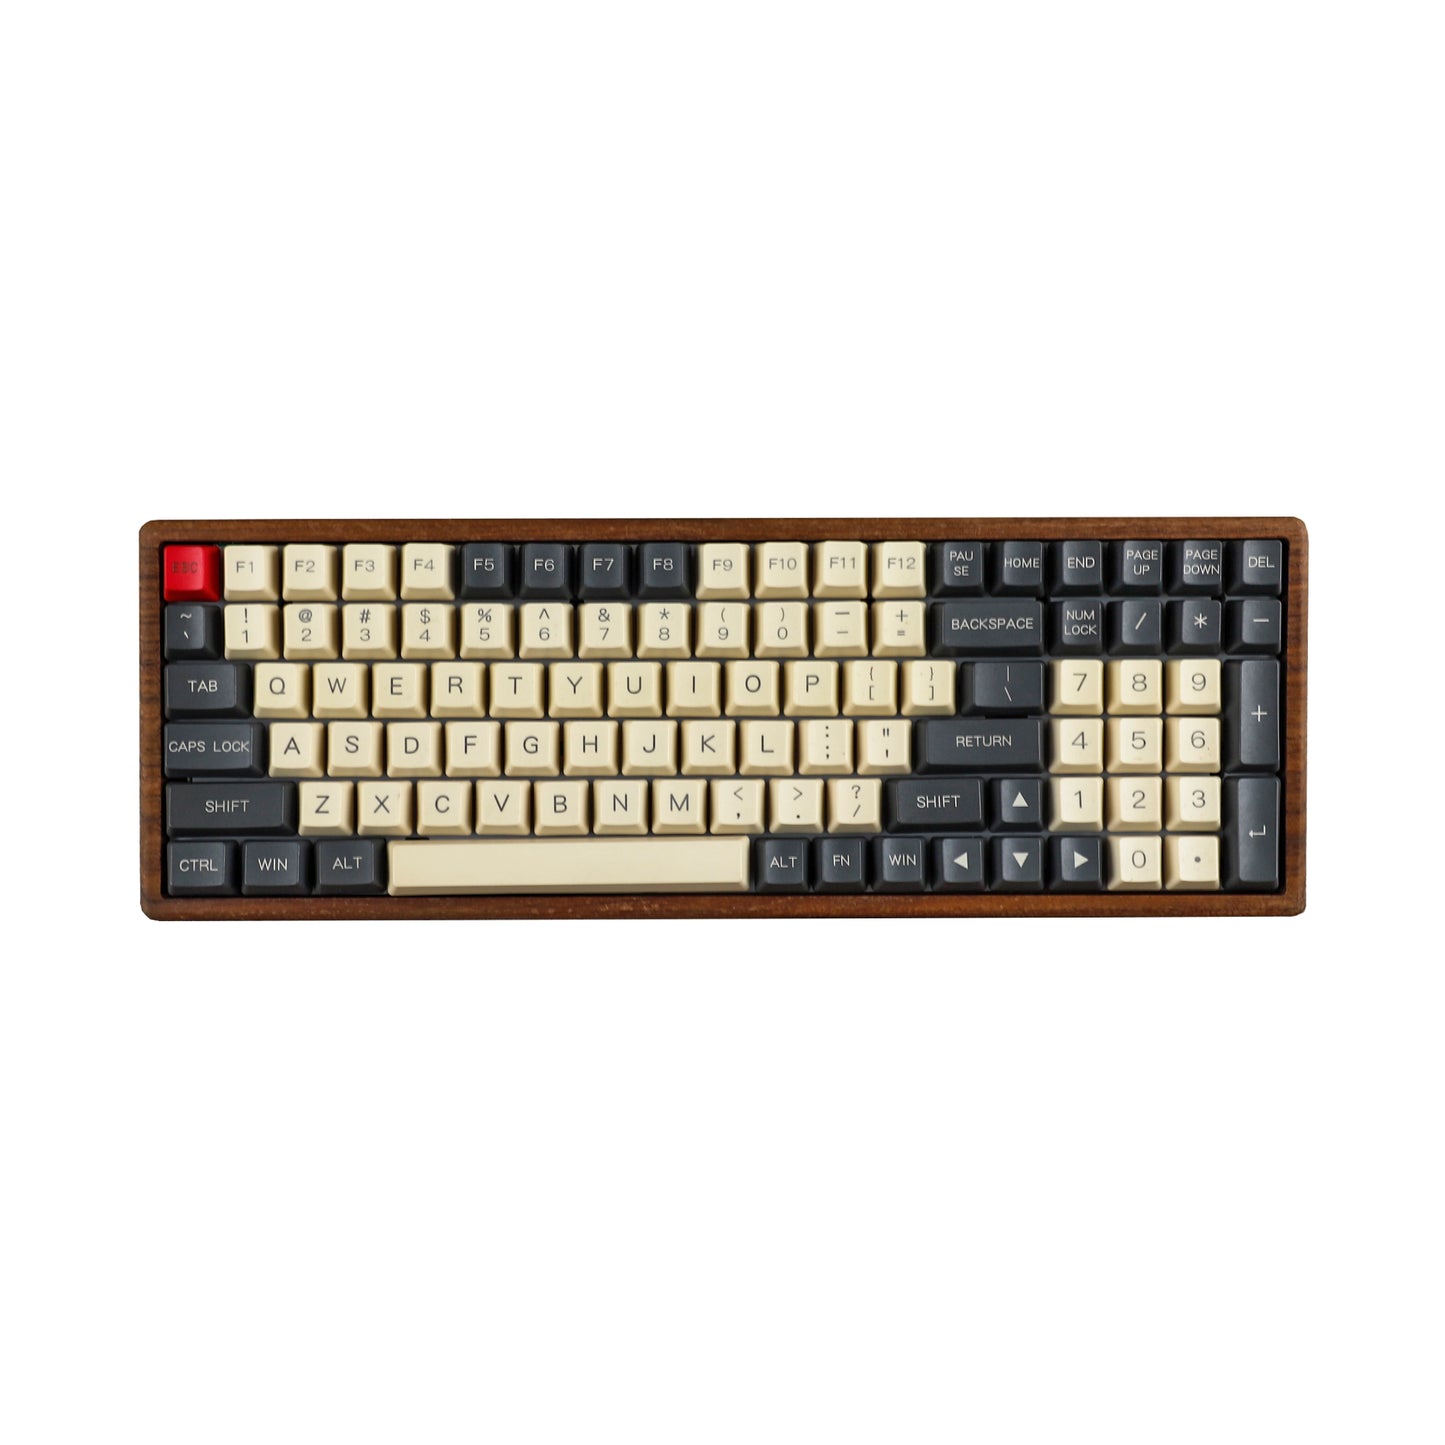
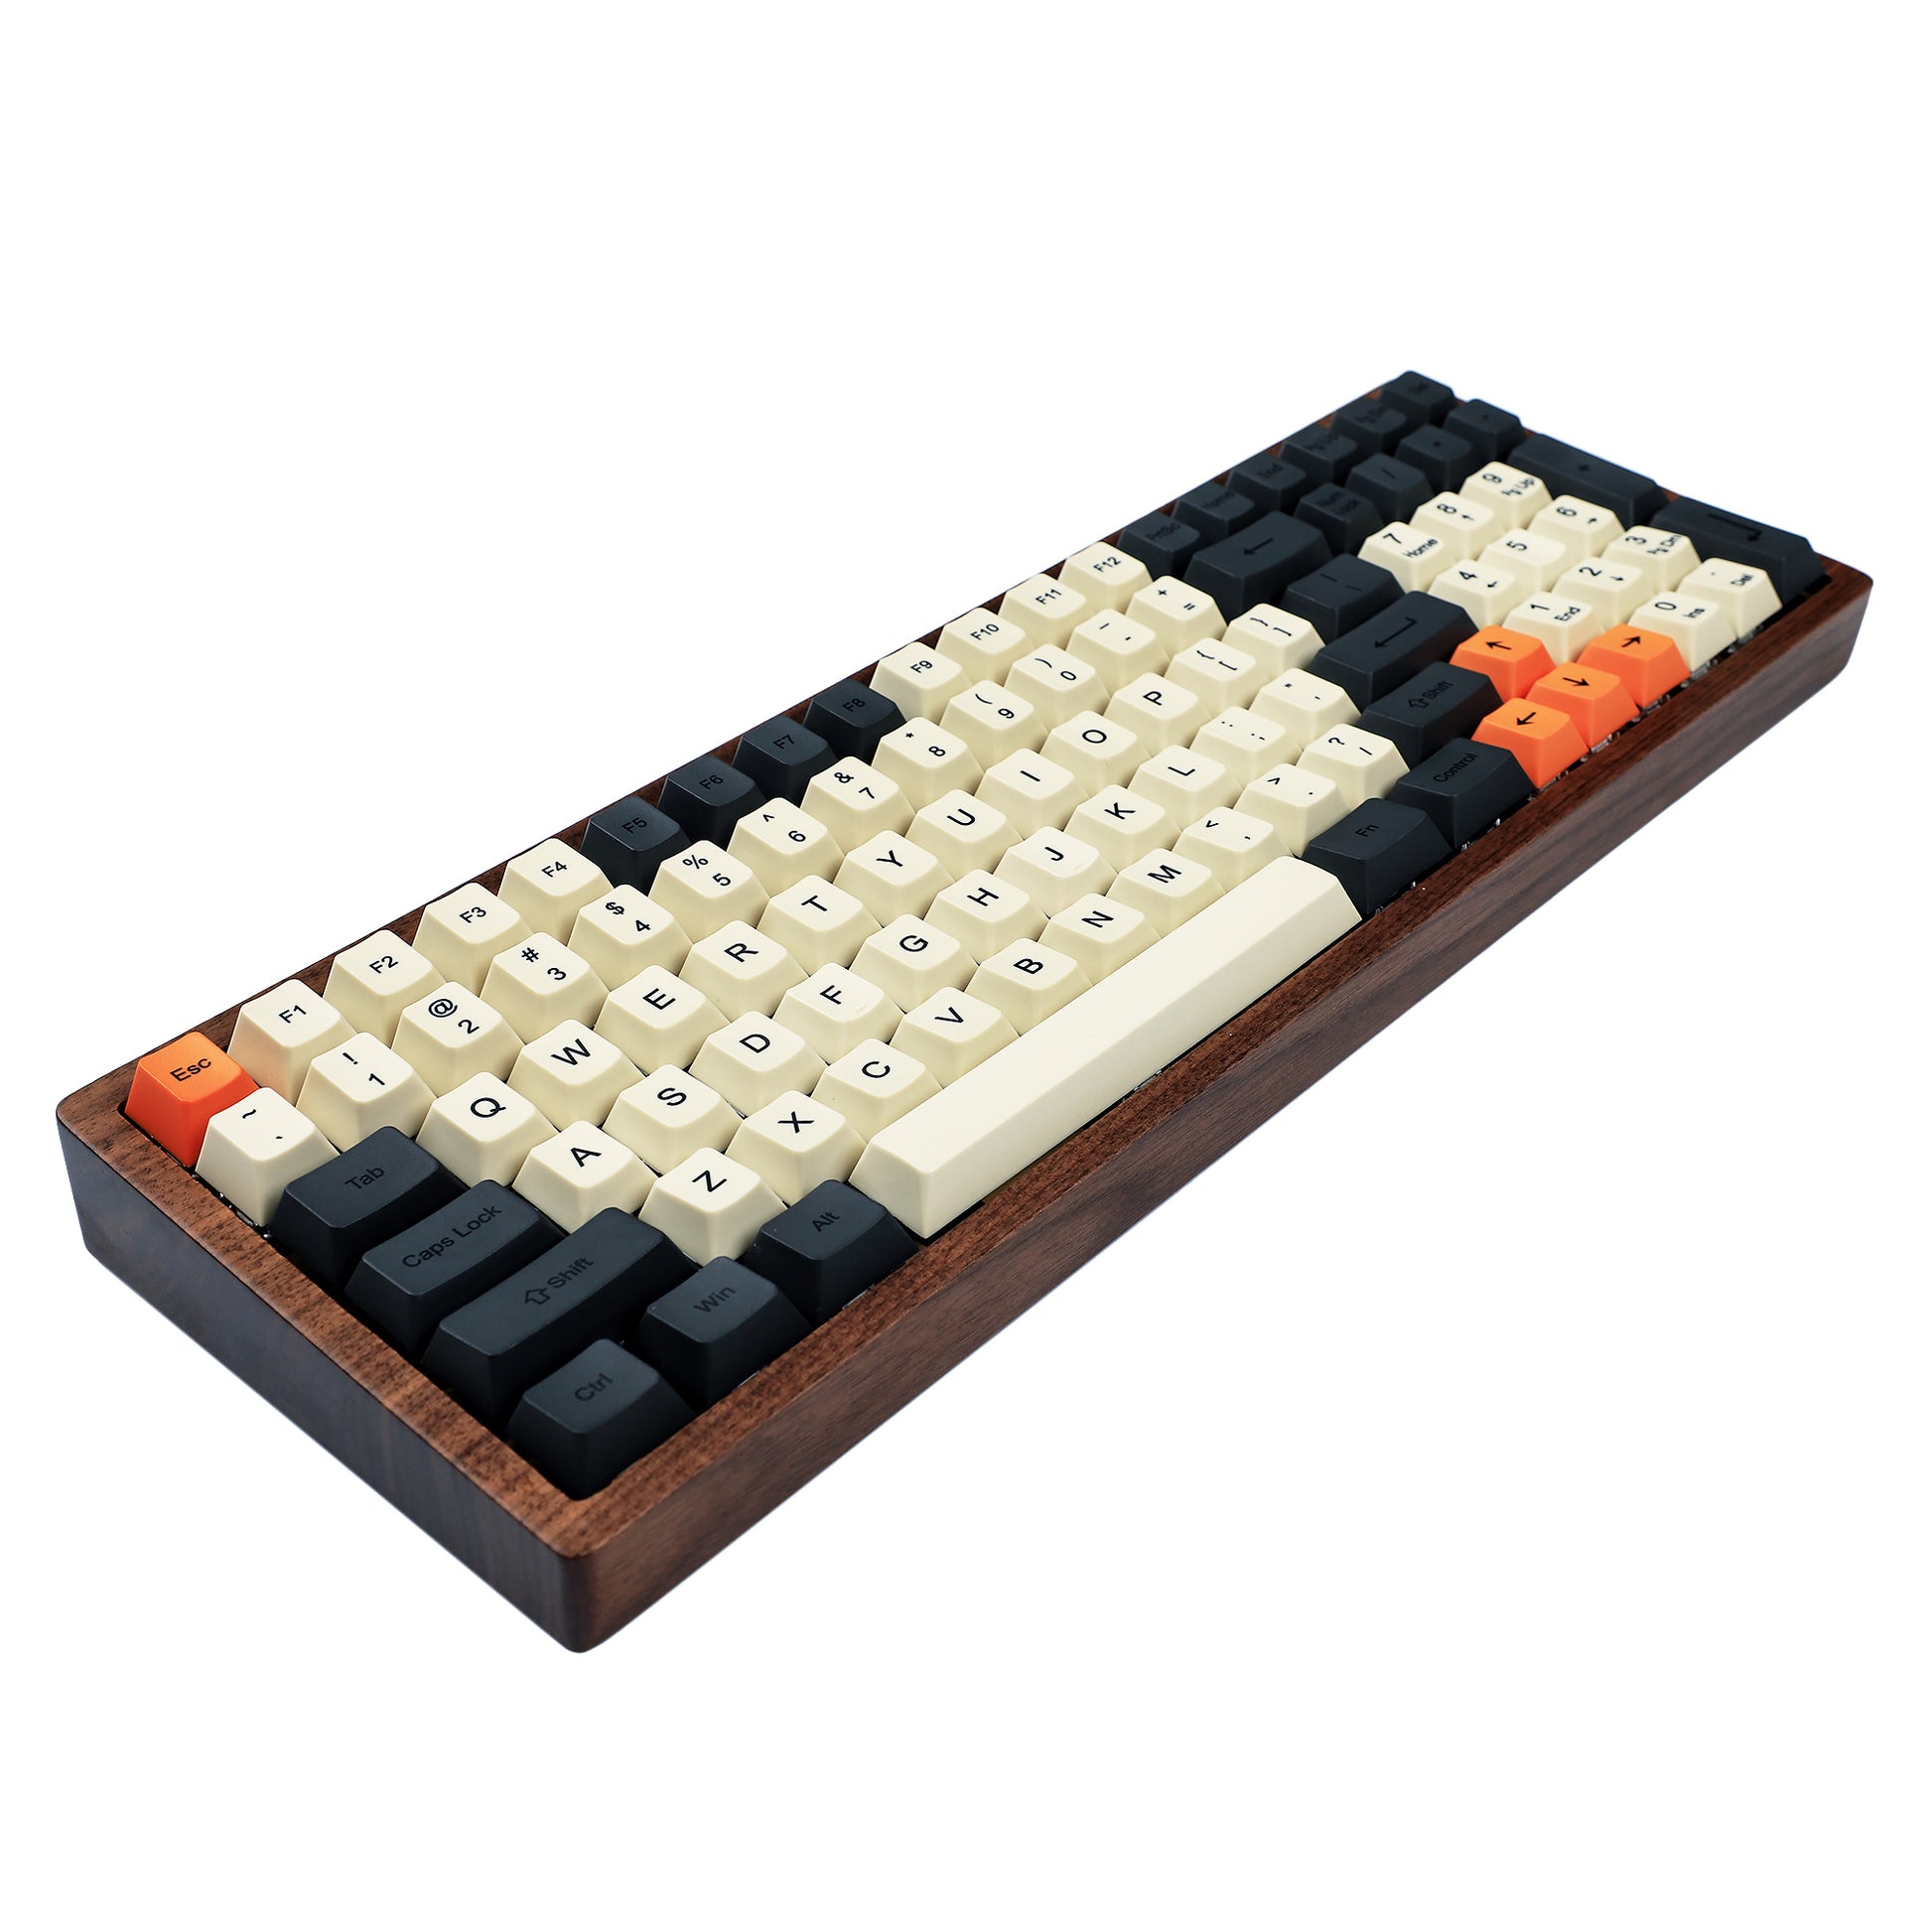
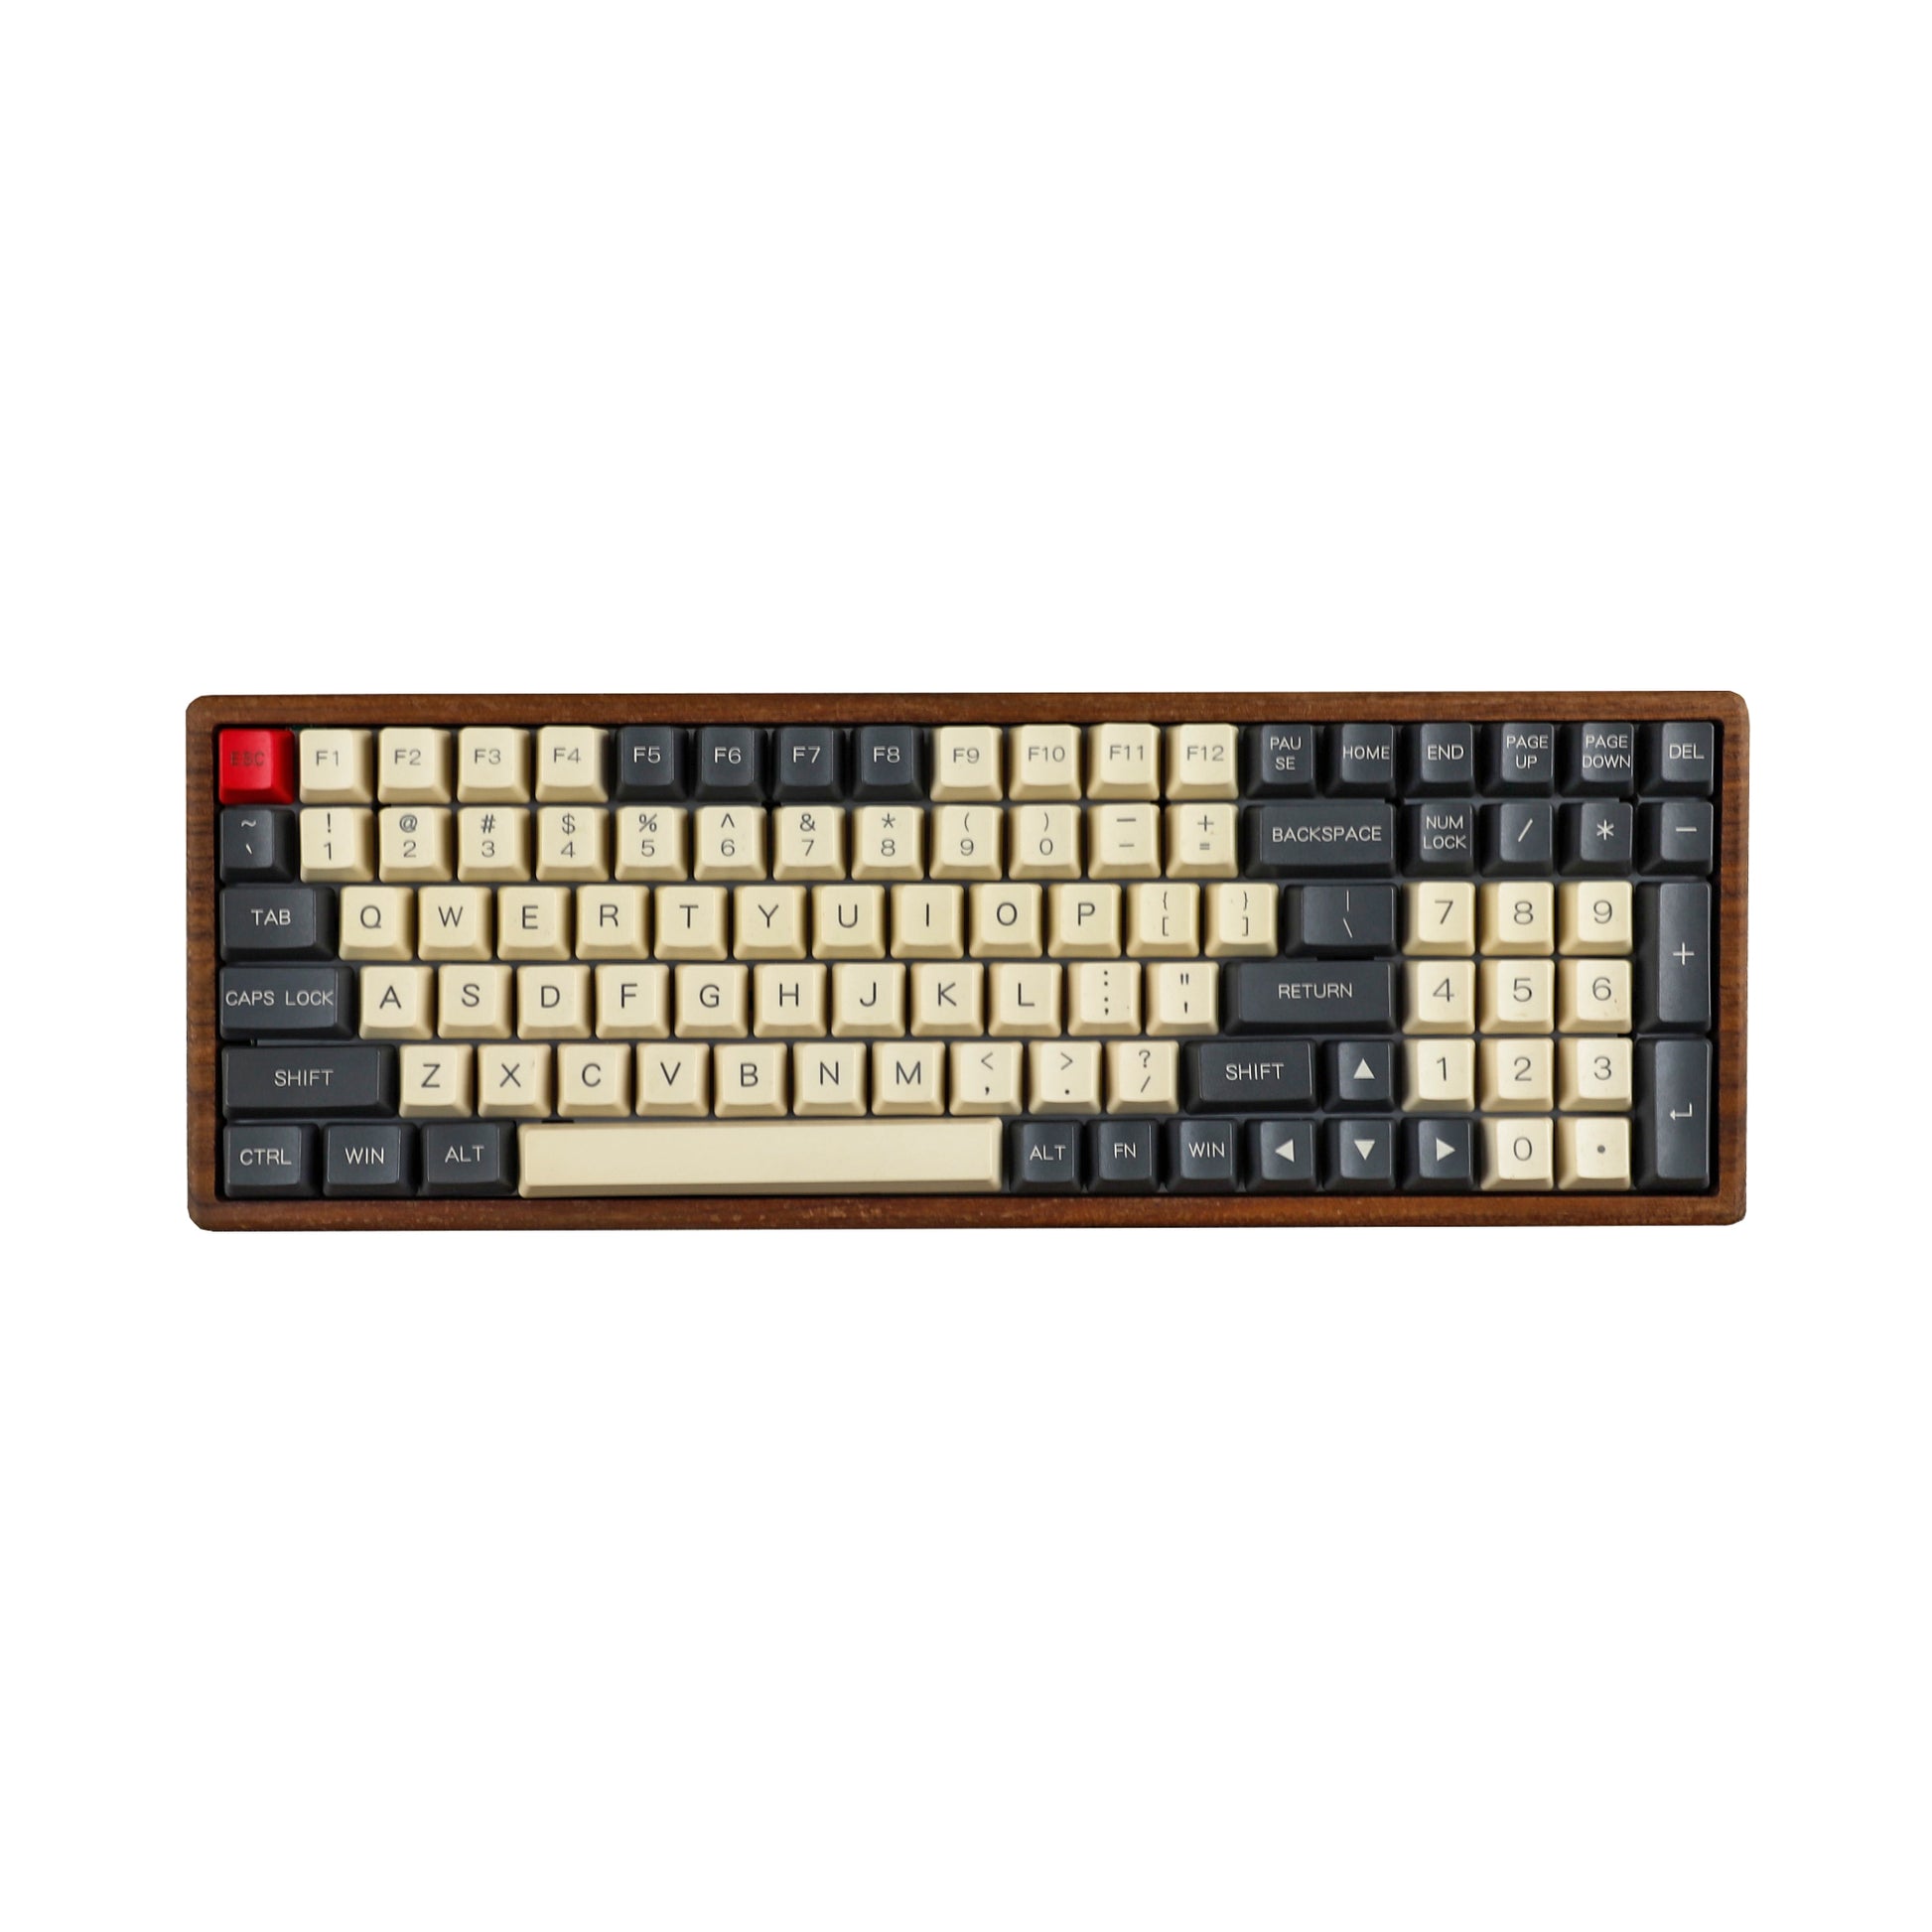
YMD96XS Ble Bluetooth Wireless Version Wooden case Mechanical keyboard kit(Standard ANSI ISO QMK Via)
YMD96XS Ble Bluetooth Wireless Version Wooden case Mechanical keyboard kit(Standard ANSI ISO QMK Via)
Couldn't load pickup availability
Package Included
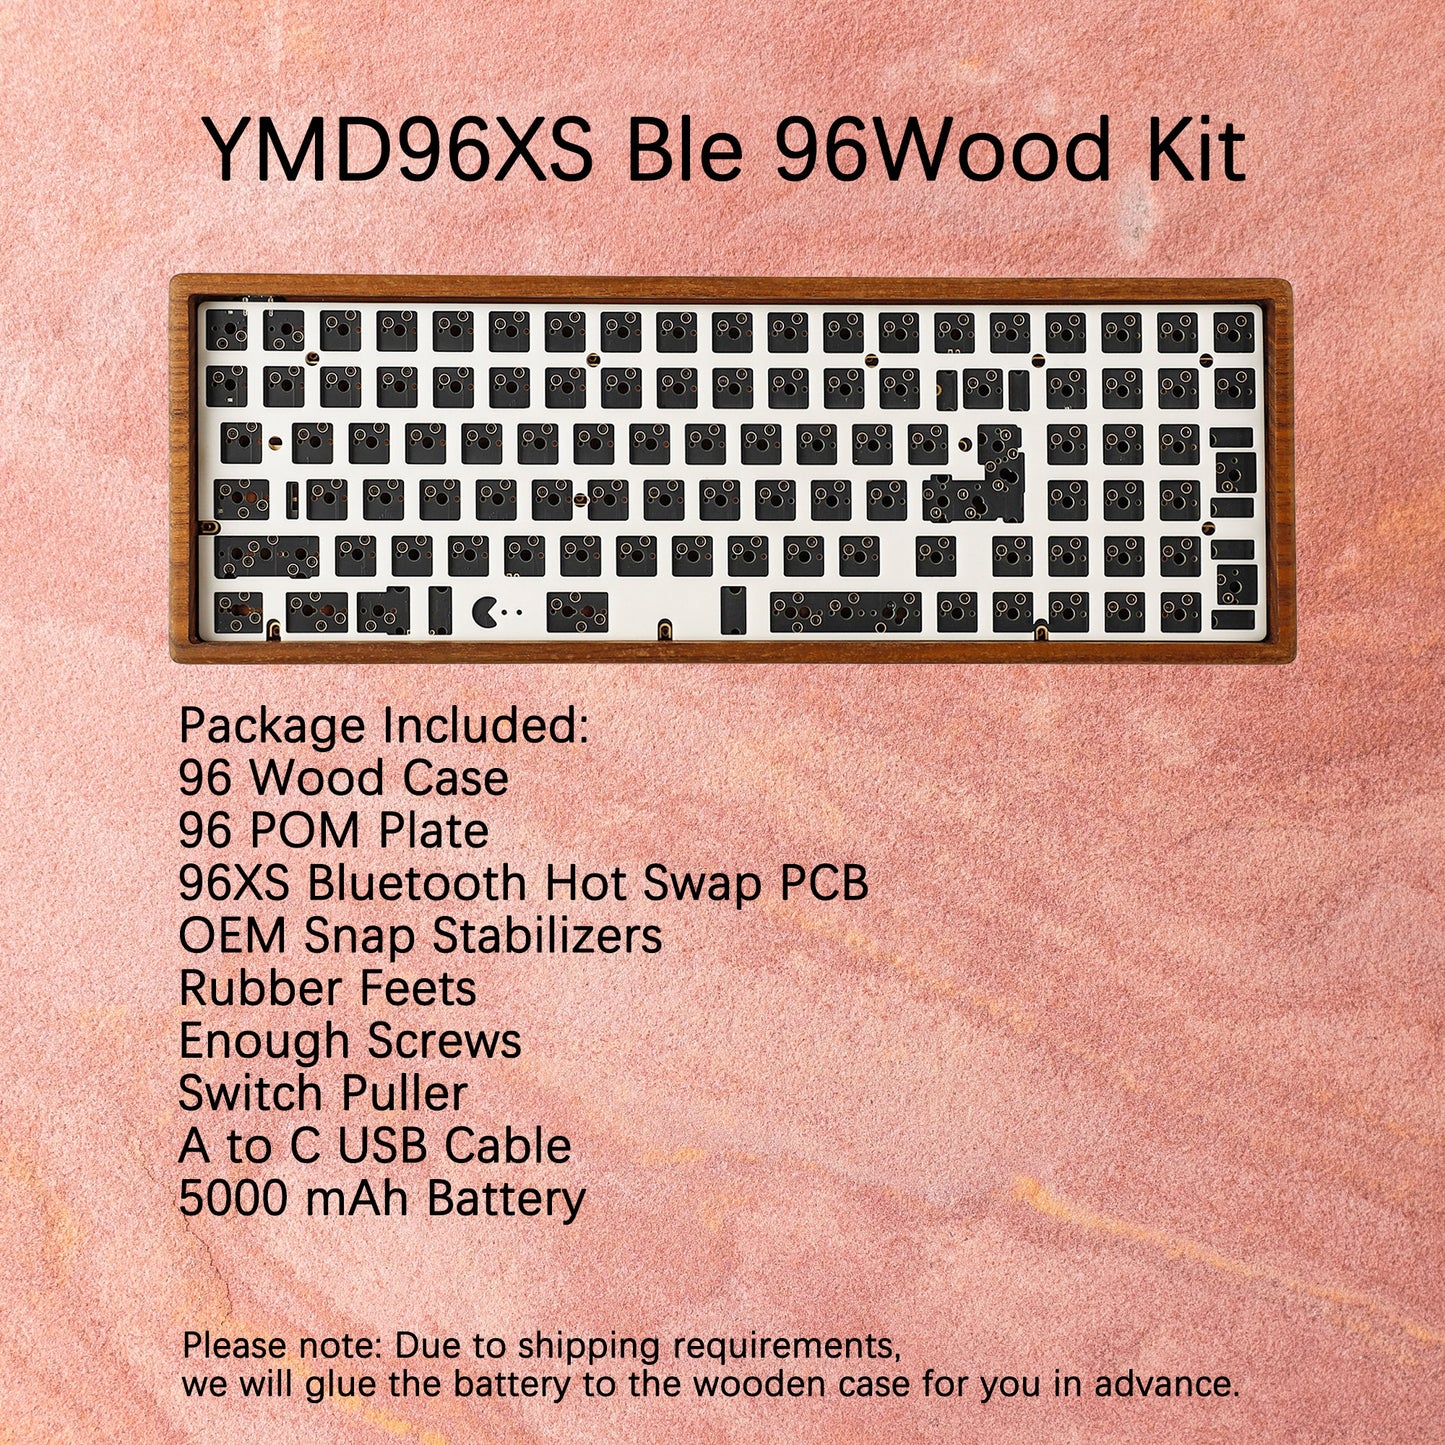
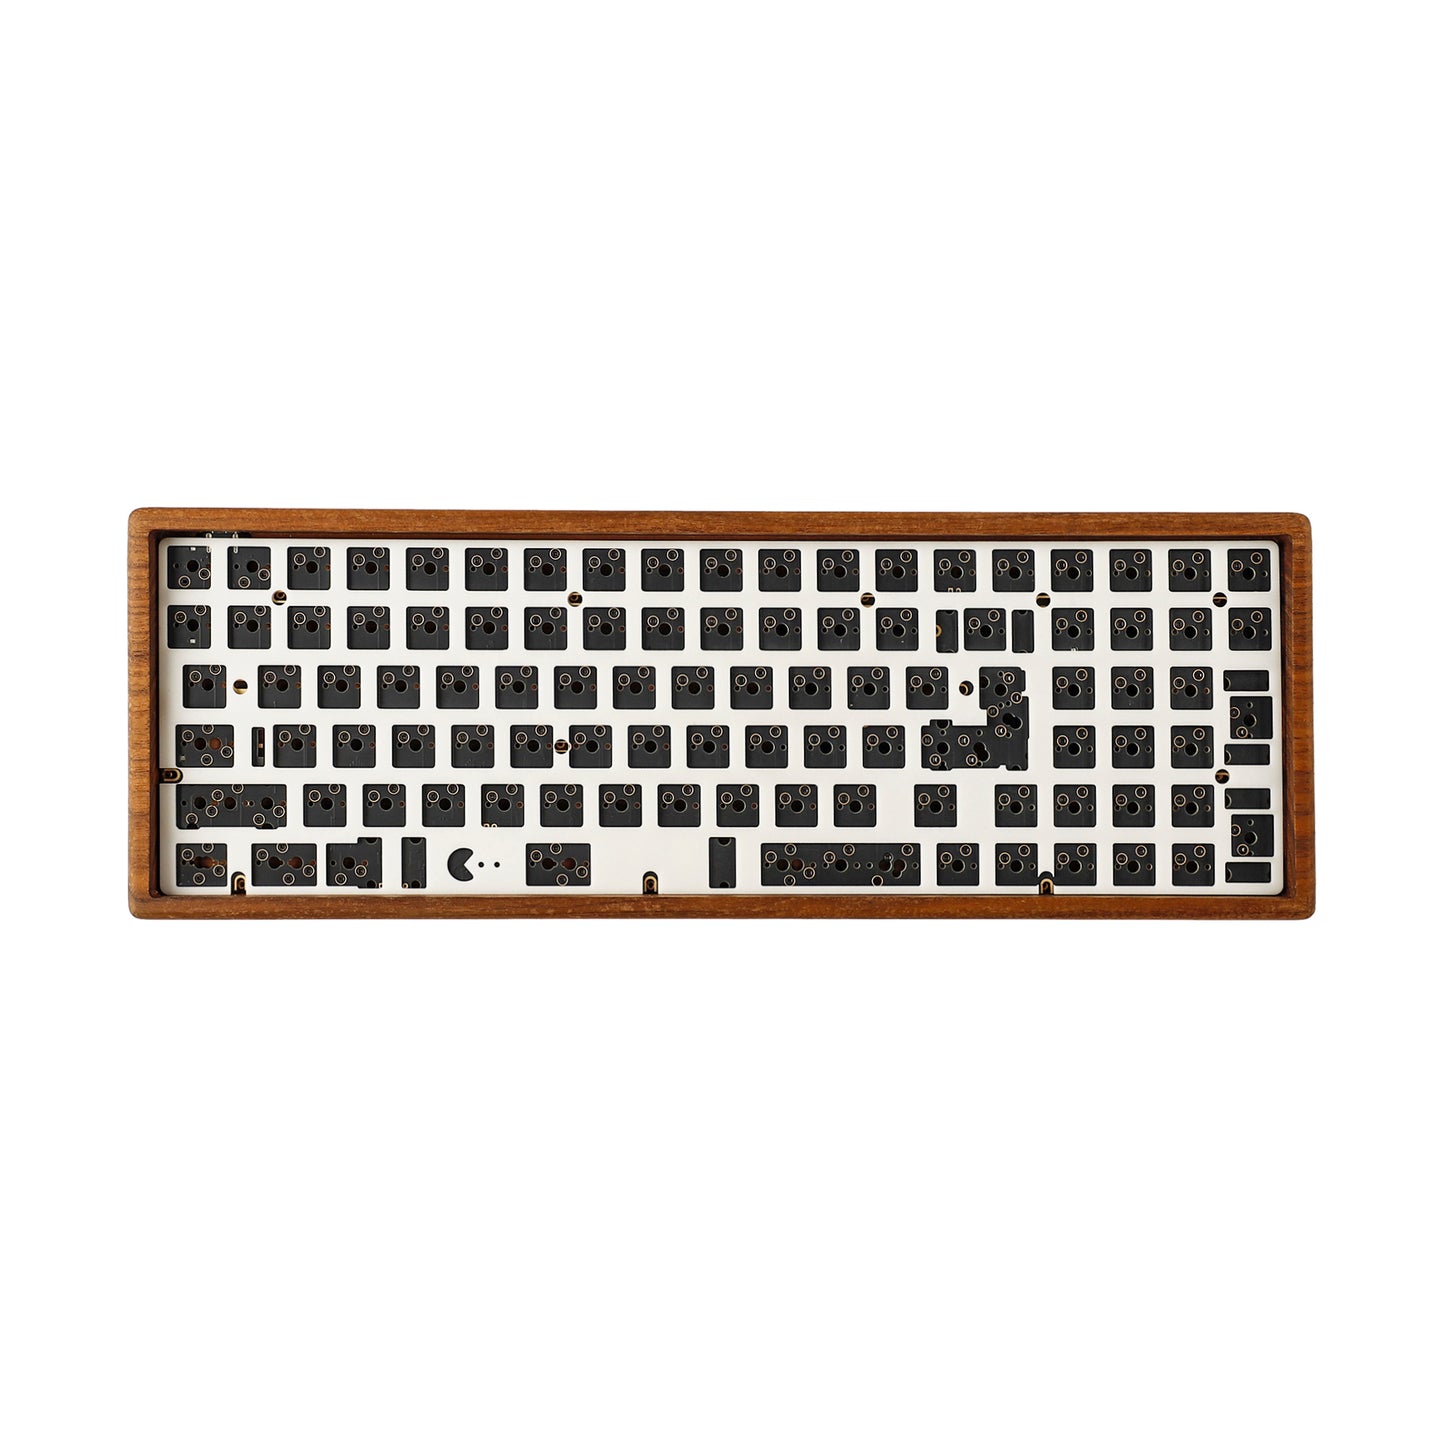
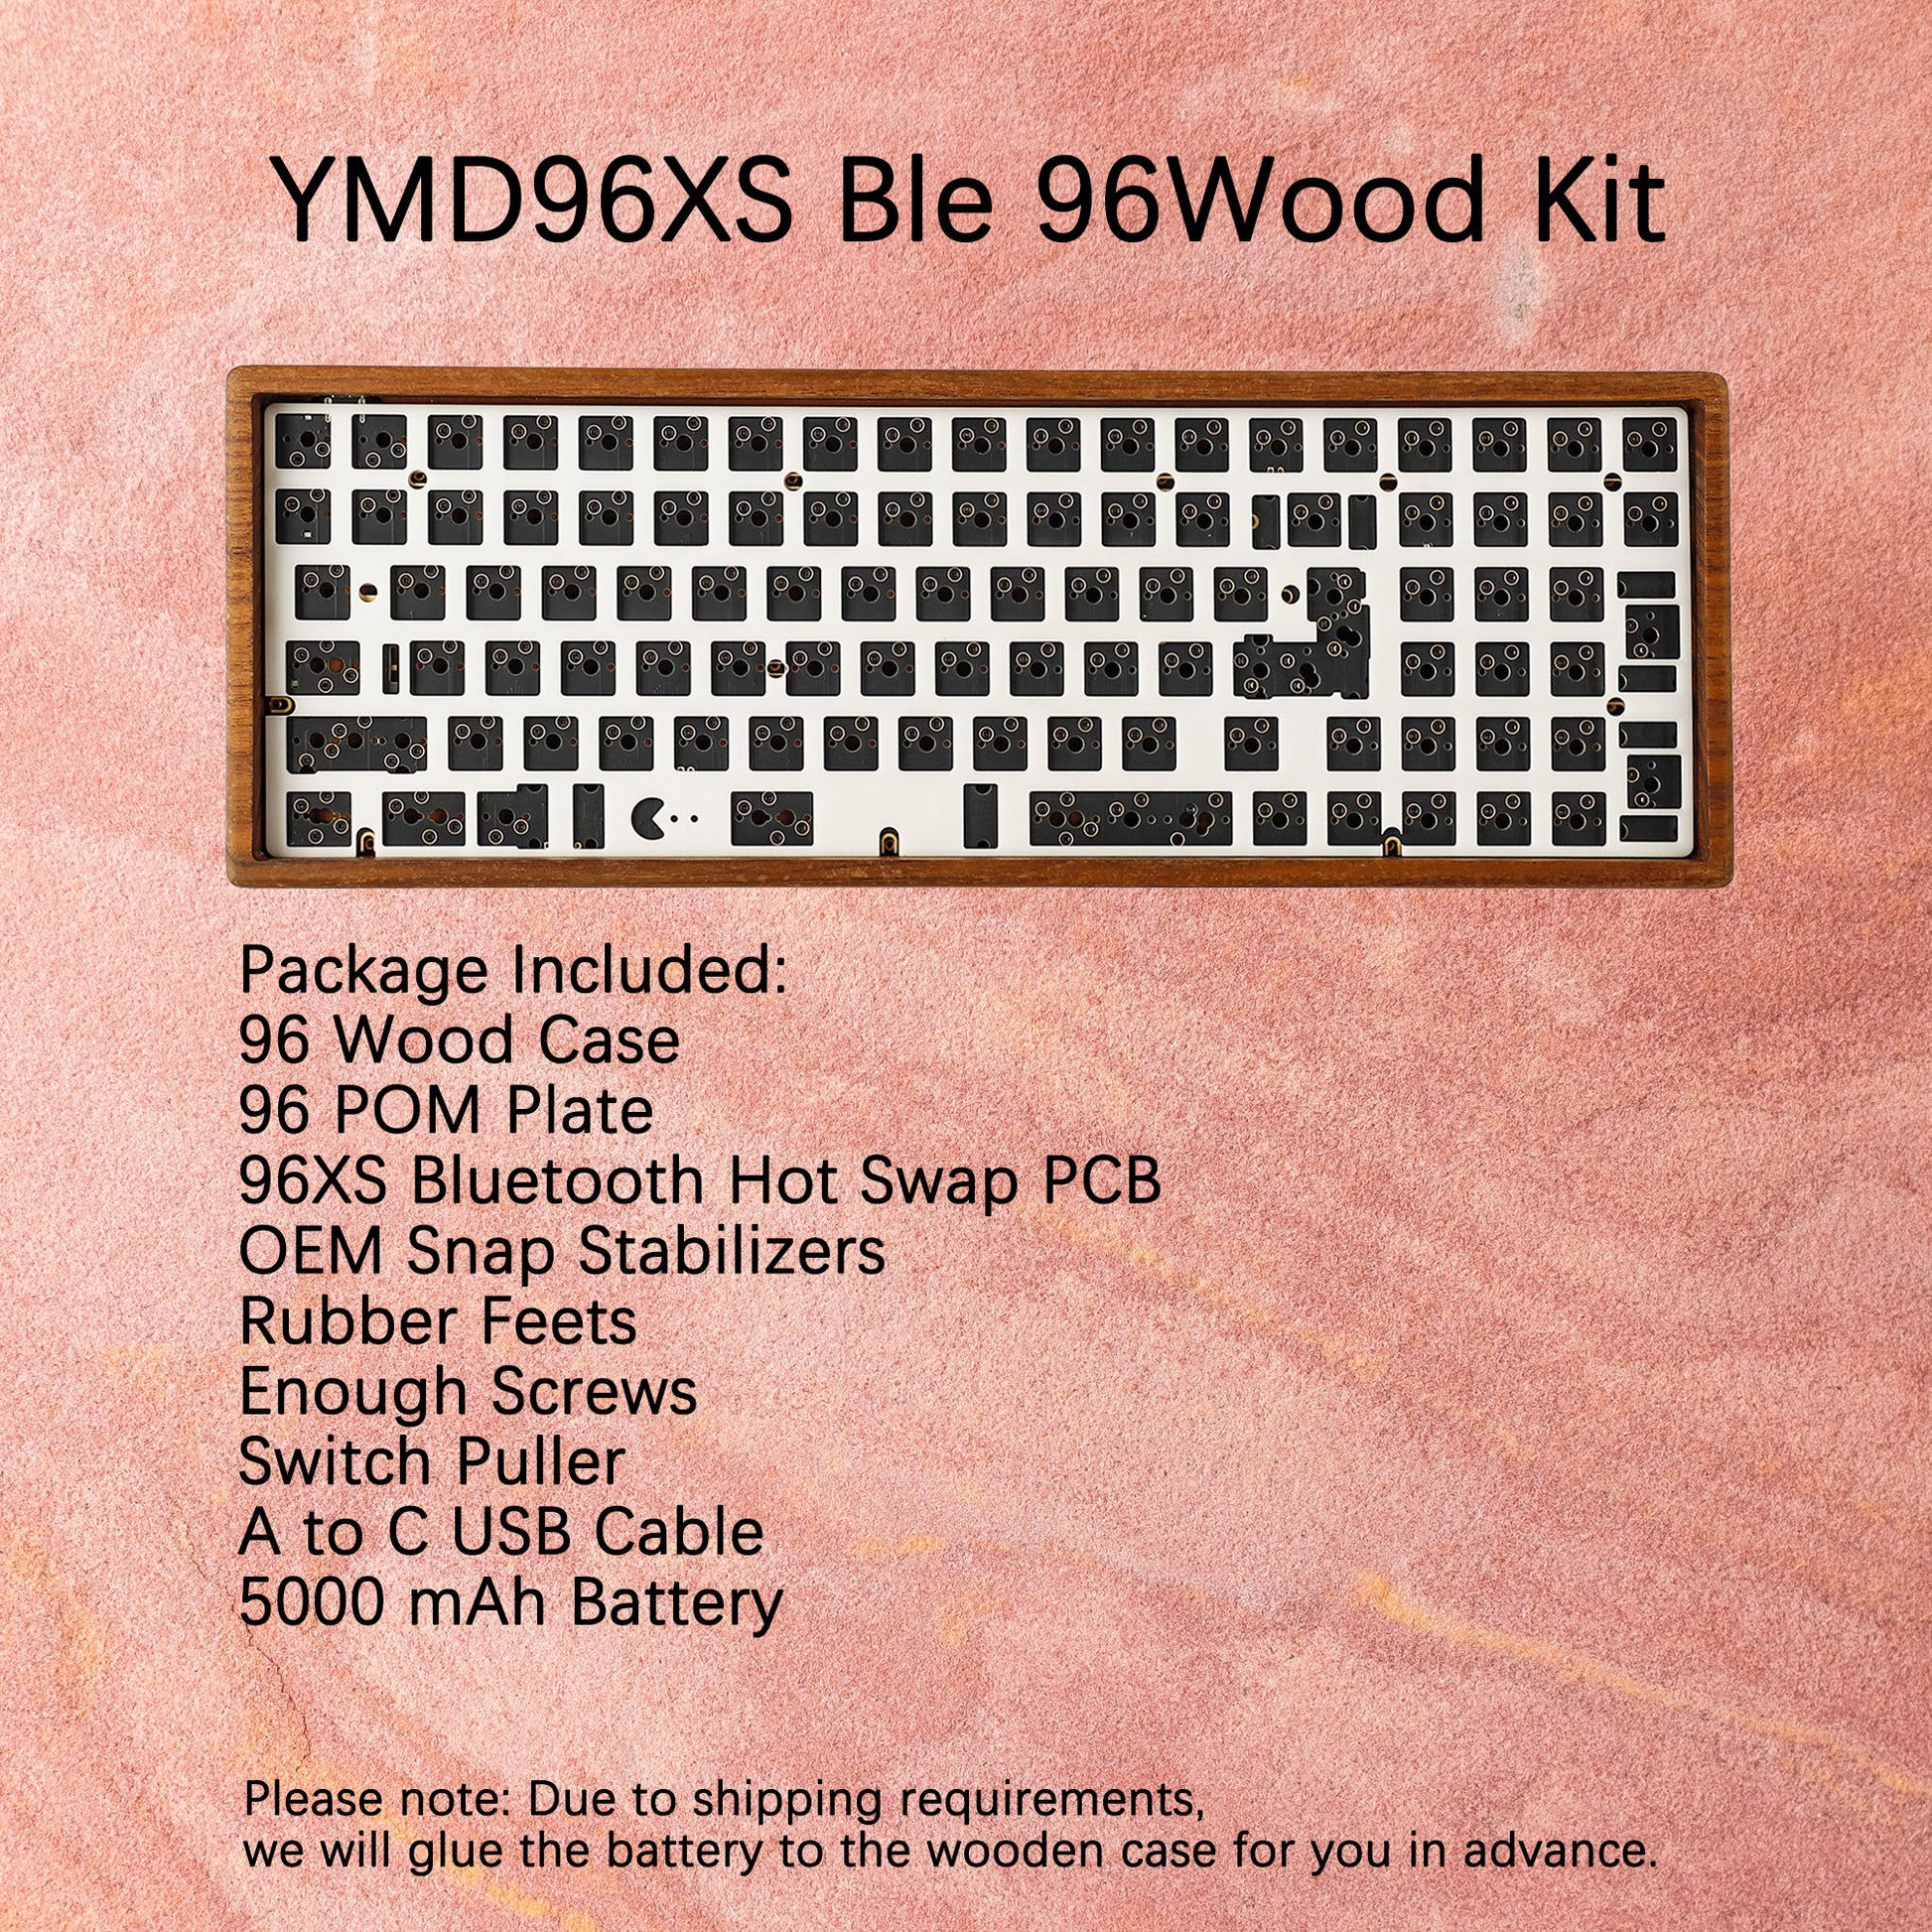
YMD96XS Ble 96Wood Kit:
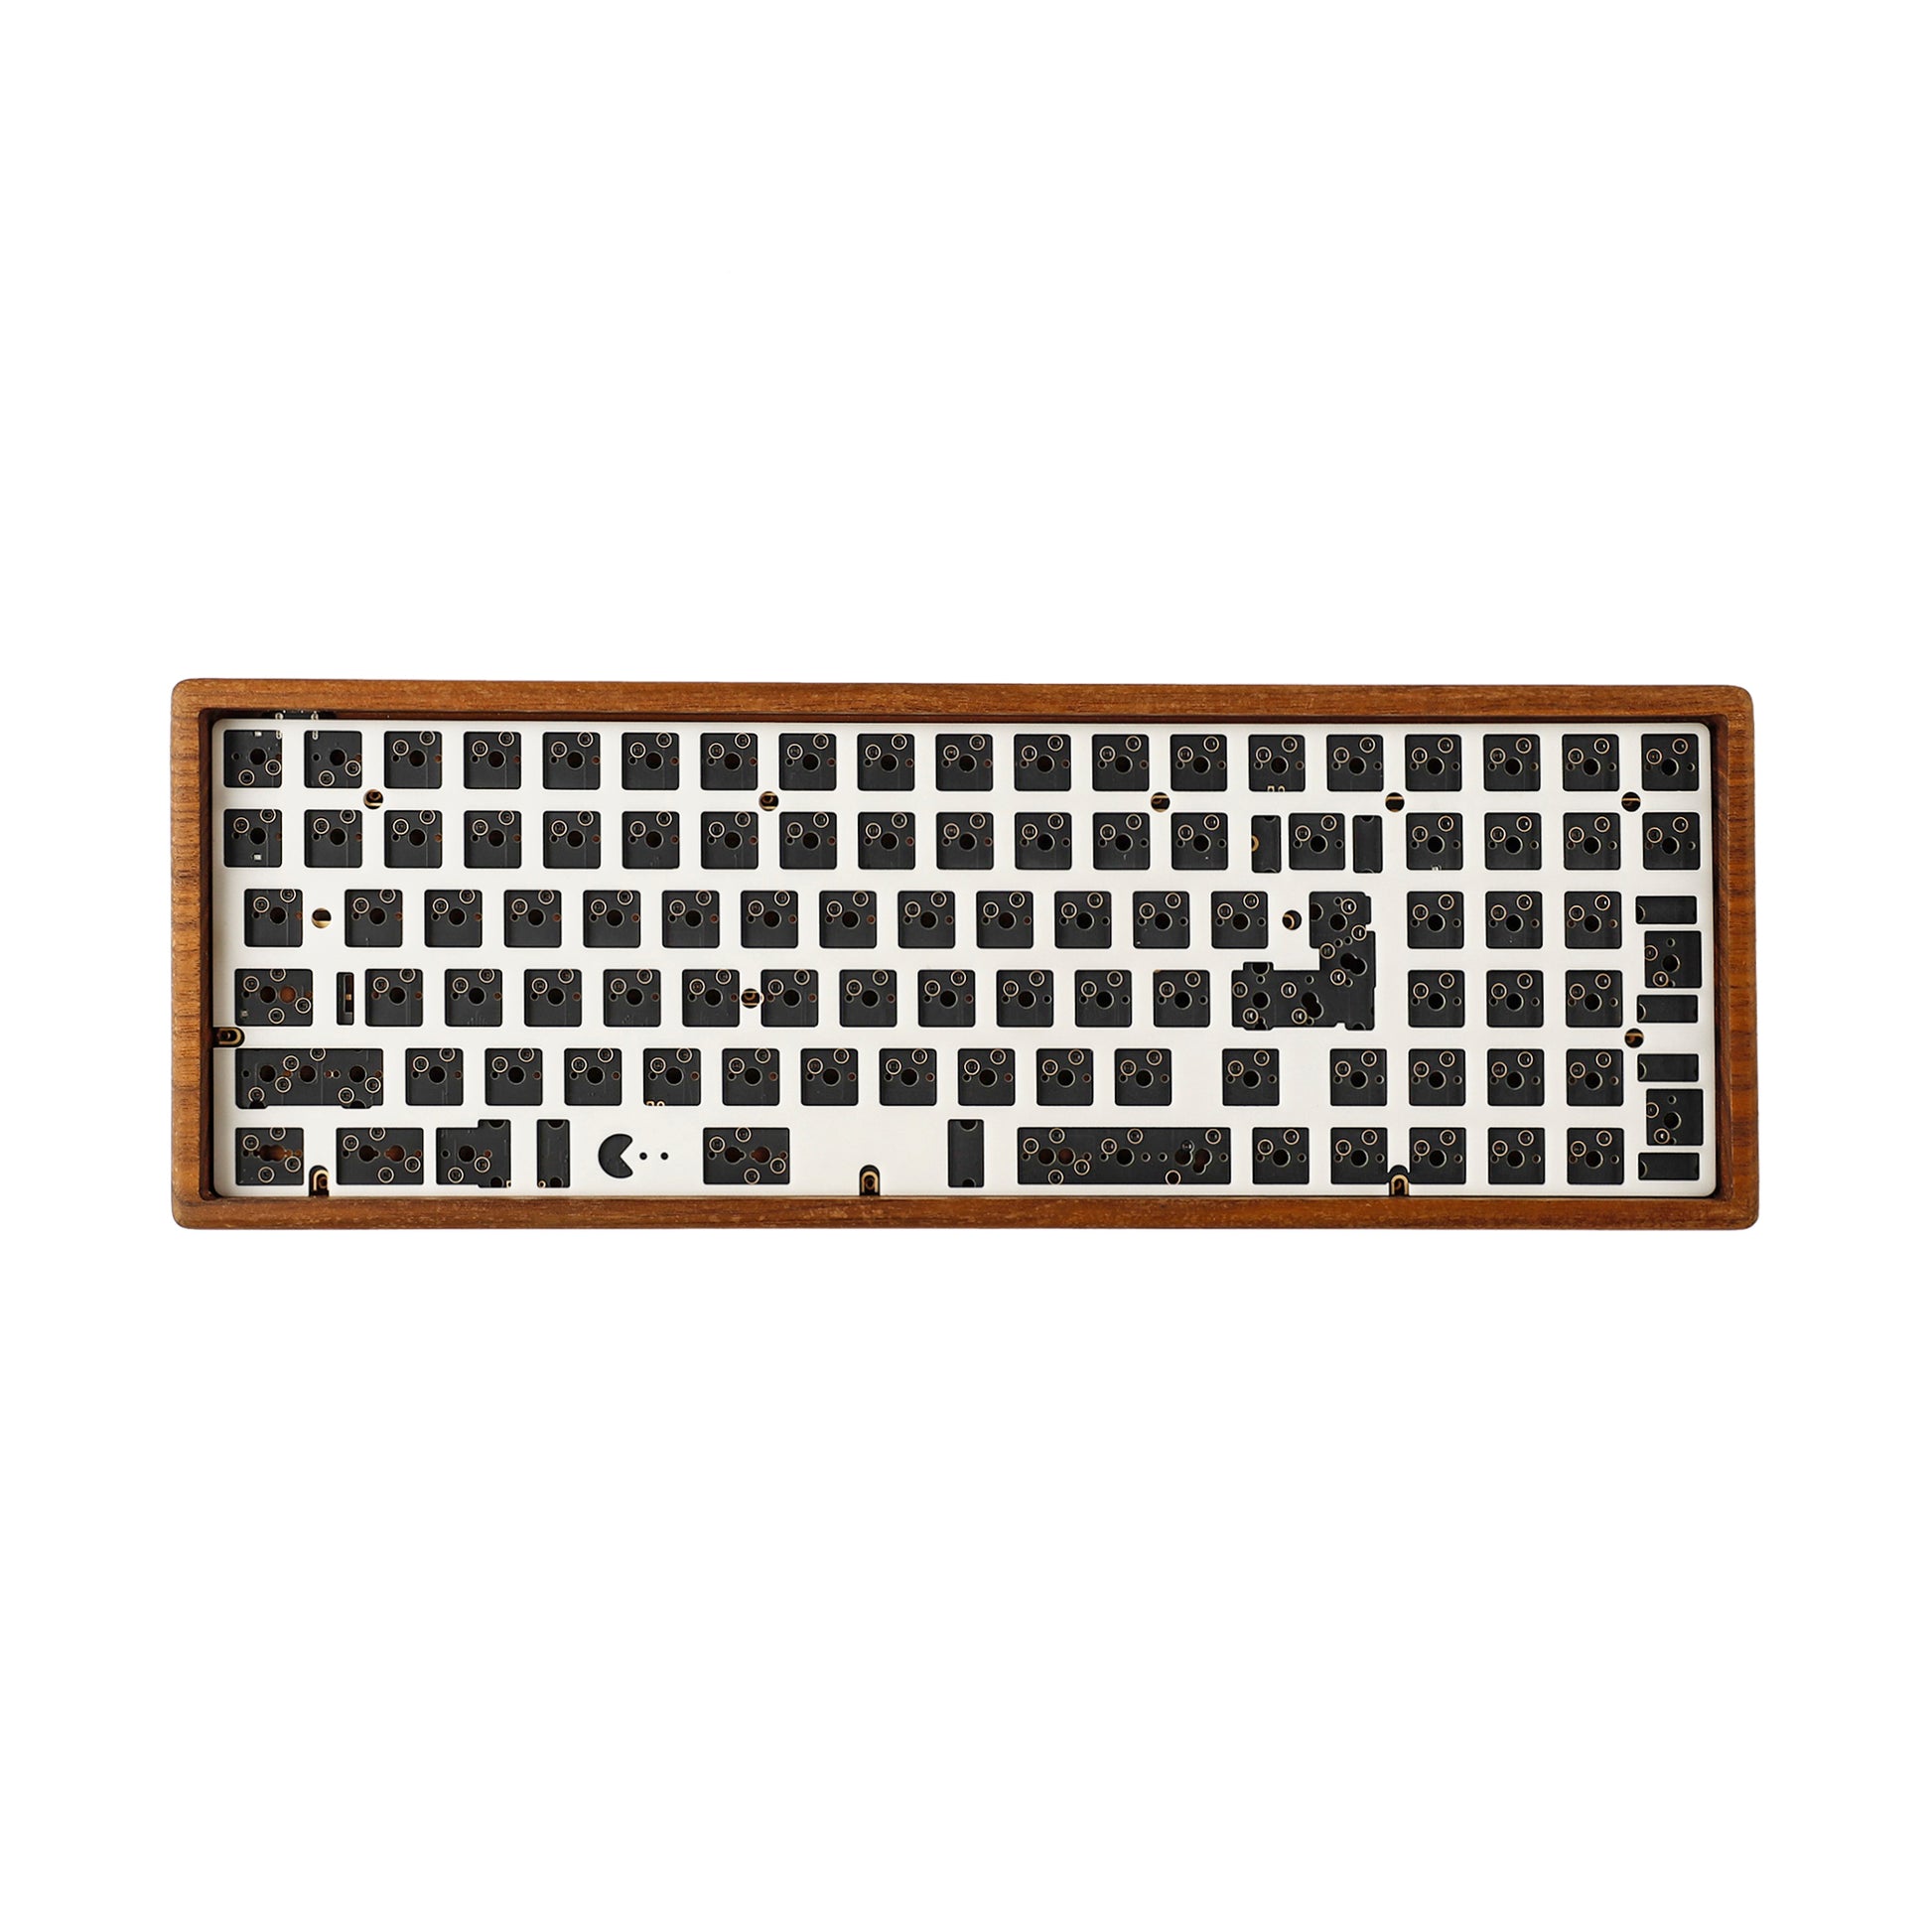
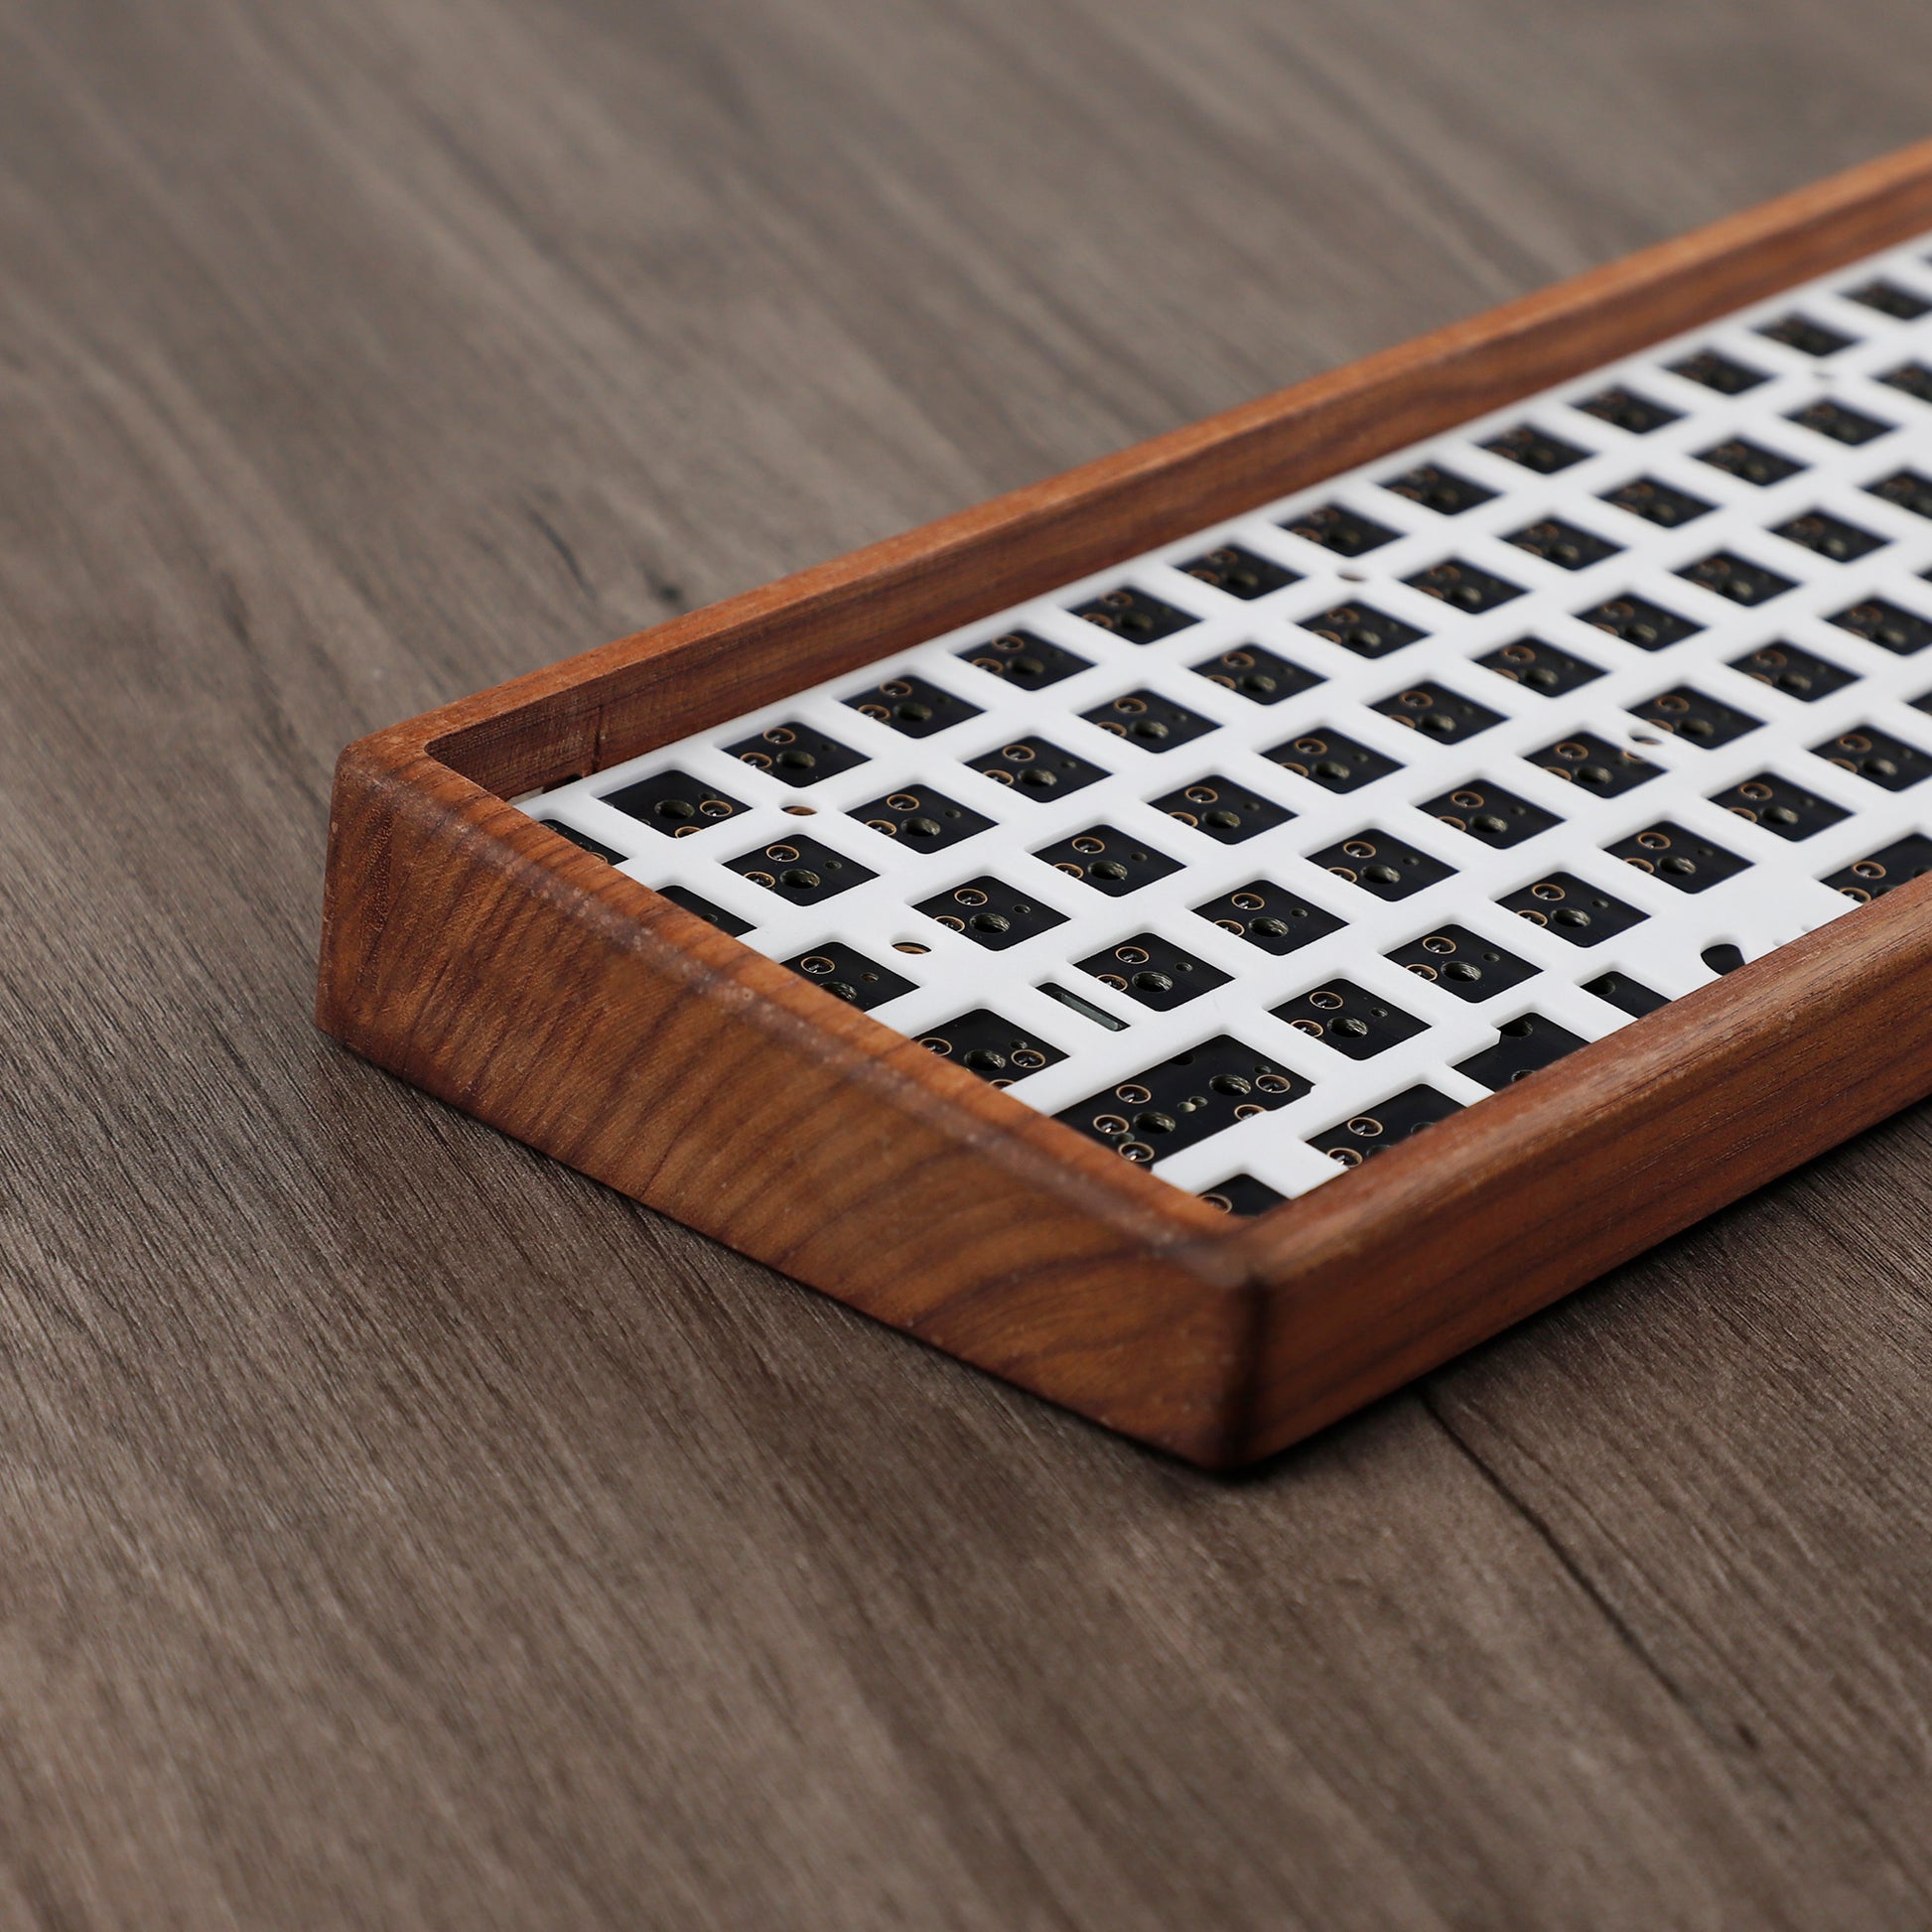
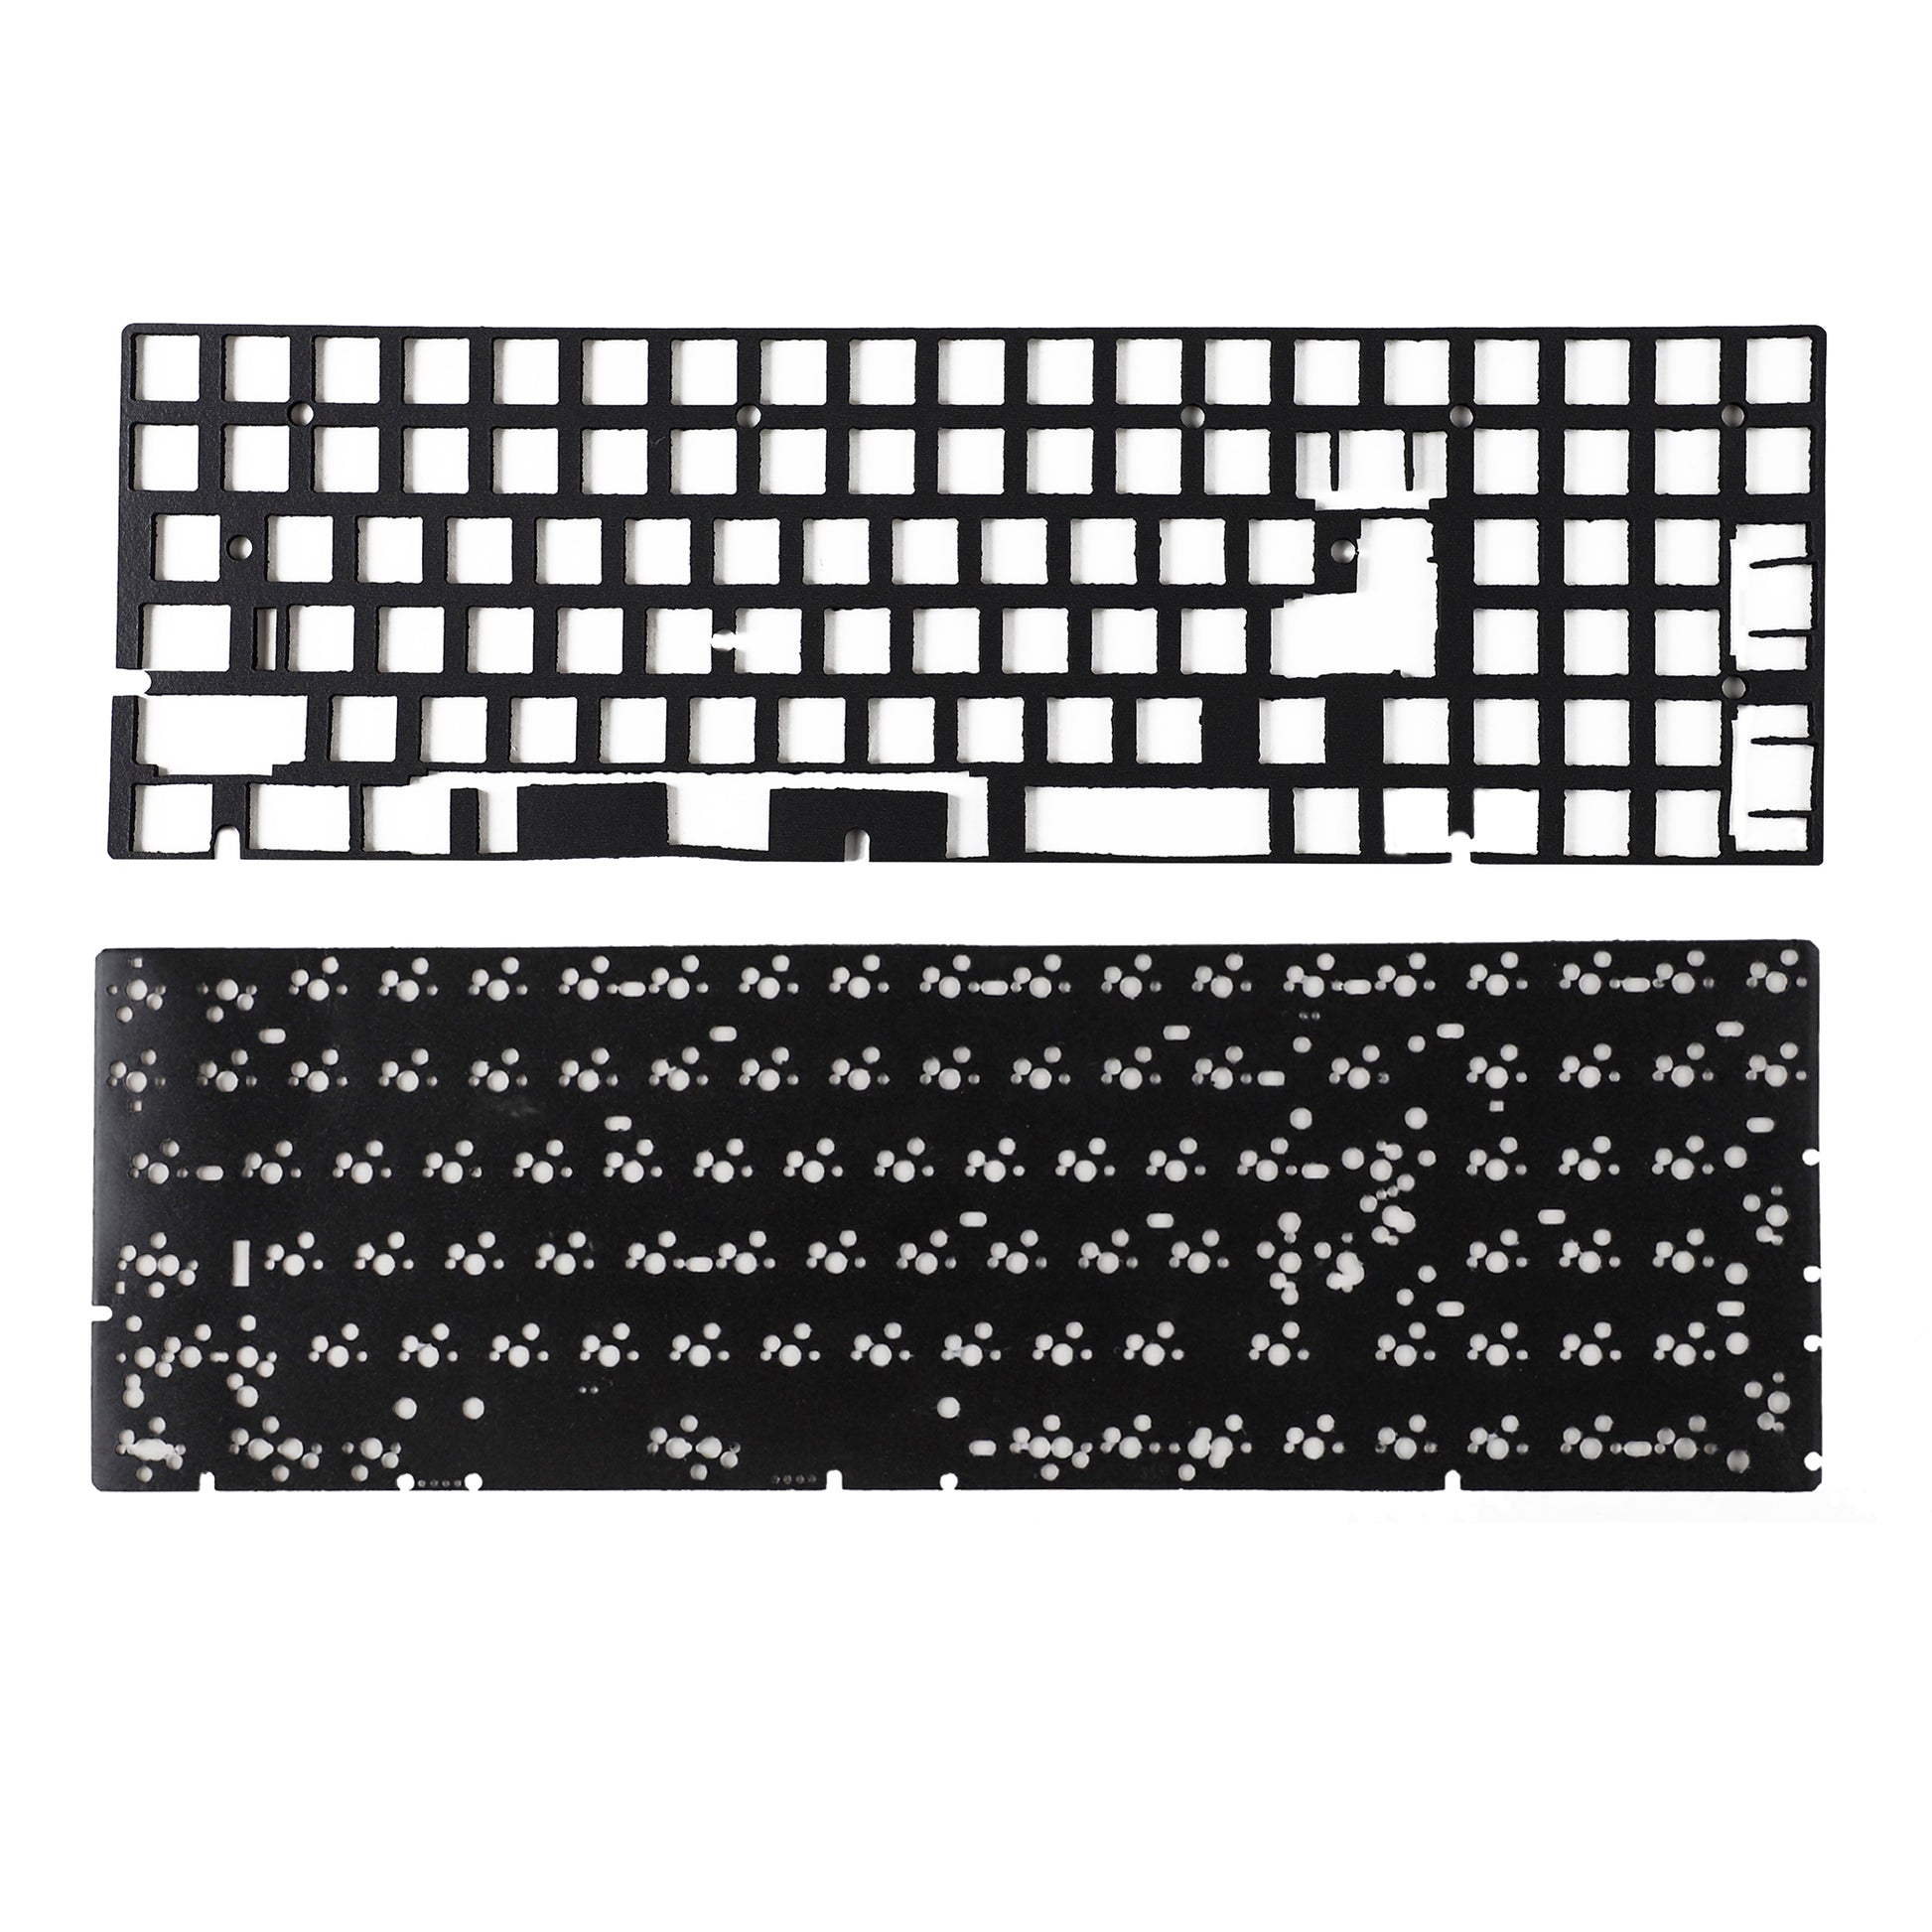
New 96 Wood Case + POM Plate + YMD96XS Bluetooth Hot Swap PCB + OEM Stabilizers needed + Rubber Feets + Screws + Switch Puller+ USB A to C Cable +Poron Foam + 5000mAh Ultra-thin Battery
Upgraded Parts
Change OEM PCB Stabilizers to Clear Gold screw-in stabilizers, add 10pcs links
Below is the installation reference video of the upgraded screw stabilizer, please click
Add Walnut Wood Wrist Click Here
Add Beech Wood Wrist Click Here
If you need a separate PCB please click Here
From 100% to 90%-96 layout,keep some function keys but make the keyboard of size smaller.Create a full integrated keyboard from 100% to the new version-90% special layout.Change the way in keyboard of using totally,96 will be a better layout.
Details
About PCB
Model : YMD96XS Ble
Memory : 32MB
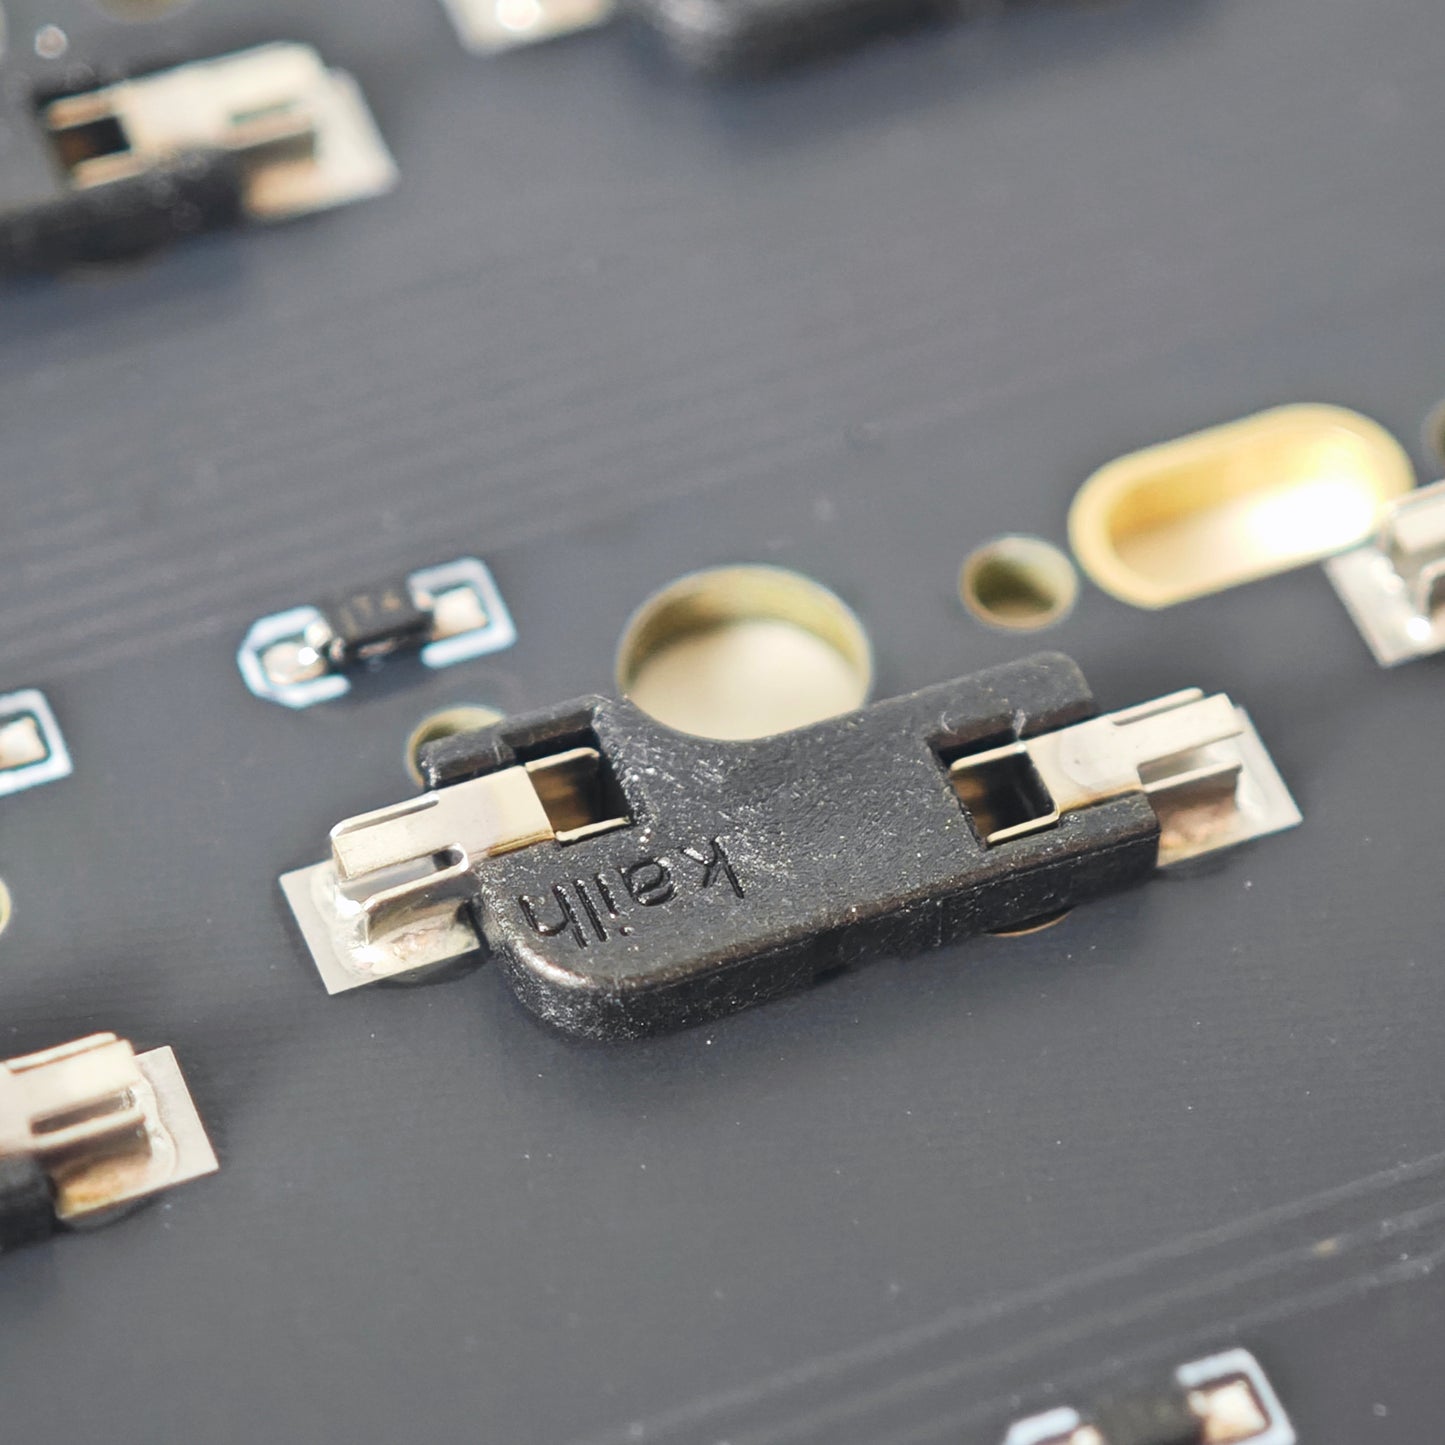
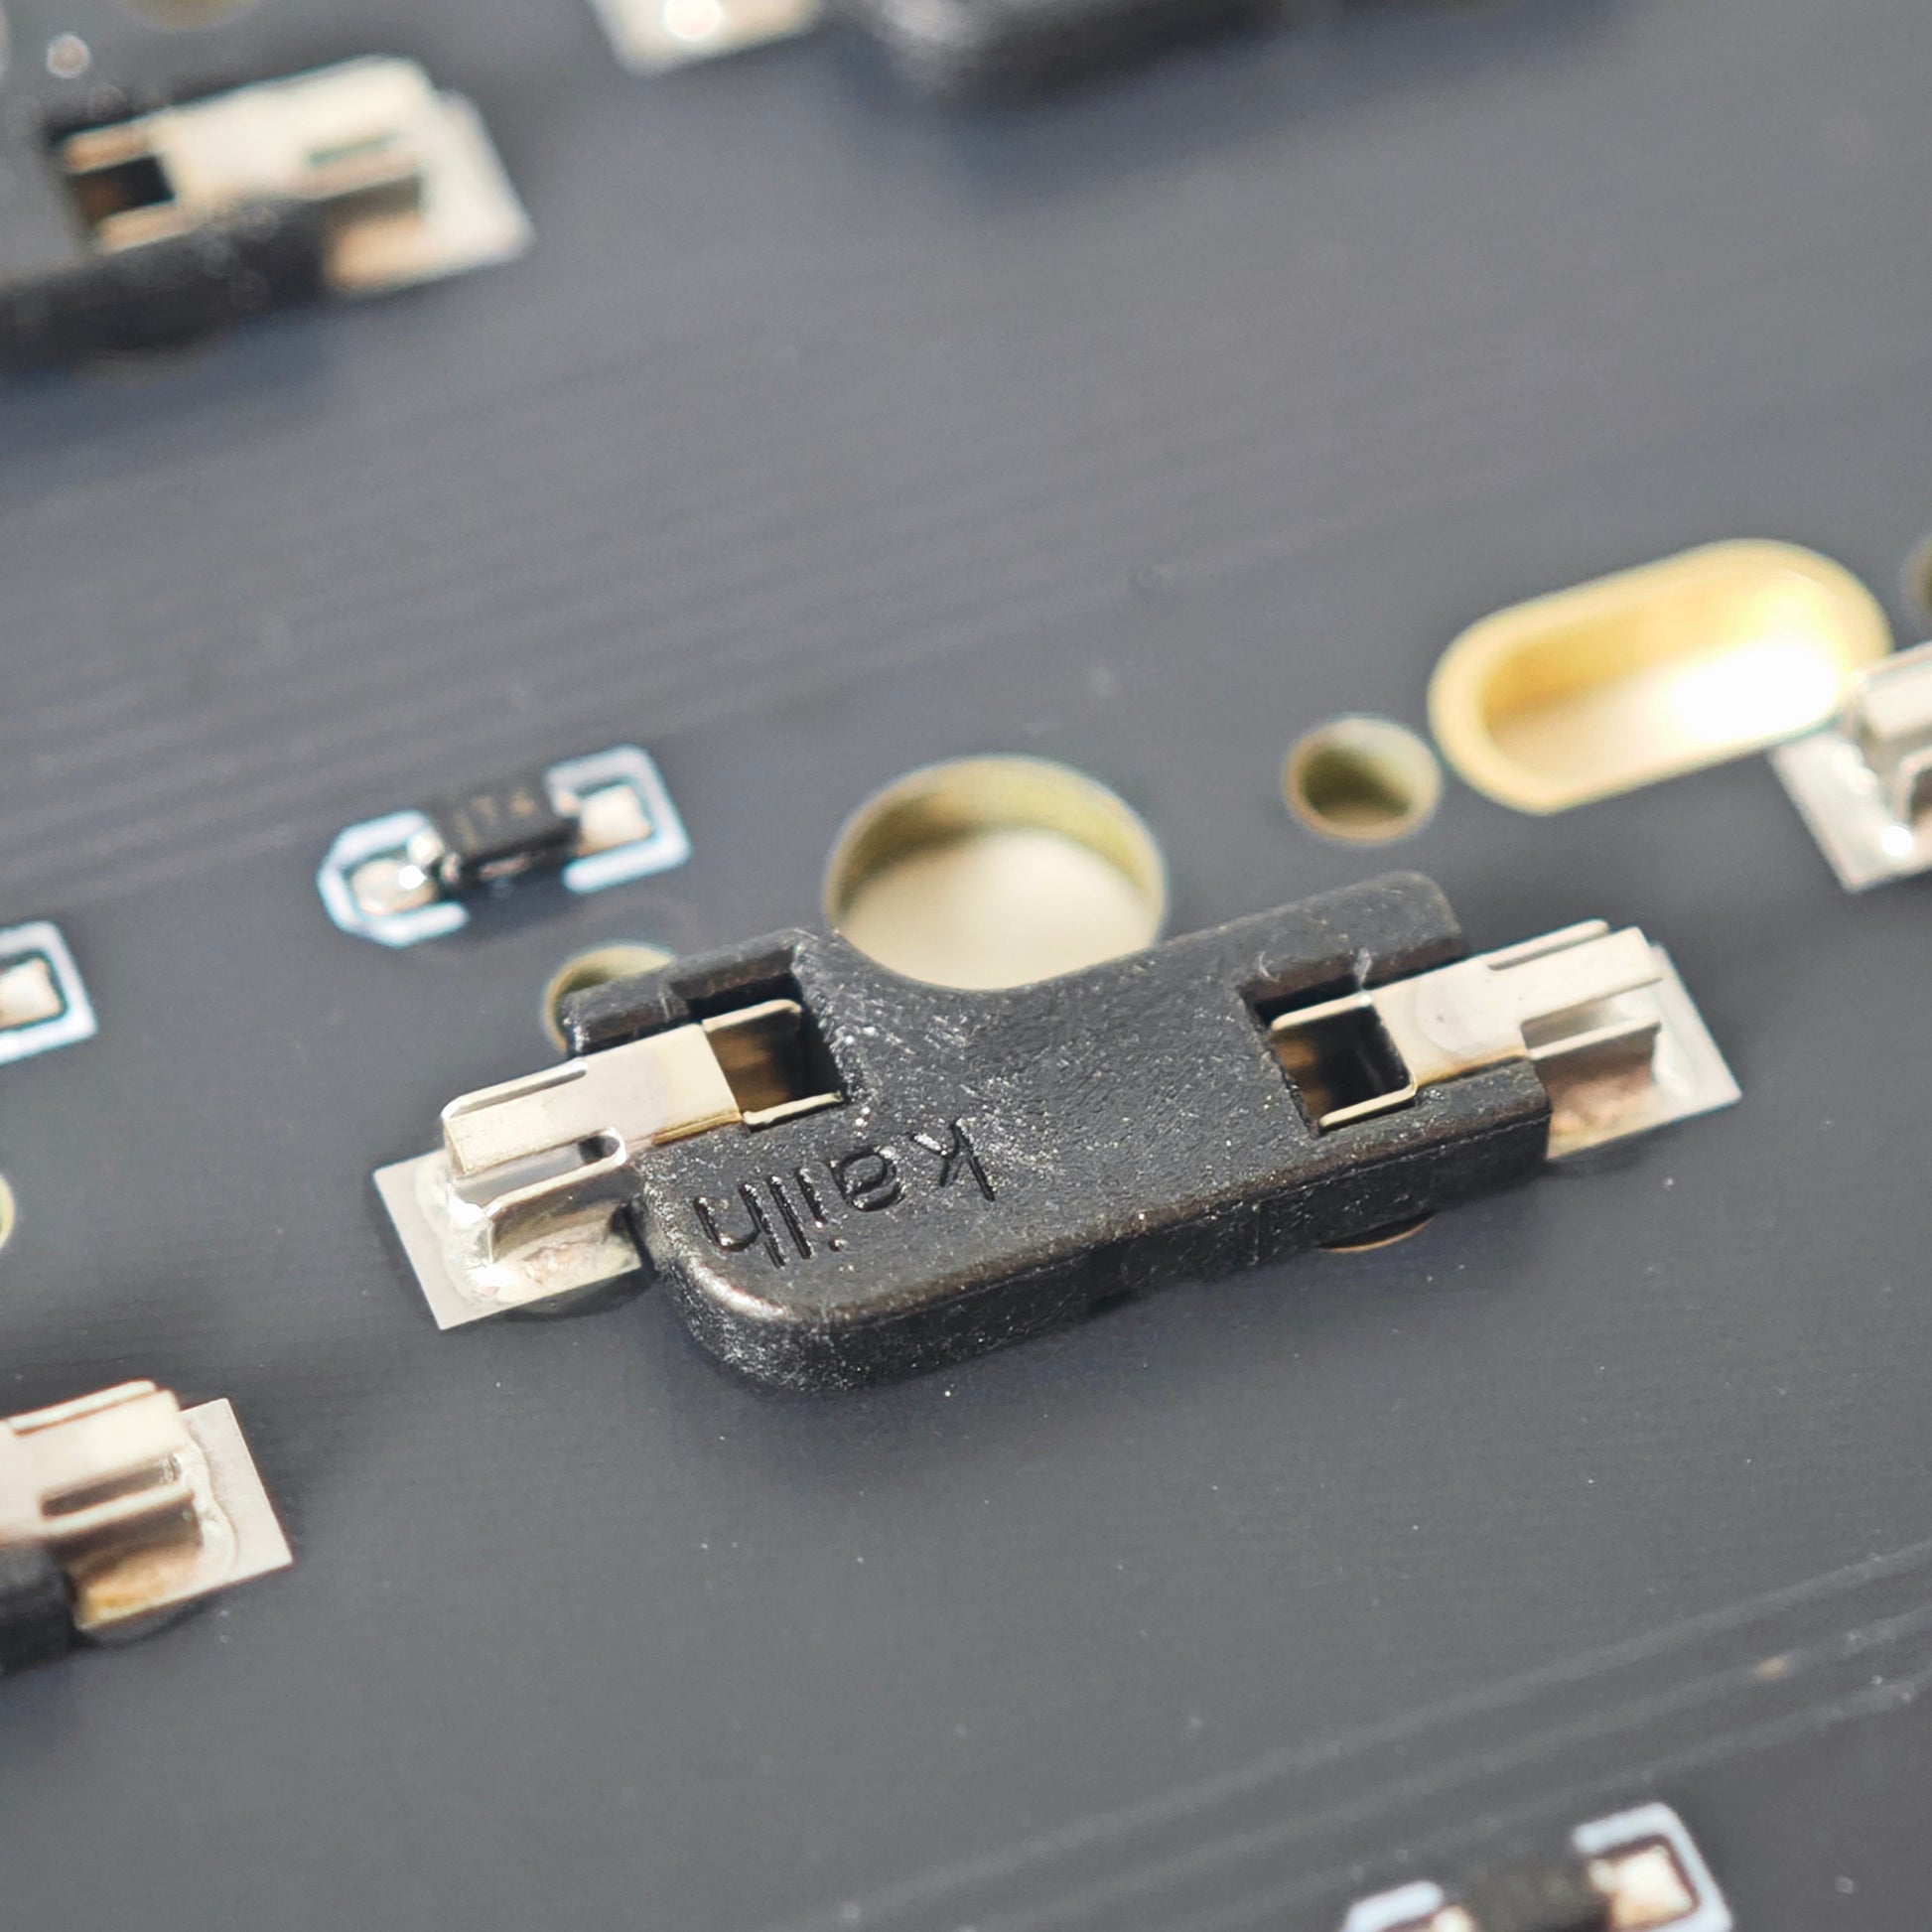
PCB use kailh socket,that supports most mx switches. (Low profile switch is not supported)
Hotswap type-C port PCB,supports many 96 cases.Like our store of wood/melody case.
No switch RGB and bottom RGB
All fit QMK and via.You can check the link for pcb.
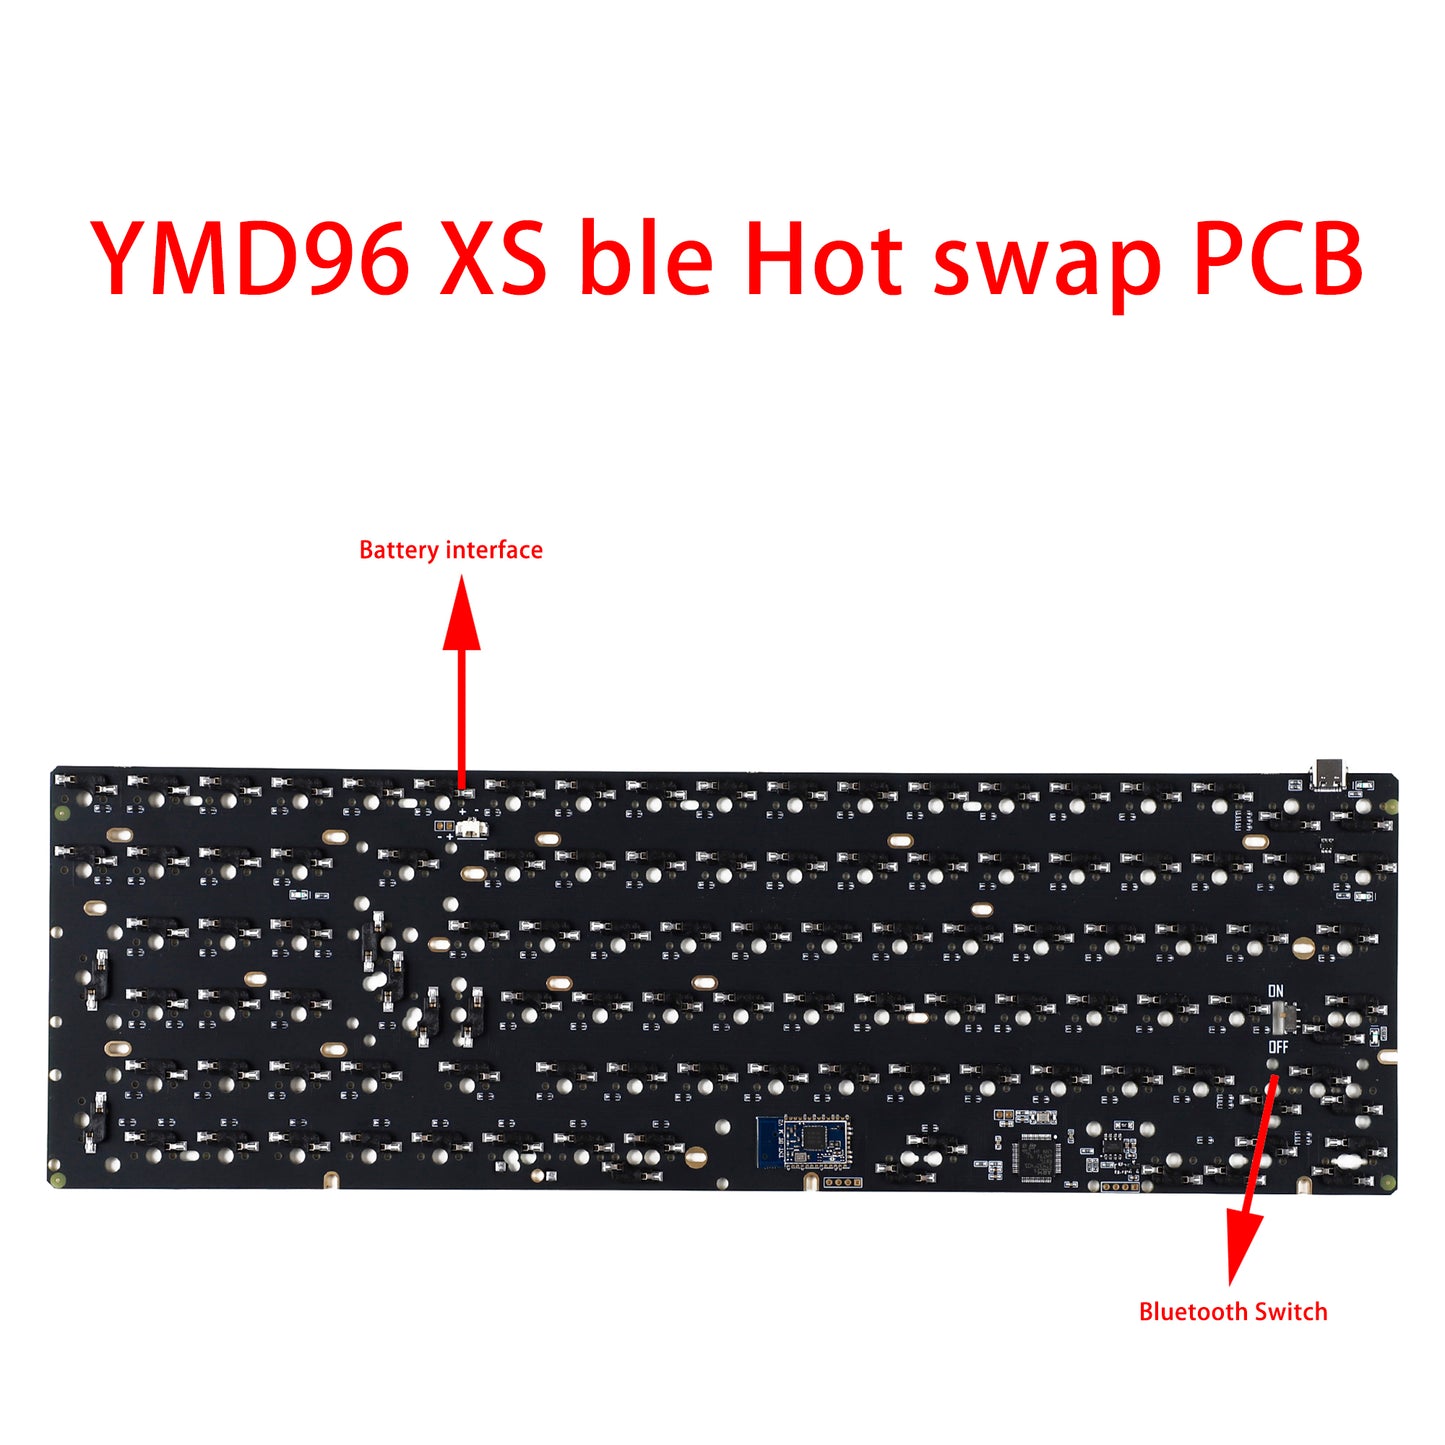
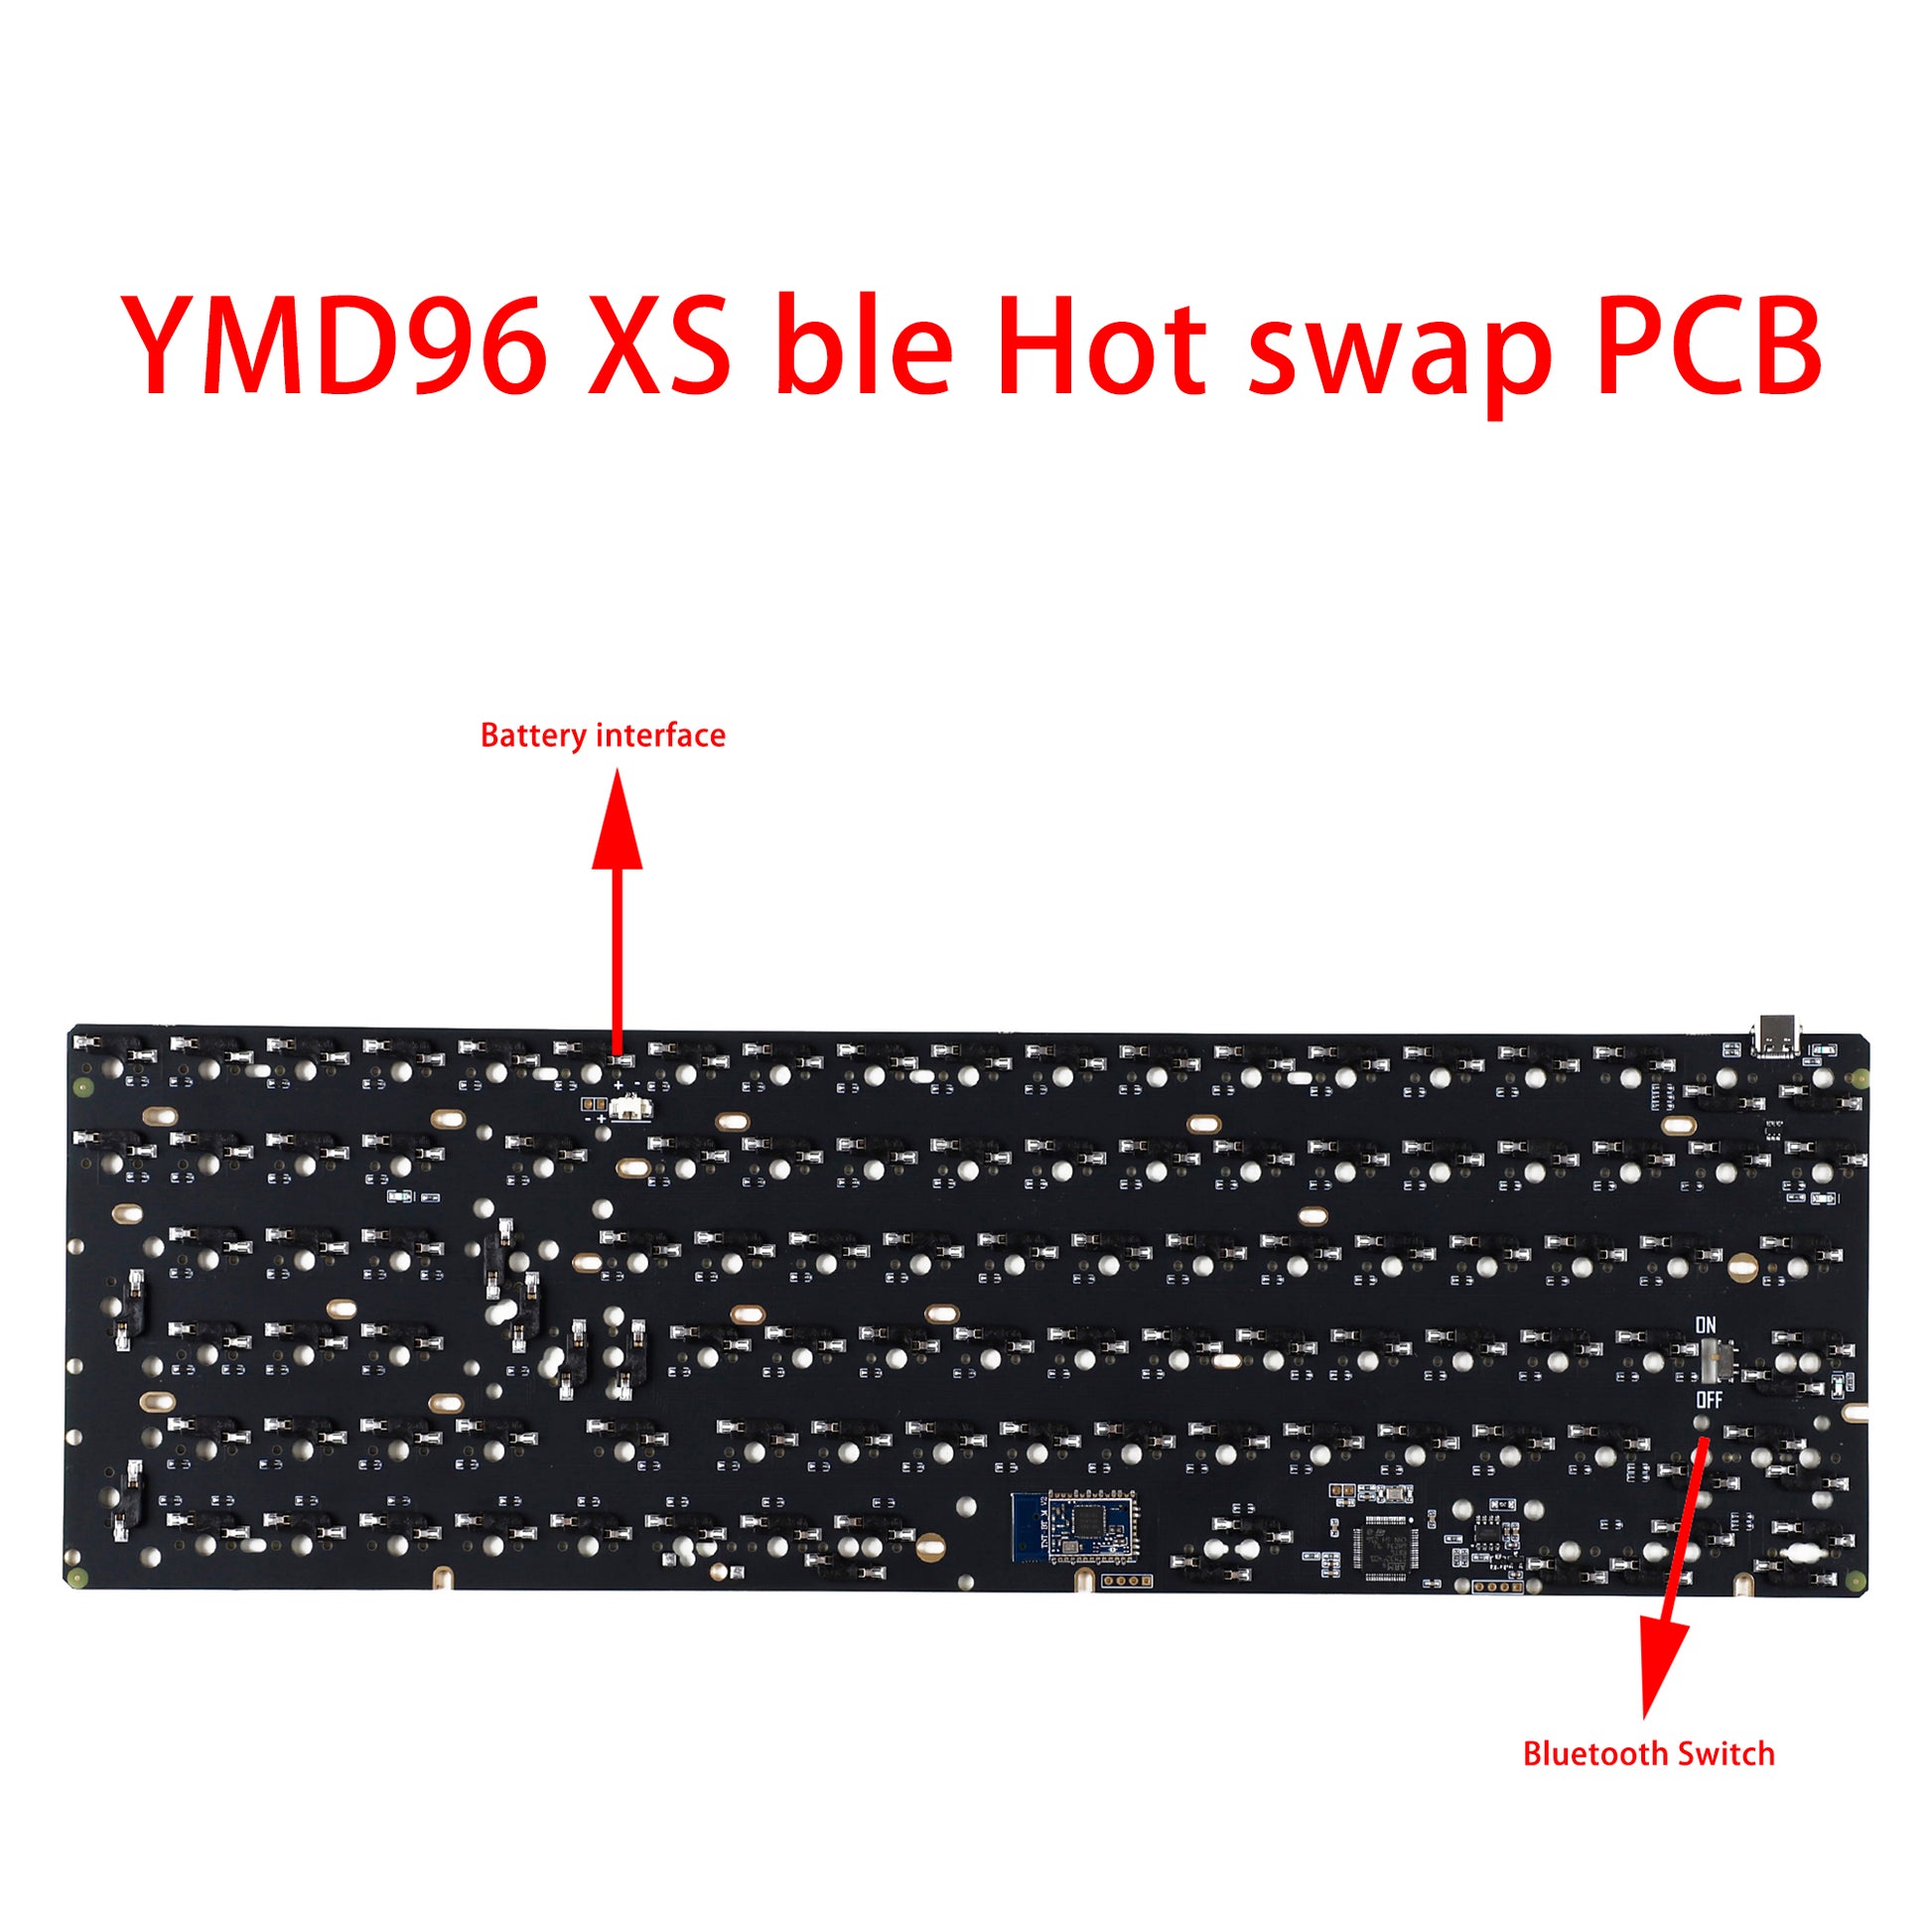
This is our latest YMD96XS Bluetooth version PCB, supports hot swapping and supports multiple layouts.It can use VIA to program it only in wired mode.
As default,when you connect to PC with USB,it goes into wired mode.If you pull the cable off,it will go to bluetooth mode.
The PCB support polymer battery with 1.25 pin Red Black connectors.
If you want special function,can contact our customer service to get for you.As default,the PCB can program with VIA VIAL already.If you want to make your own file,can contact us for help.
Please note due to technical agreement reasons, the source files can only be provided in a single-mode version. The single-mode version of the source files cannot use Bluetooth, and Bluetooth will become invalid. If you cannot accept this, please order with caution.
One of the screw stand on the top is little outstanding and touch one hot socket which makes the PCB little little unflat onto the case,however after mounting screws,it's very stable and don't influence the installation in any case.If you care about this,just not order it.
Hotswap doesn't need soldering for installing.
About some shortcut keys
FN+F1: Delete Bluetooth
FN+F2: Bluetooth Reset
FN+F4: Battery Energy
FN+1: Bluetooth Channel 1
FN+2: Bluetooth Channel 2
FN+3: Bluetooth Channel 3
About Plate
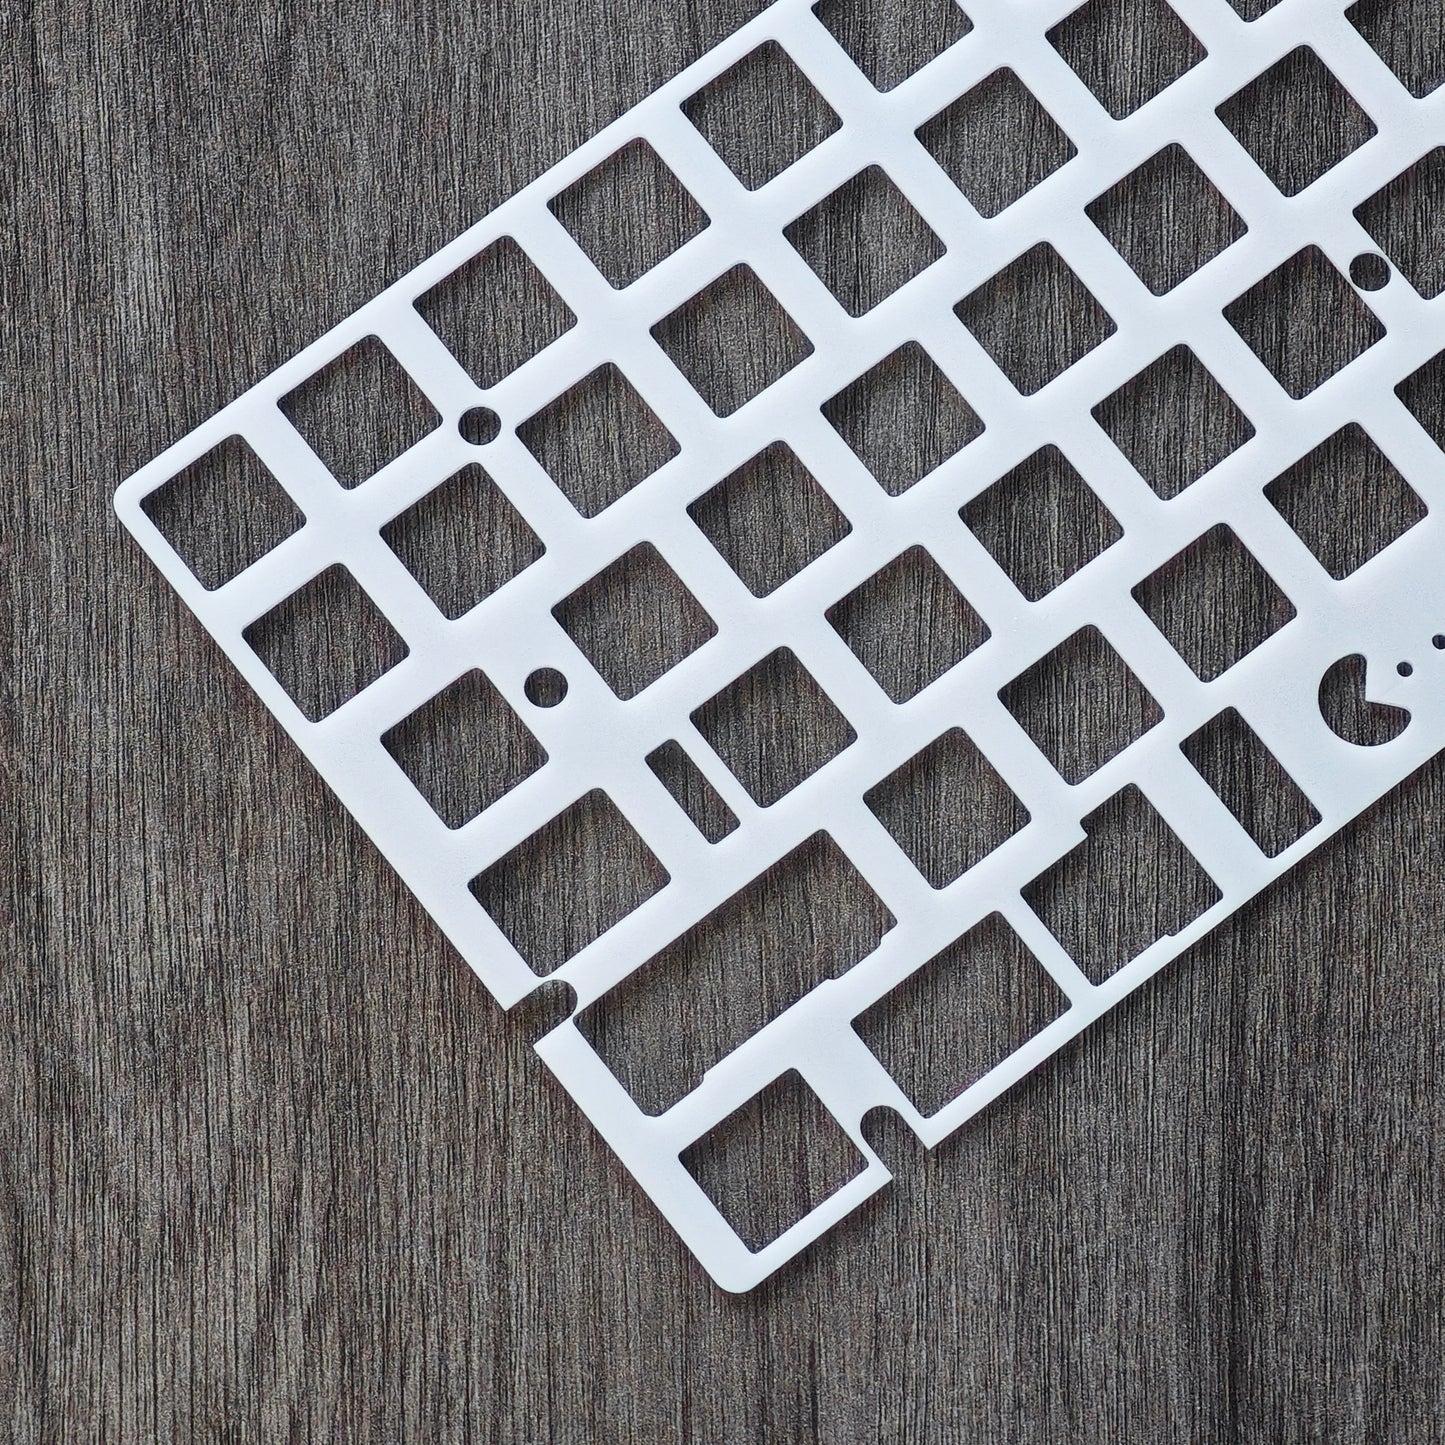
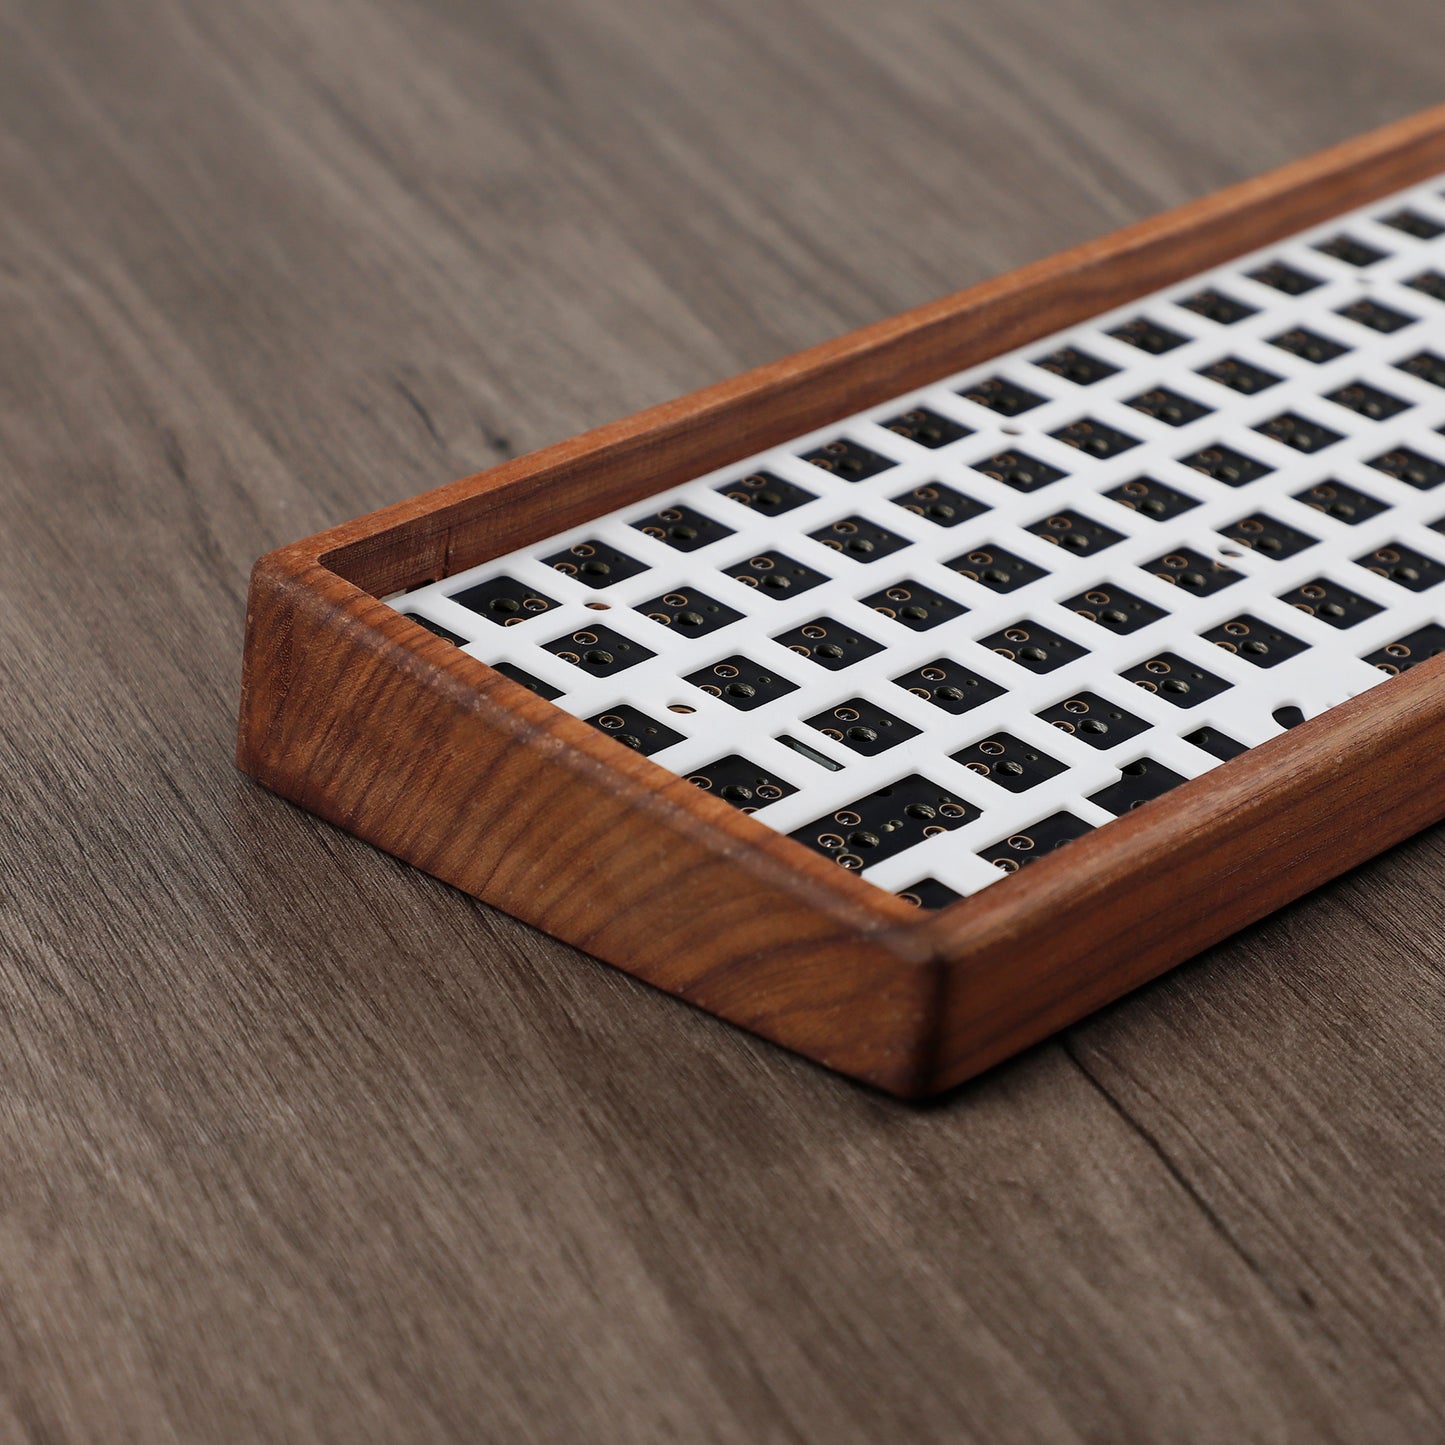
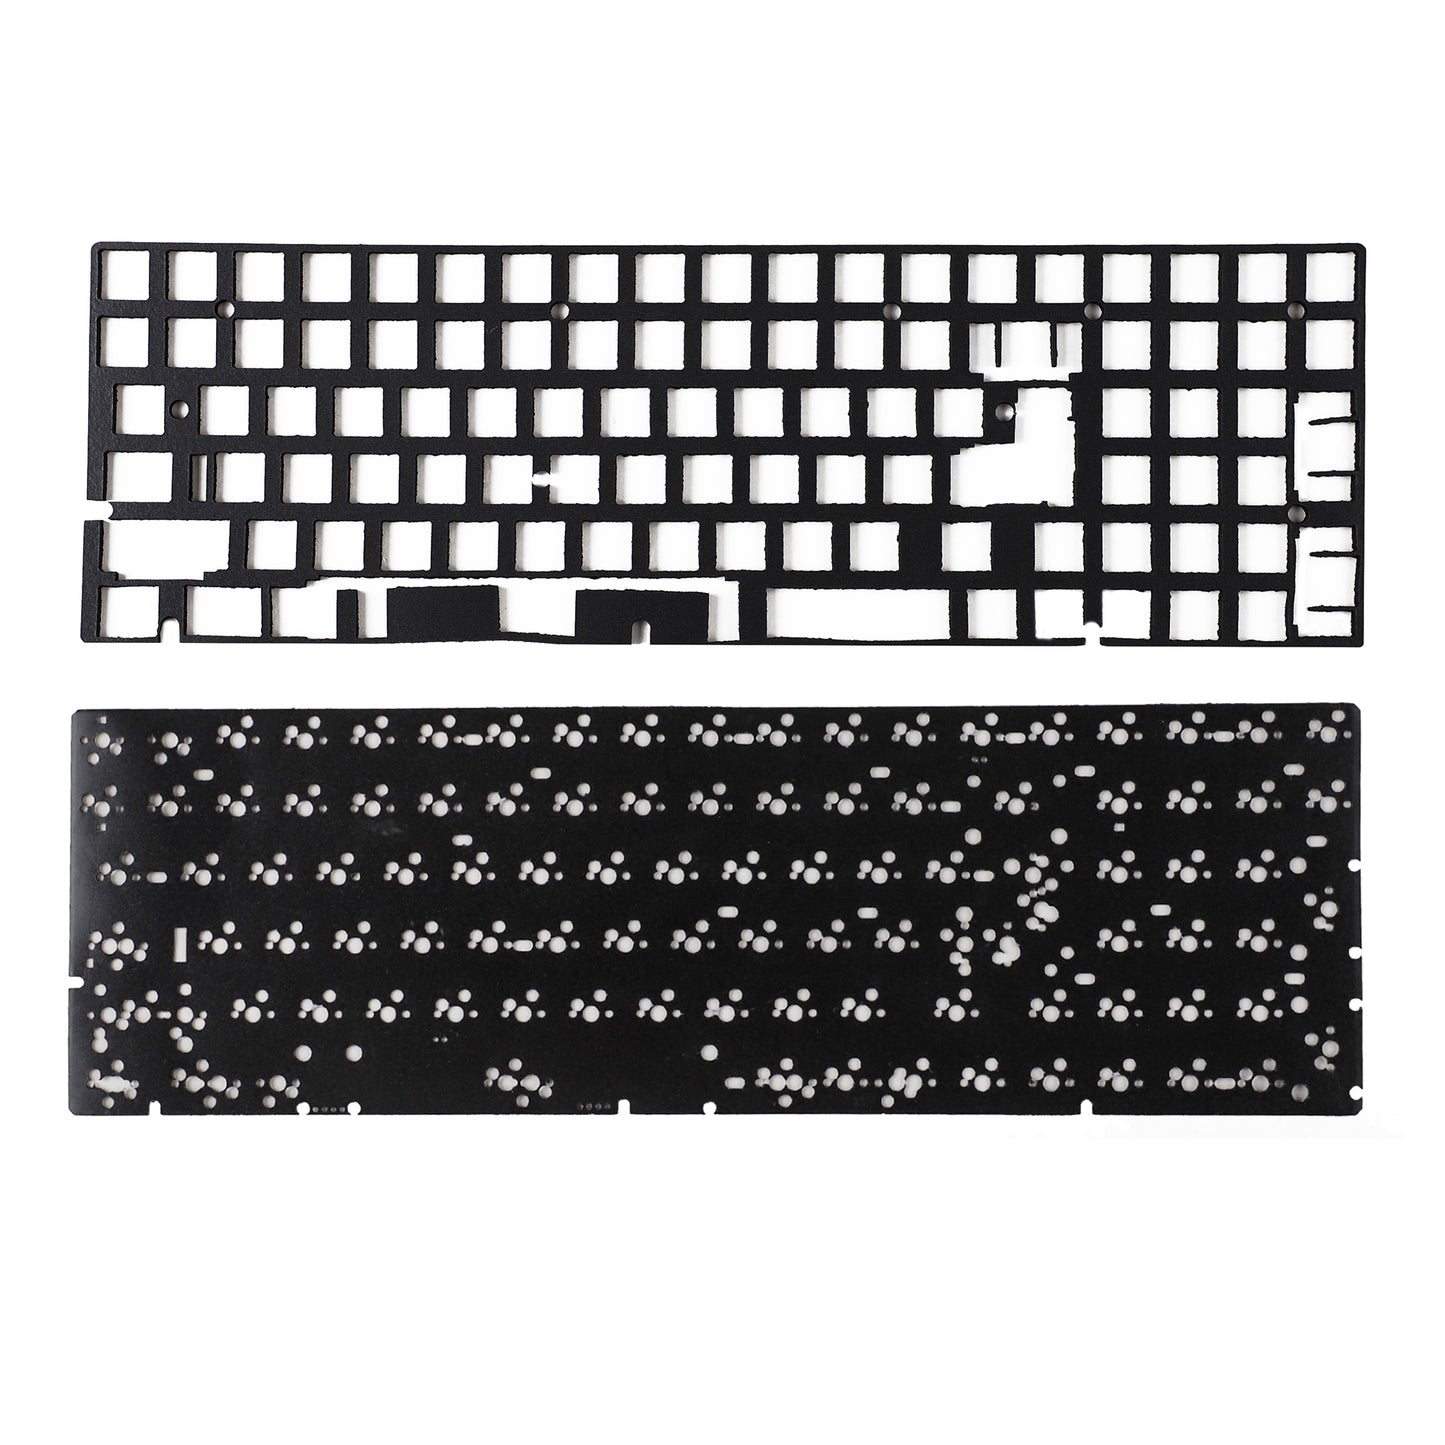
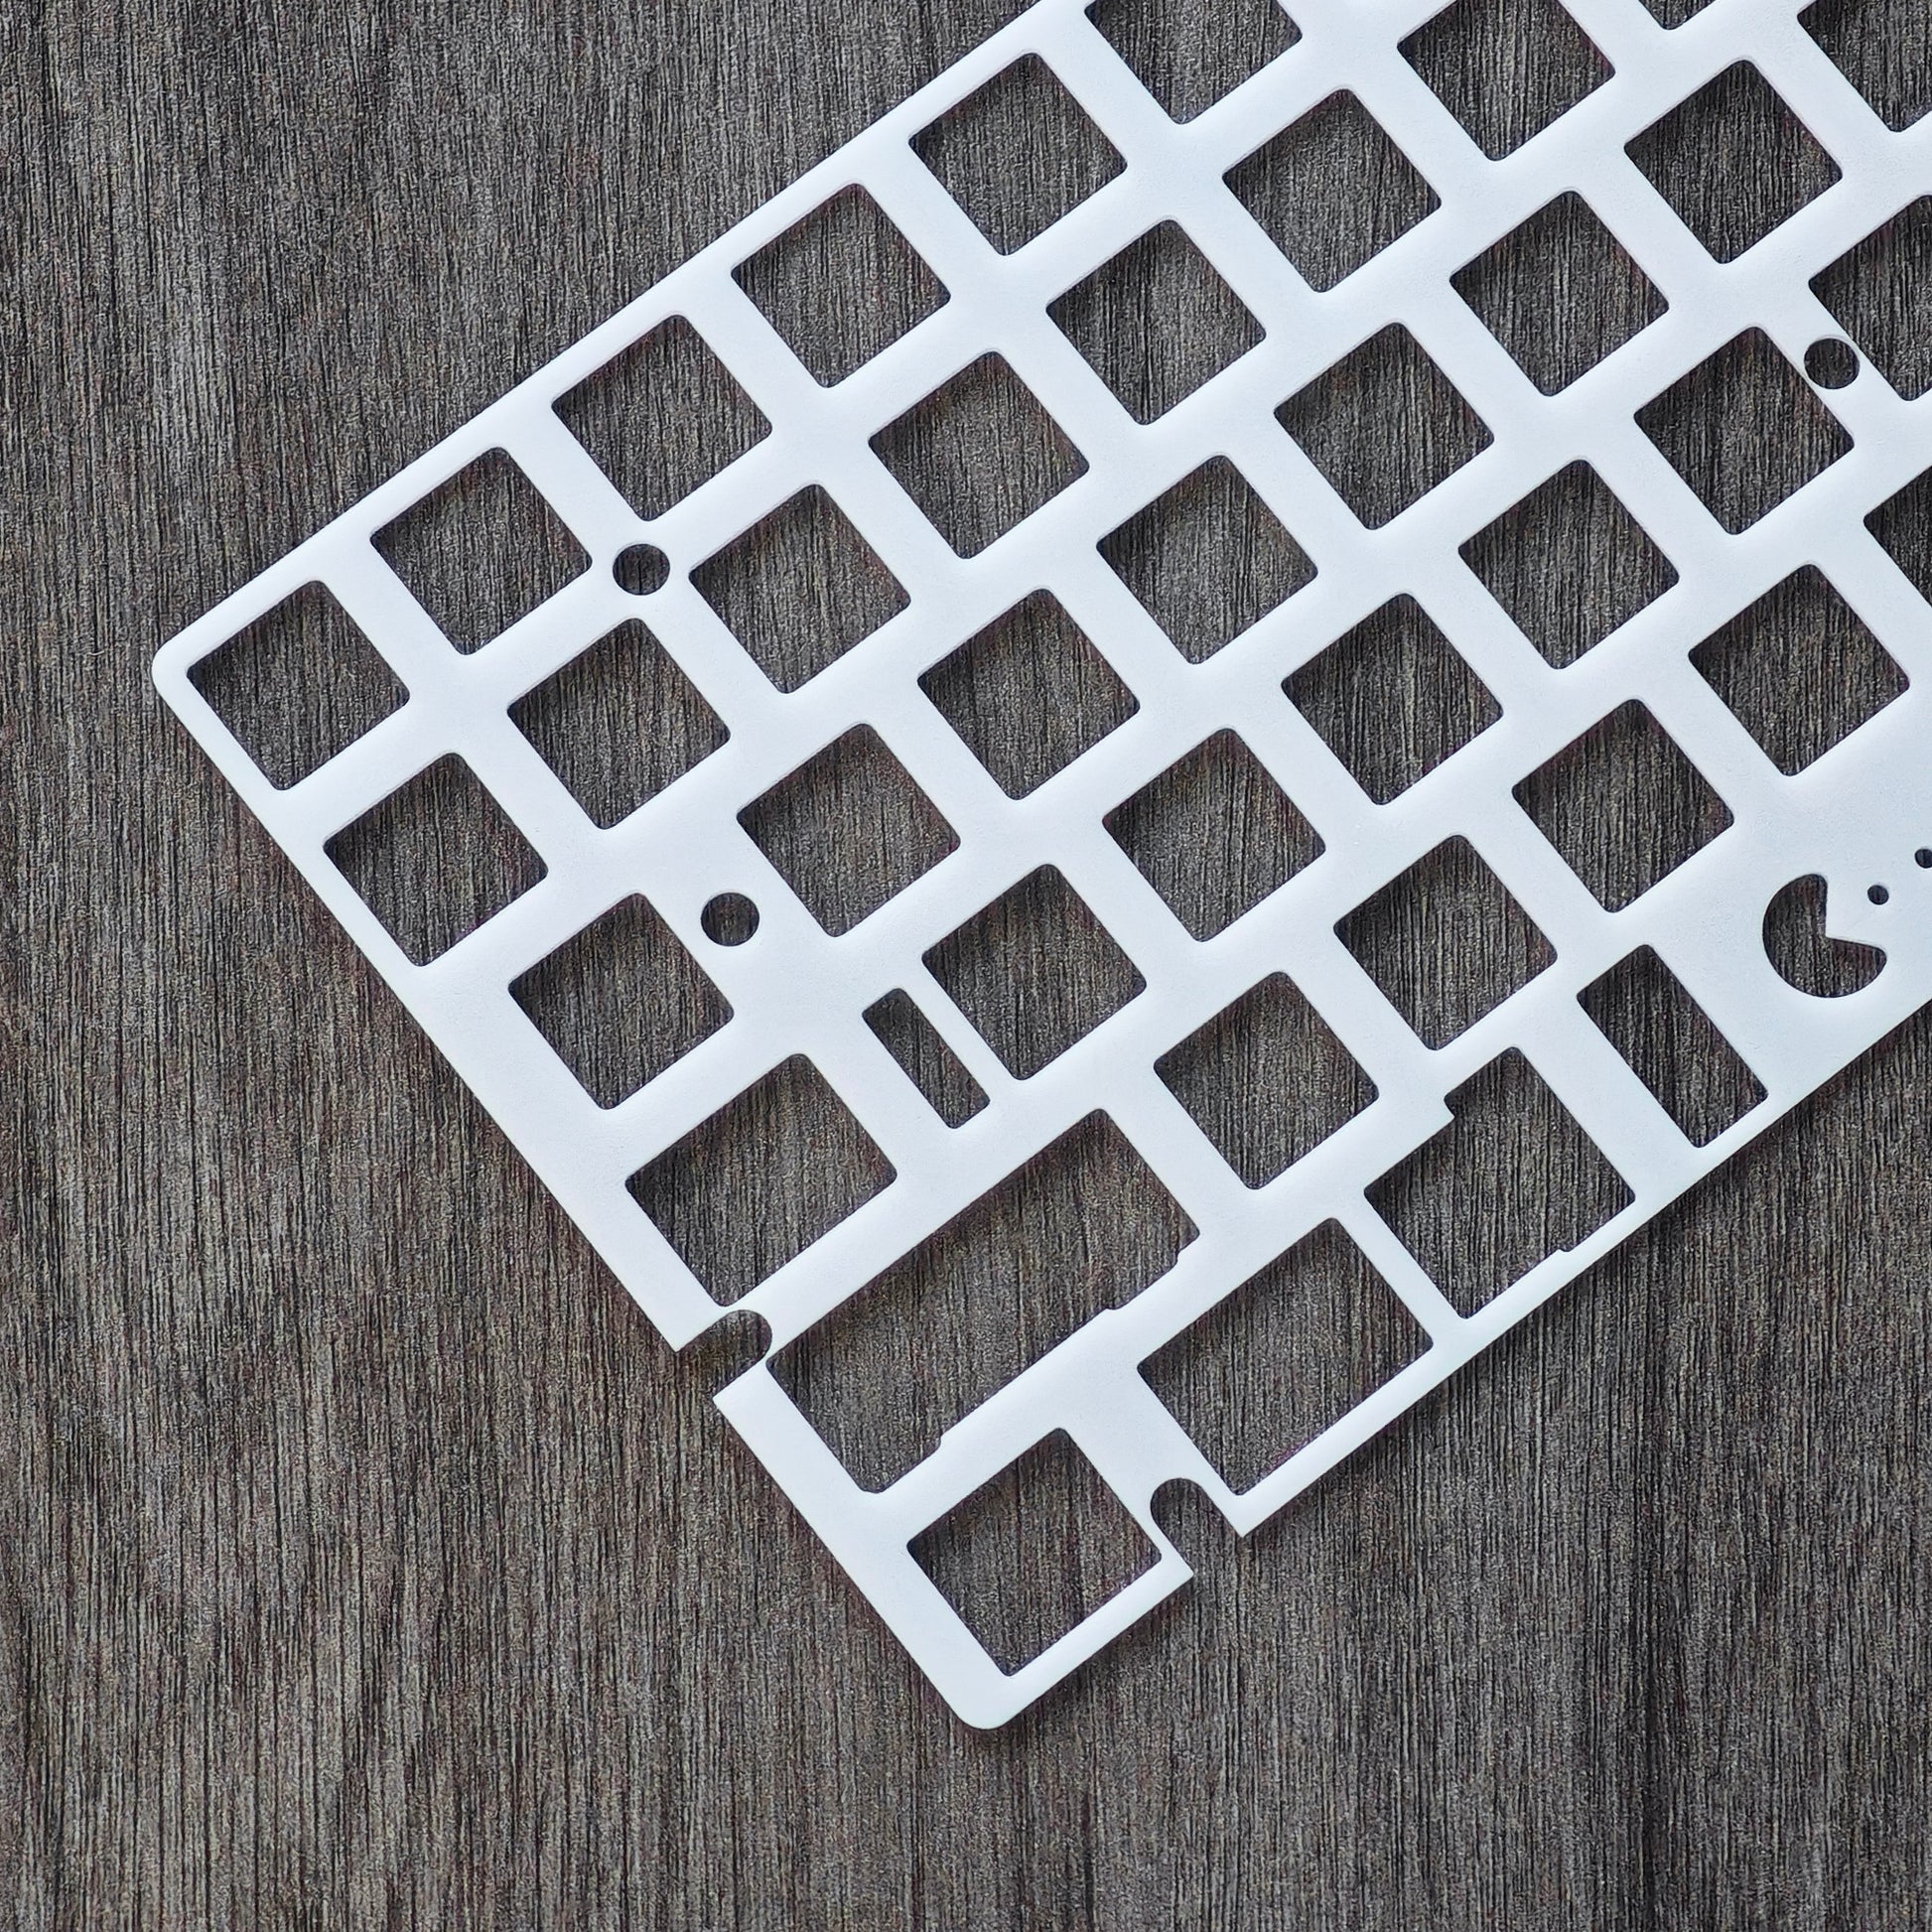
POM plate is soft and the color is white.About Wooden Case
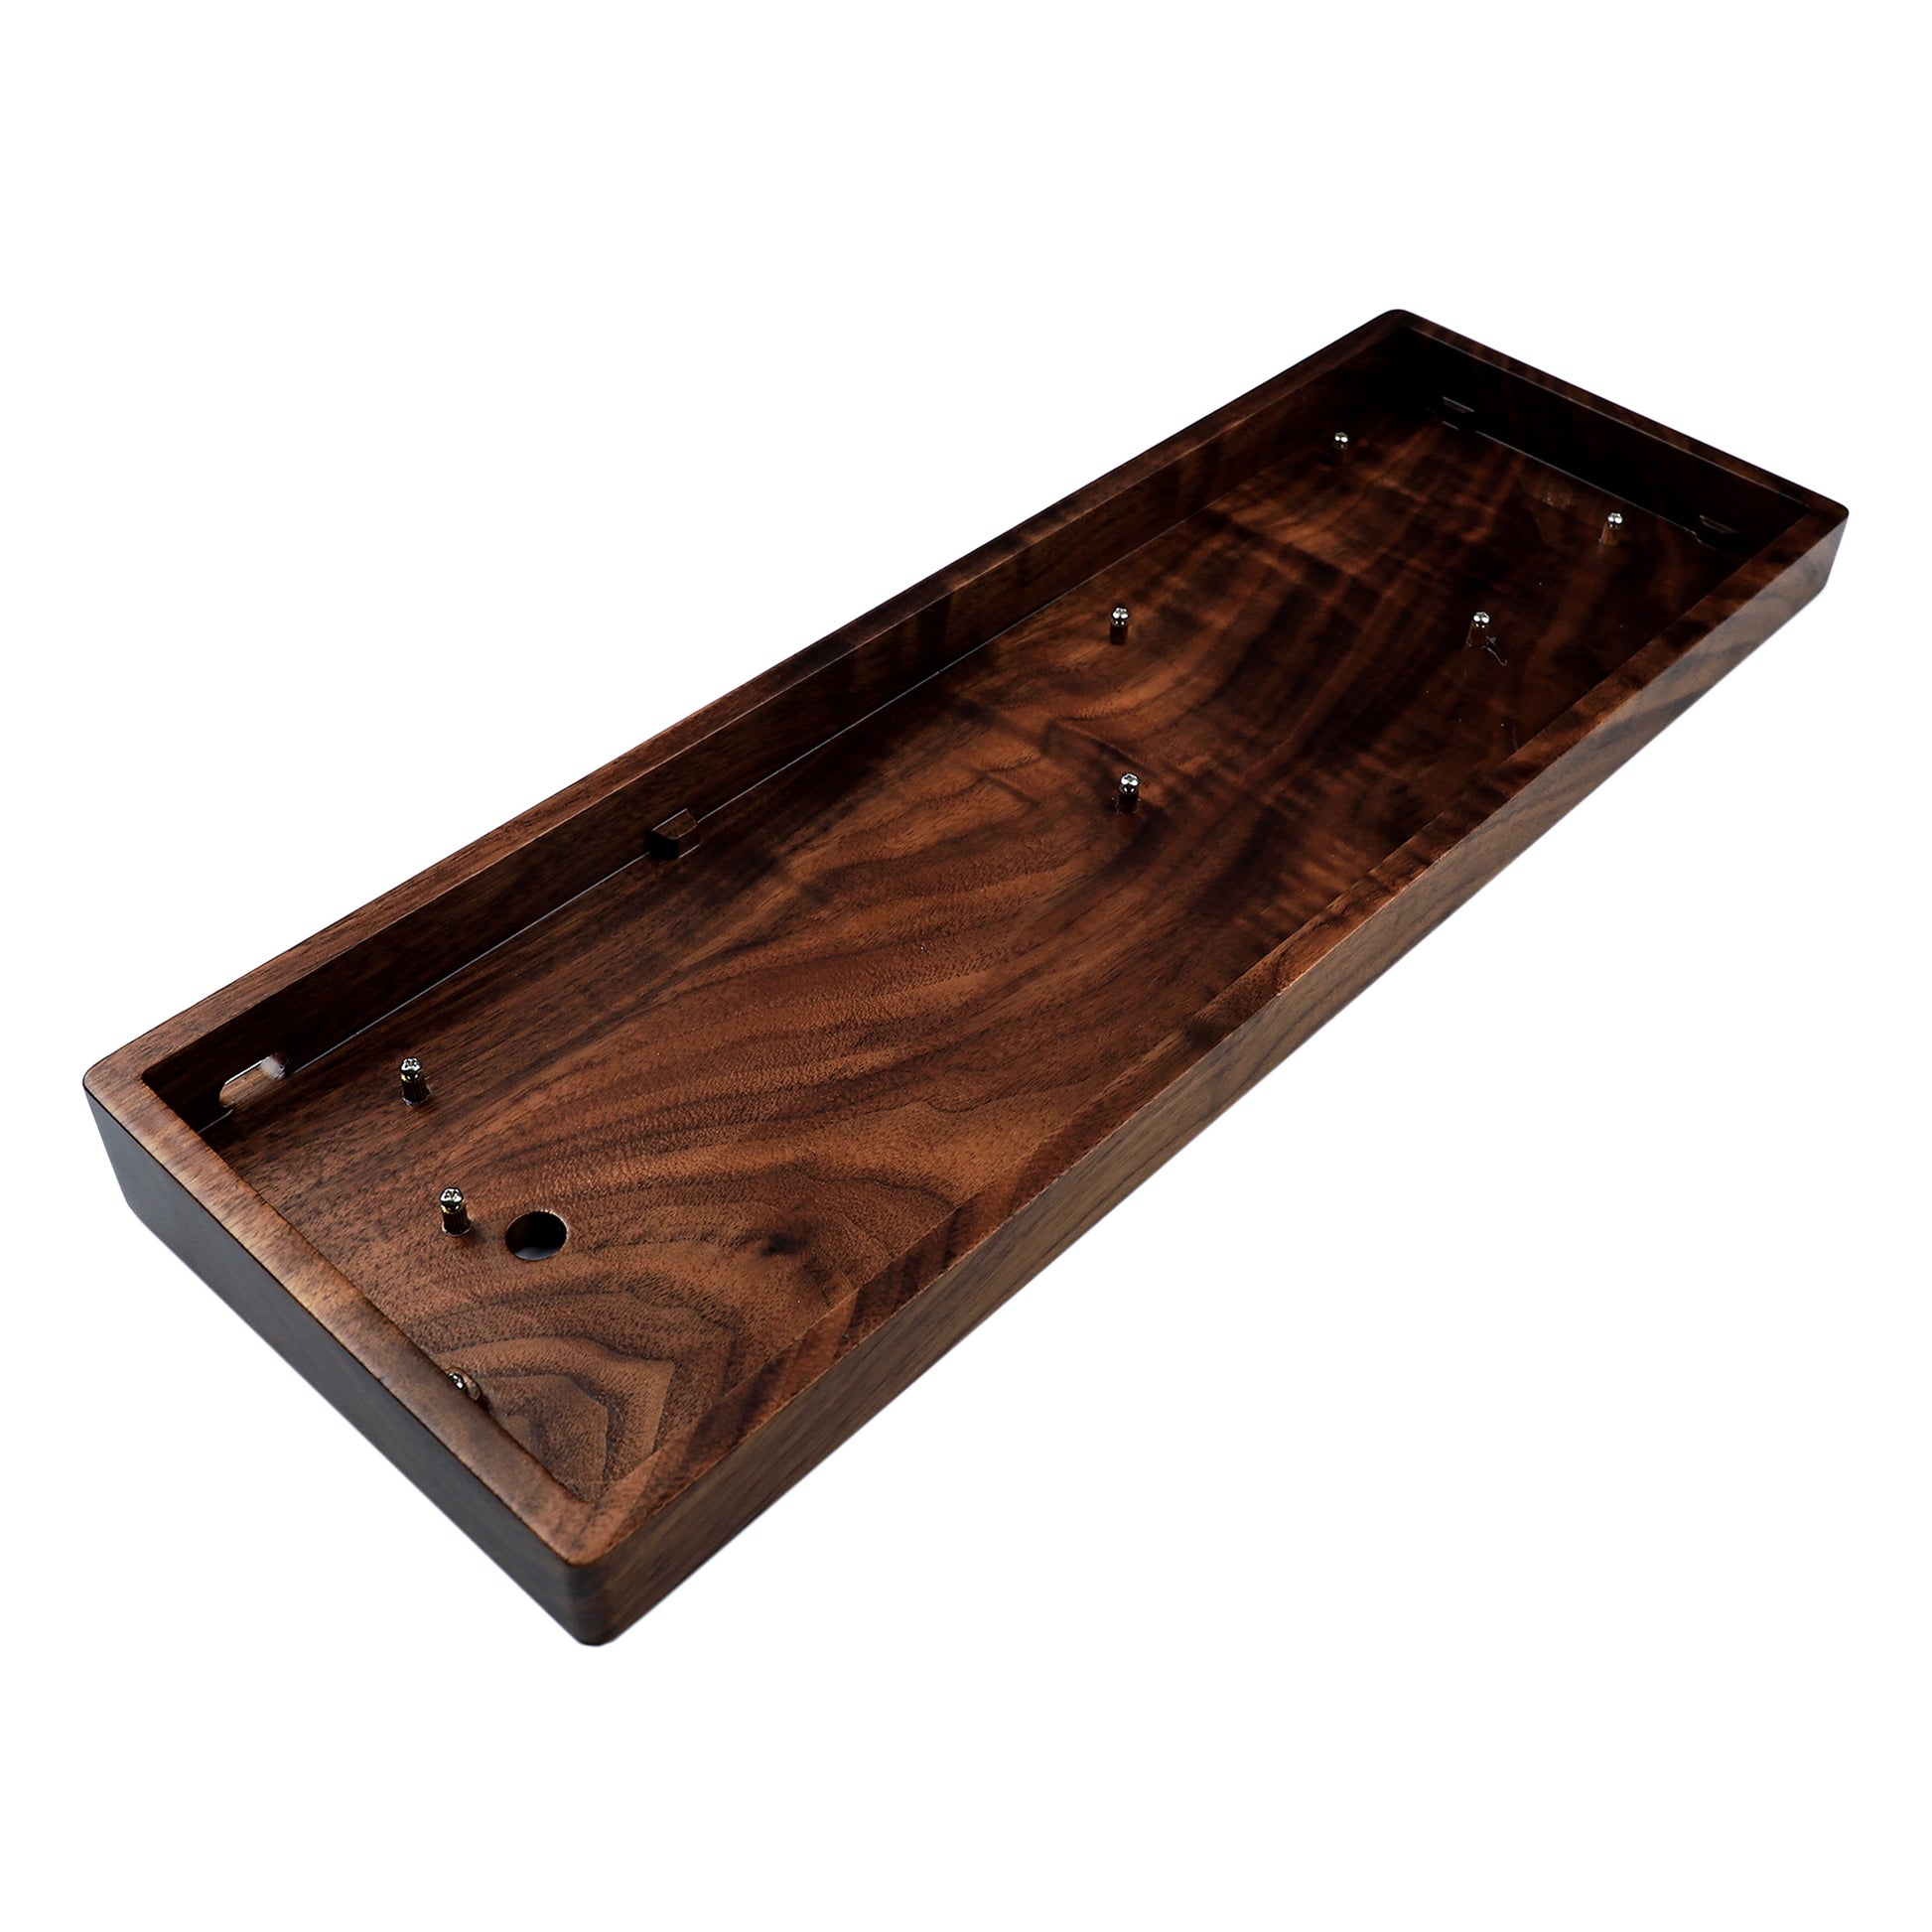
Customized walnut/beech wood case,wood case of the surface pattern is different because of the material.
Wood case of the different lifes will create the different touches and temperature differences,so wood case of feature all is different in using.
Note
One of the screw stand on the top is little outstanding and touch one hot socket which makes the PCB little little unflat onto the case,however after mounting screws,it's very stable and don't influence the installation in any case.If you care about this,just not order it.
If you need add leds yourself,please note that it only supports one color now for backlit.And some keys of places are different in leds of direction for hotswap pcb,like right 1u alt ctrl,left 2.25u shift etc keys.
Soldering PCB supports many layouts,but you need prepare a soldering iron to install switches.
Hotswap doesn't need soldering for installing.
Installation precautions, please be sure to check carefully before installation:
1. If you encounter a switch that cannot be installed, please do not insert the switch forcefully. Inserting the switch forcefully will cause the brass connection of the socket to fall off, resulting in irreparable consequences. You can check whether it is caused by reverse insertion or misalignment
2. Before installation, please check whether each socket is intact. If there is no response, please contact us immediately, provide a photo of the back and circle the problematic button, and we will help you solve the problem
3. The installation method is roughly the same. Please use the switch to fix the PCB and Plate first. It is best to fix the switches around first, and then use screws to fix the PCB. You can refer to YMD84 Wooden Kit installation video ()
4. The screws cannot be tightened too much. If a whole row is triggered, the screws are too tight. Please try to loosen your screws
5. We have now flashed the default file for each PCB. You can directly open the Via web version
Web version link (https://usevia.app/test). If you can't connect, please try to upload the Json file on DESIGN. If you still can't connect, please try to use the Vial web link (https://vial.rocks/)
Layout Supported
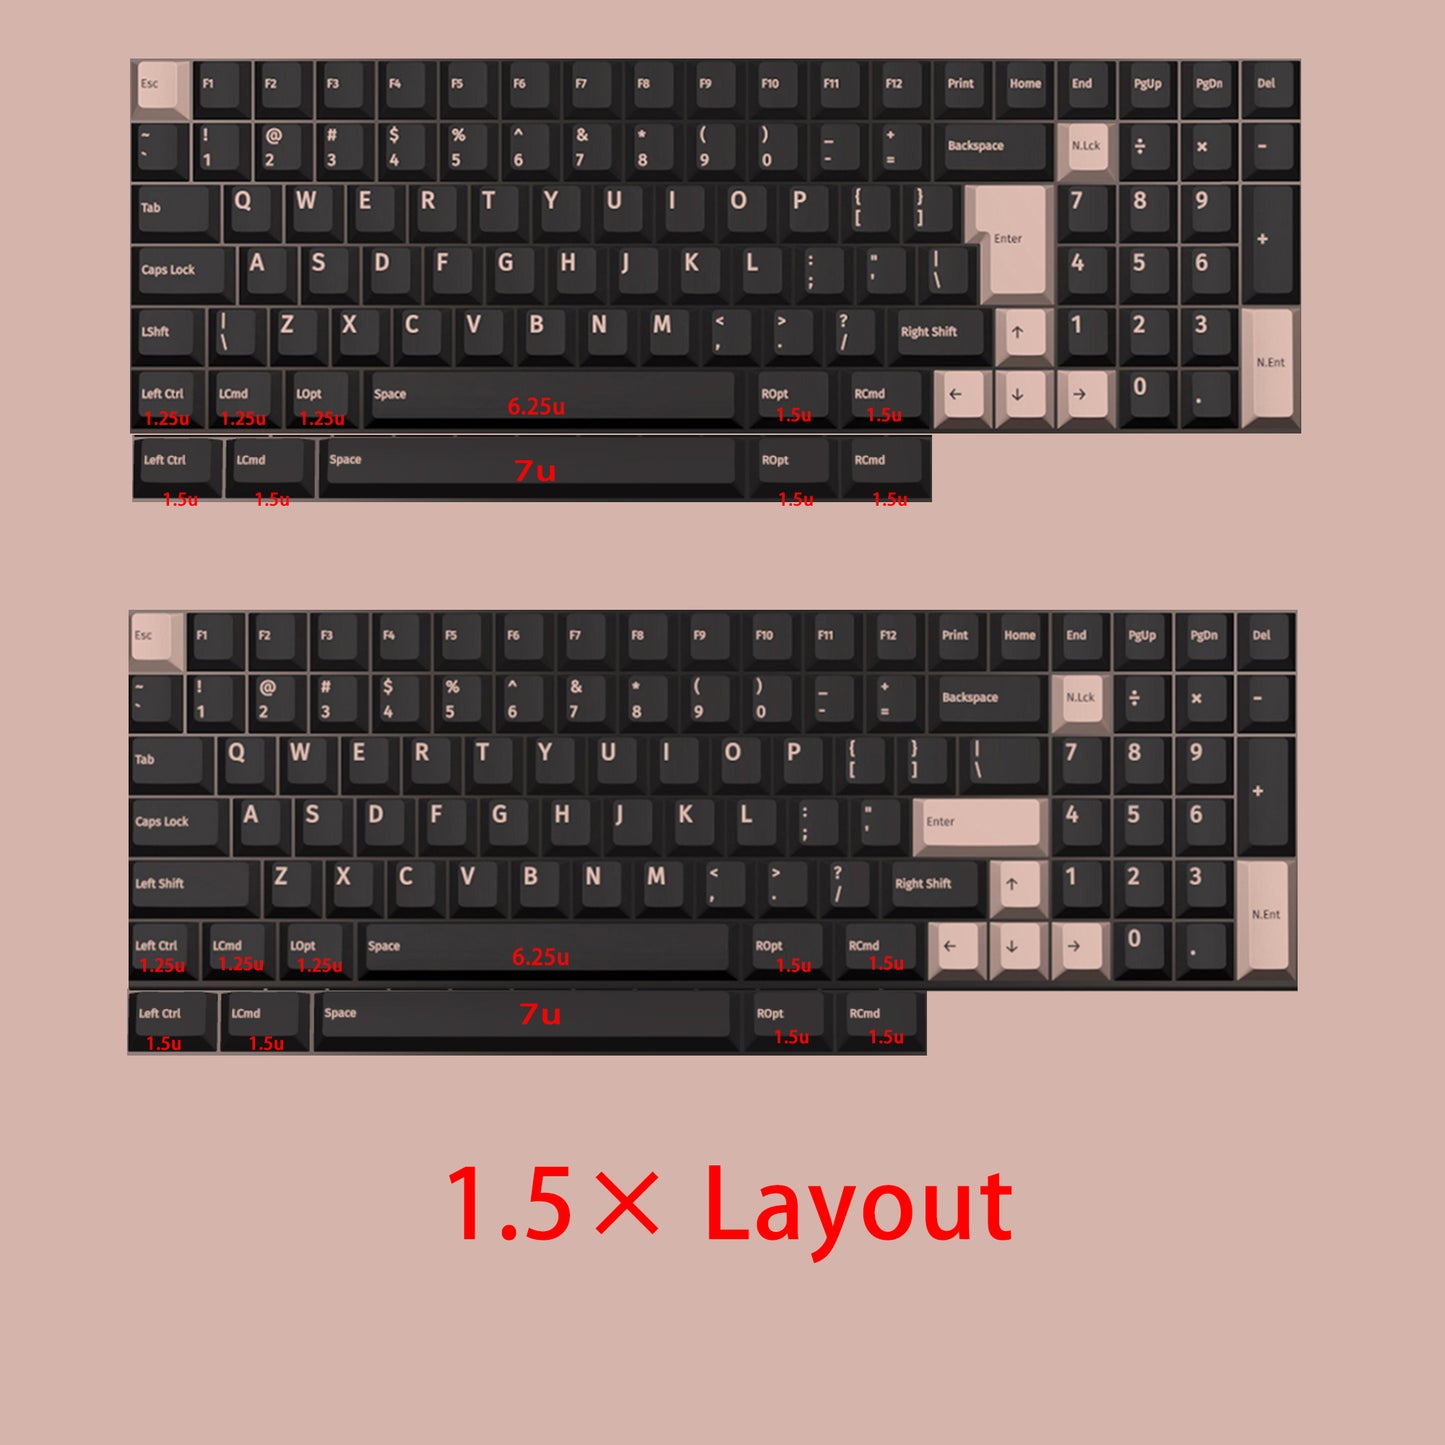
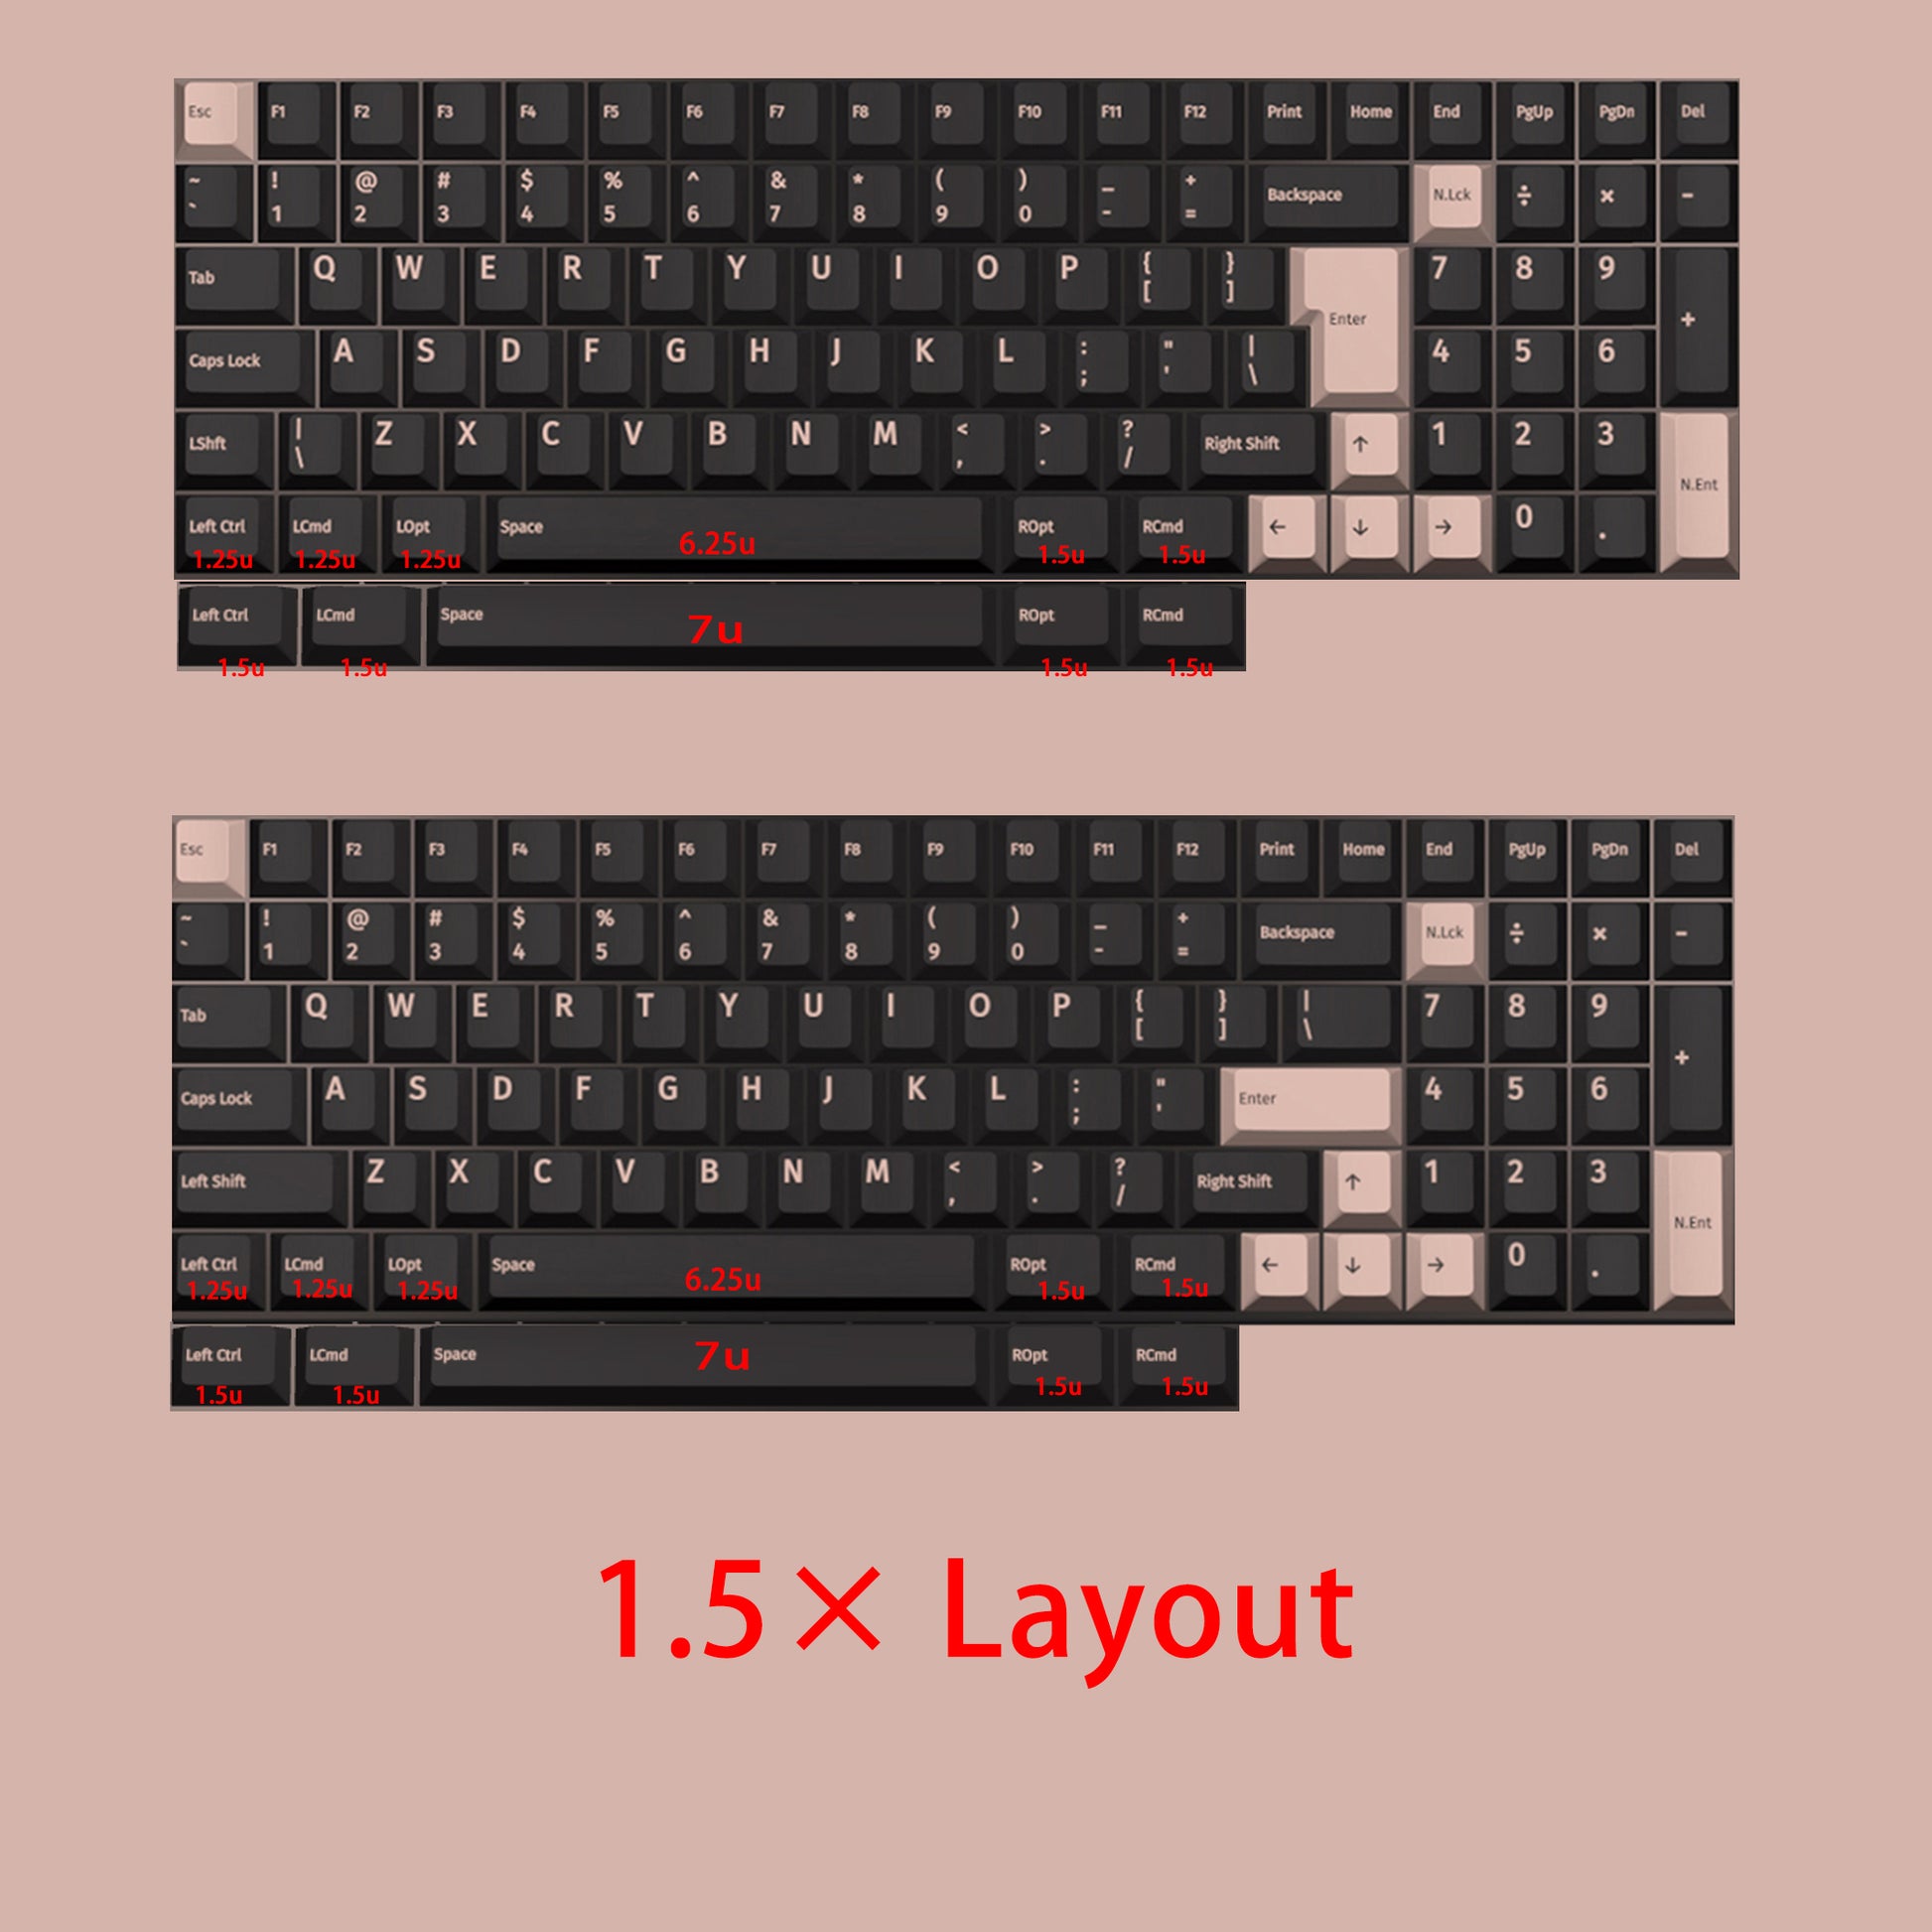
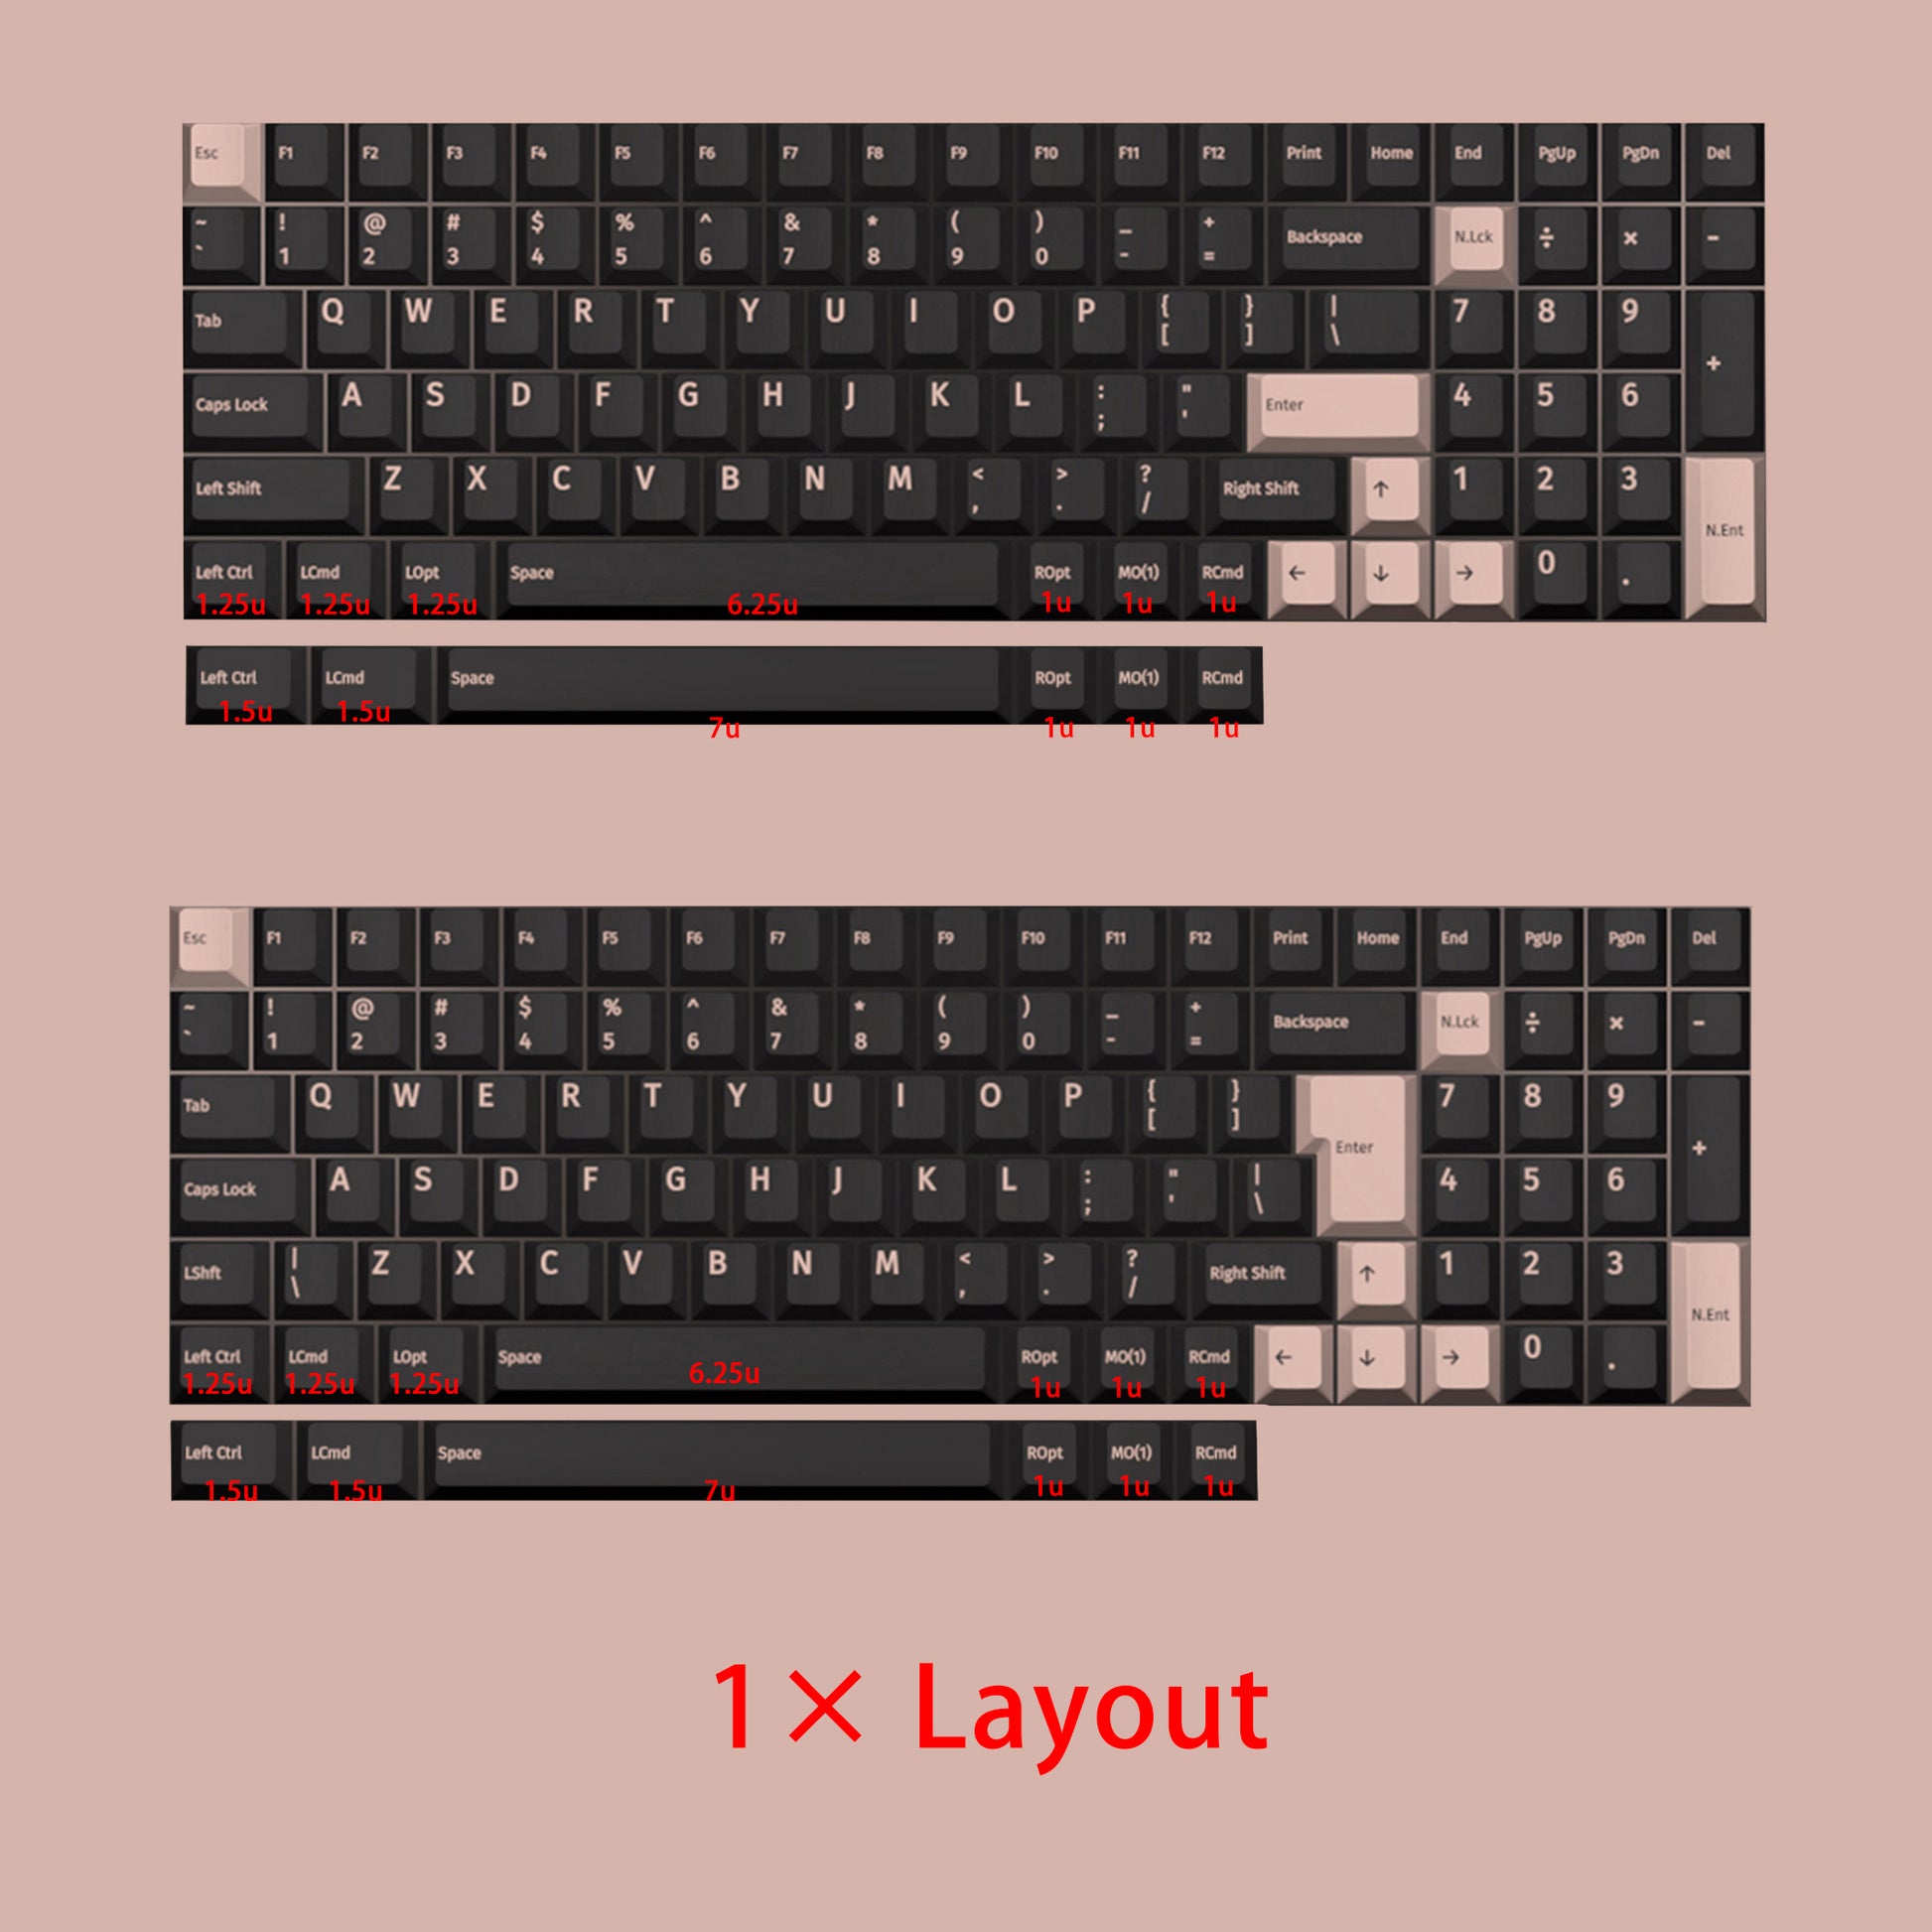
Layout 1.5X
1.5x layout support Rctrl RAlt is 1.5x,it can support both ANSI ISO layout with 7u and 6.25u Space.

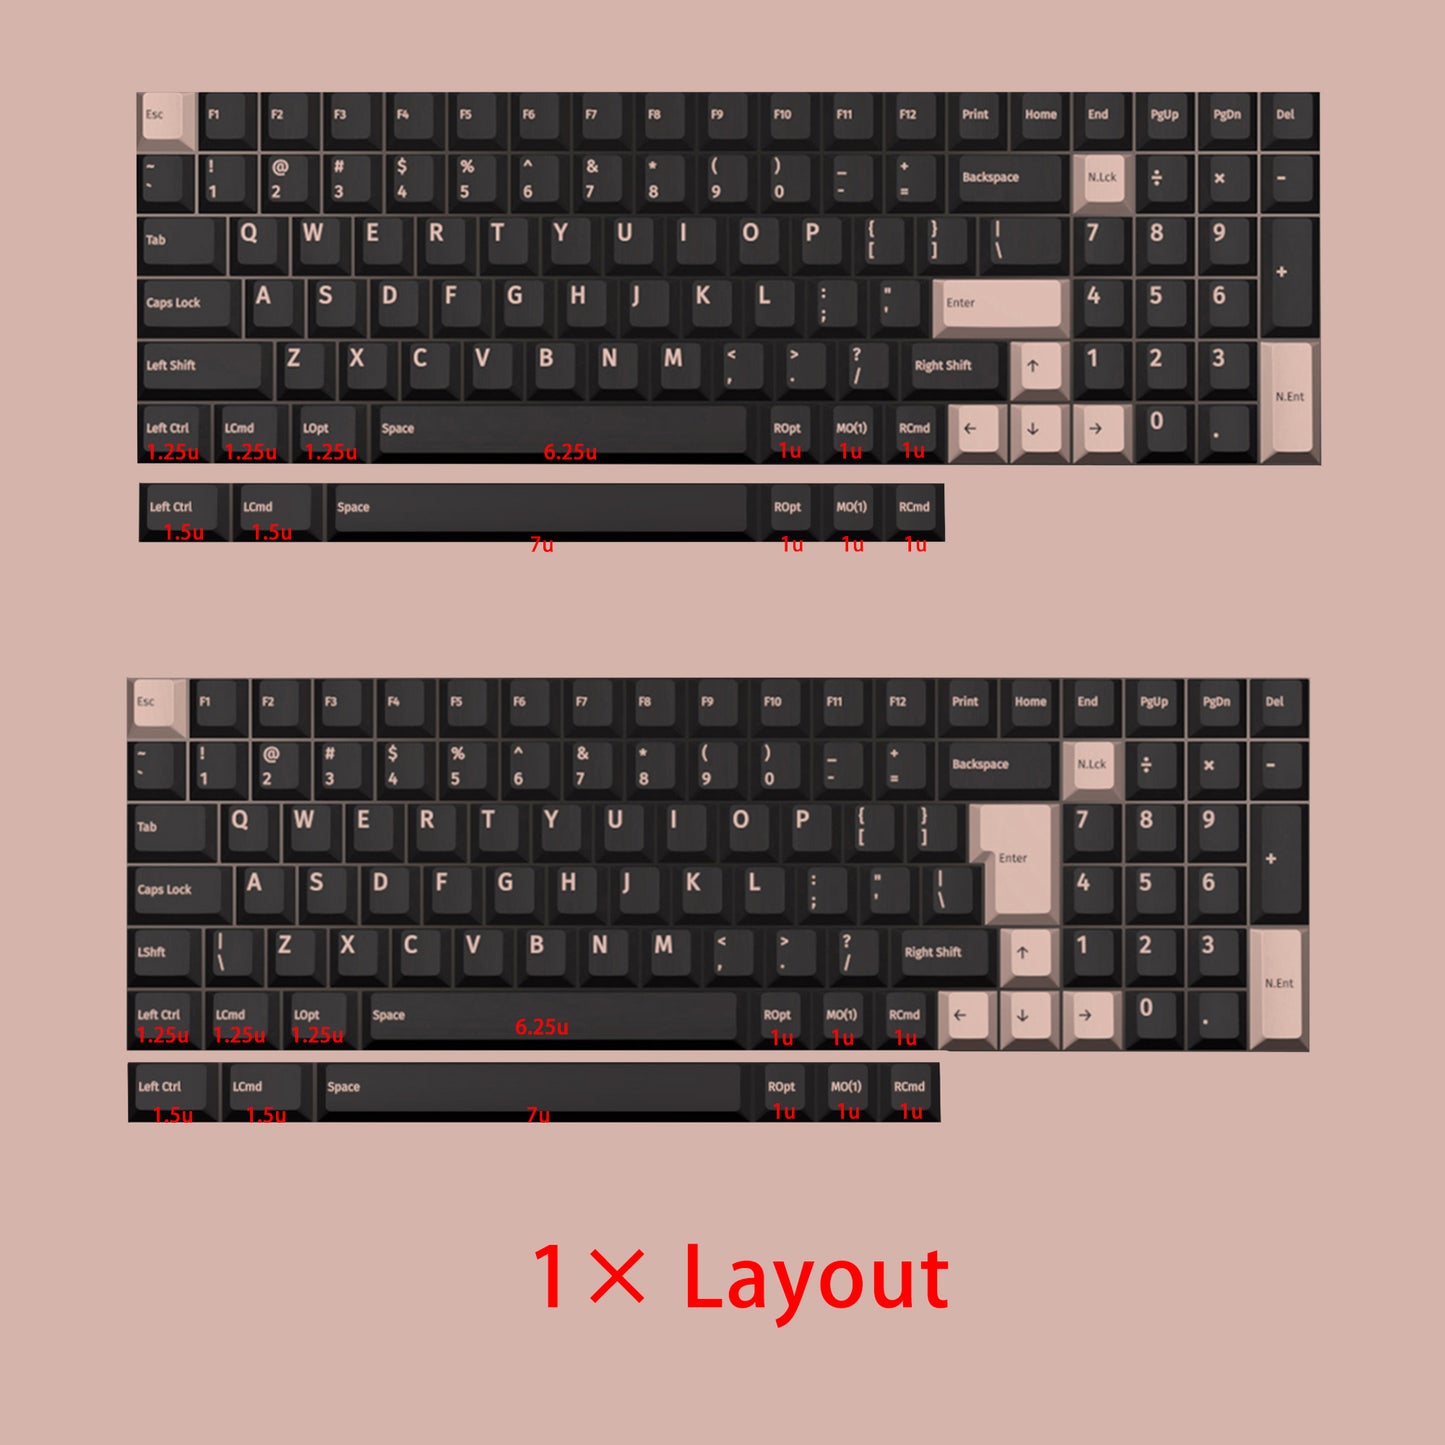
Layout 1X
1x layout support Rctrl RAlt is 1x,it can support both ANSI ISO layout with 7u and 6.25u Space.

VIA Manuals
https://drive.google.com/file/d/1c5bE52PT-17gg2hcPz8EWJsmxkqMhwj1/view?usp=sharing
Images Display
Add Keycaps installe


Foam
