


YMDK
YMDK NYM96 Pro Fully Programmable Hotswap RGB PCB Walnut Beech Case Wood Support ANSI DIY Kit(RGB South Facing Kit)
YMDK NYM96 Pro Fully Programmable Hotswap RGB PCB Walnut Beech Case Wood Support ANSI DIY Kit(RGB South Facing Kit)
Couldn't load pickup availability
Package Included
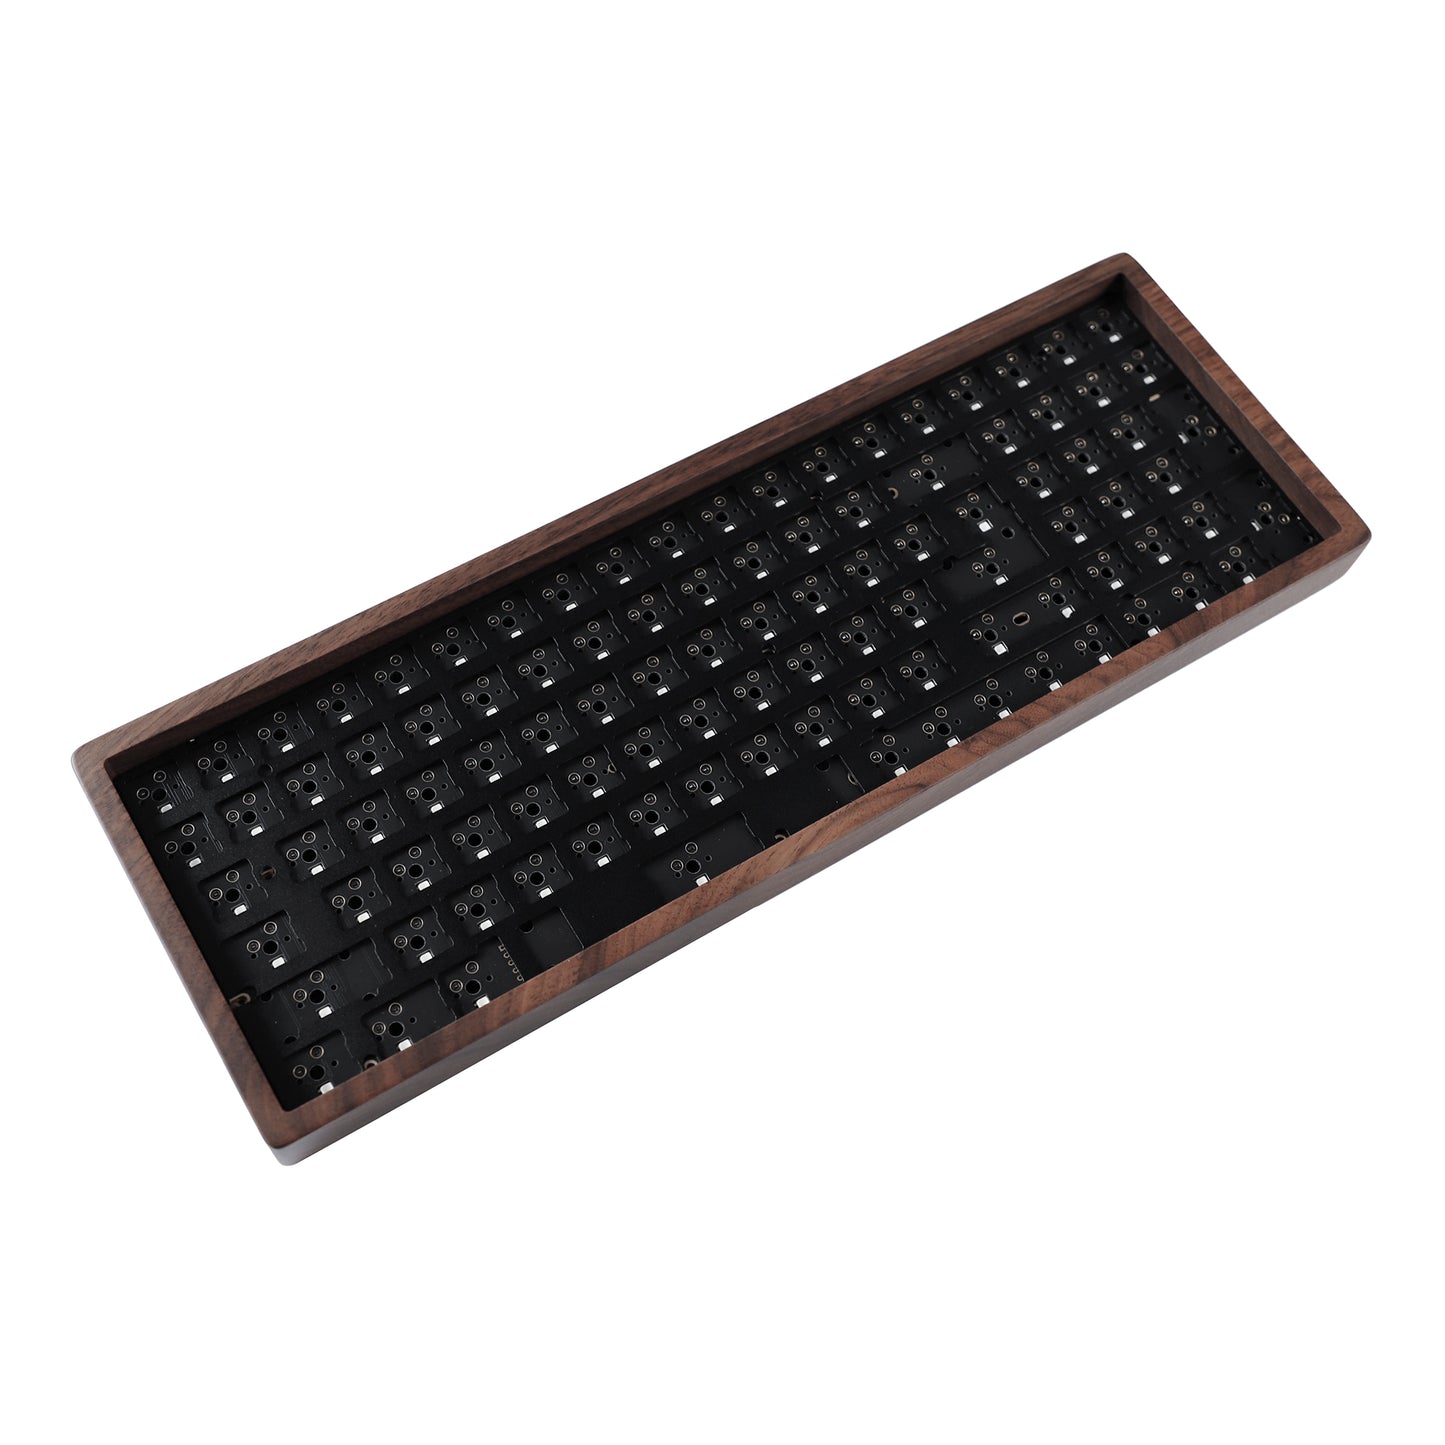
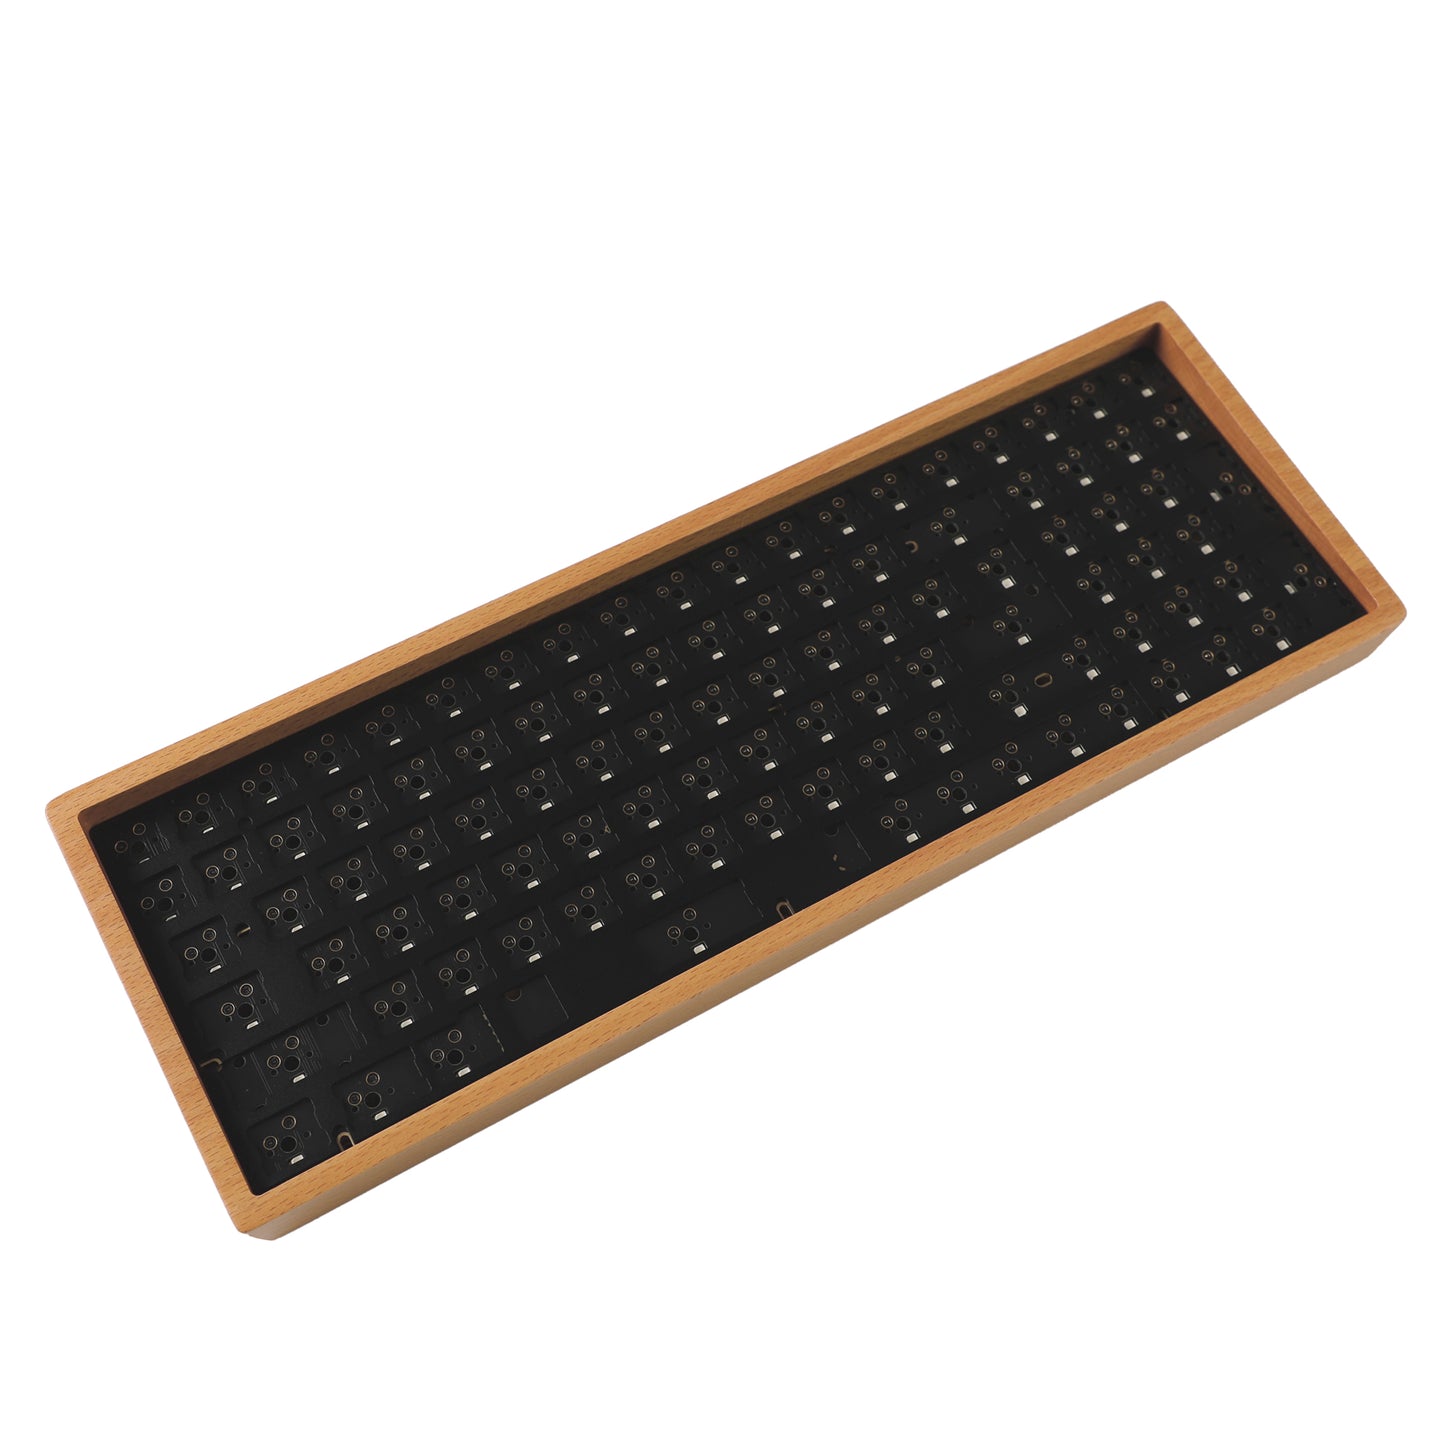
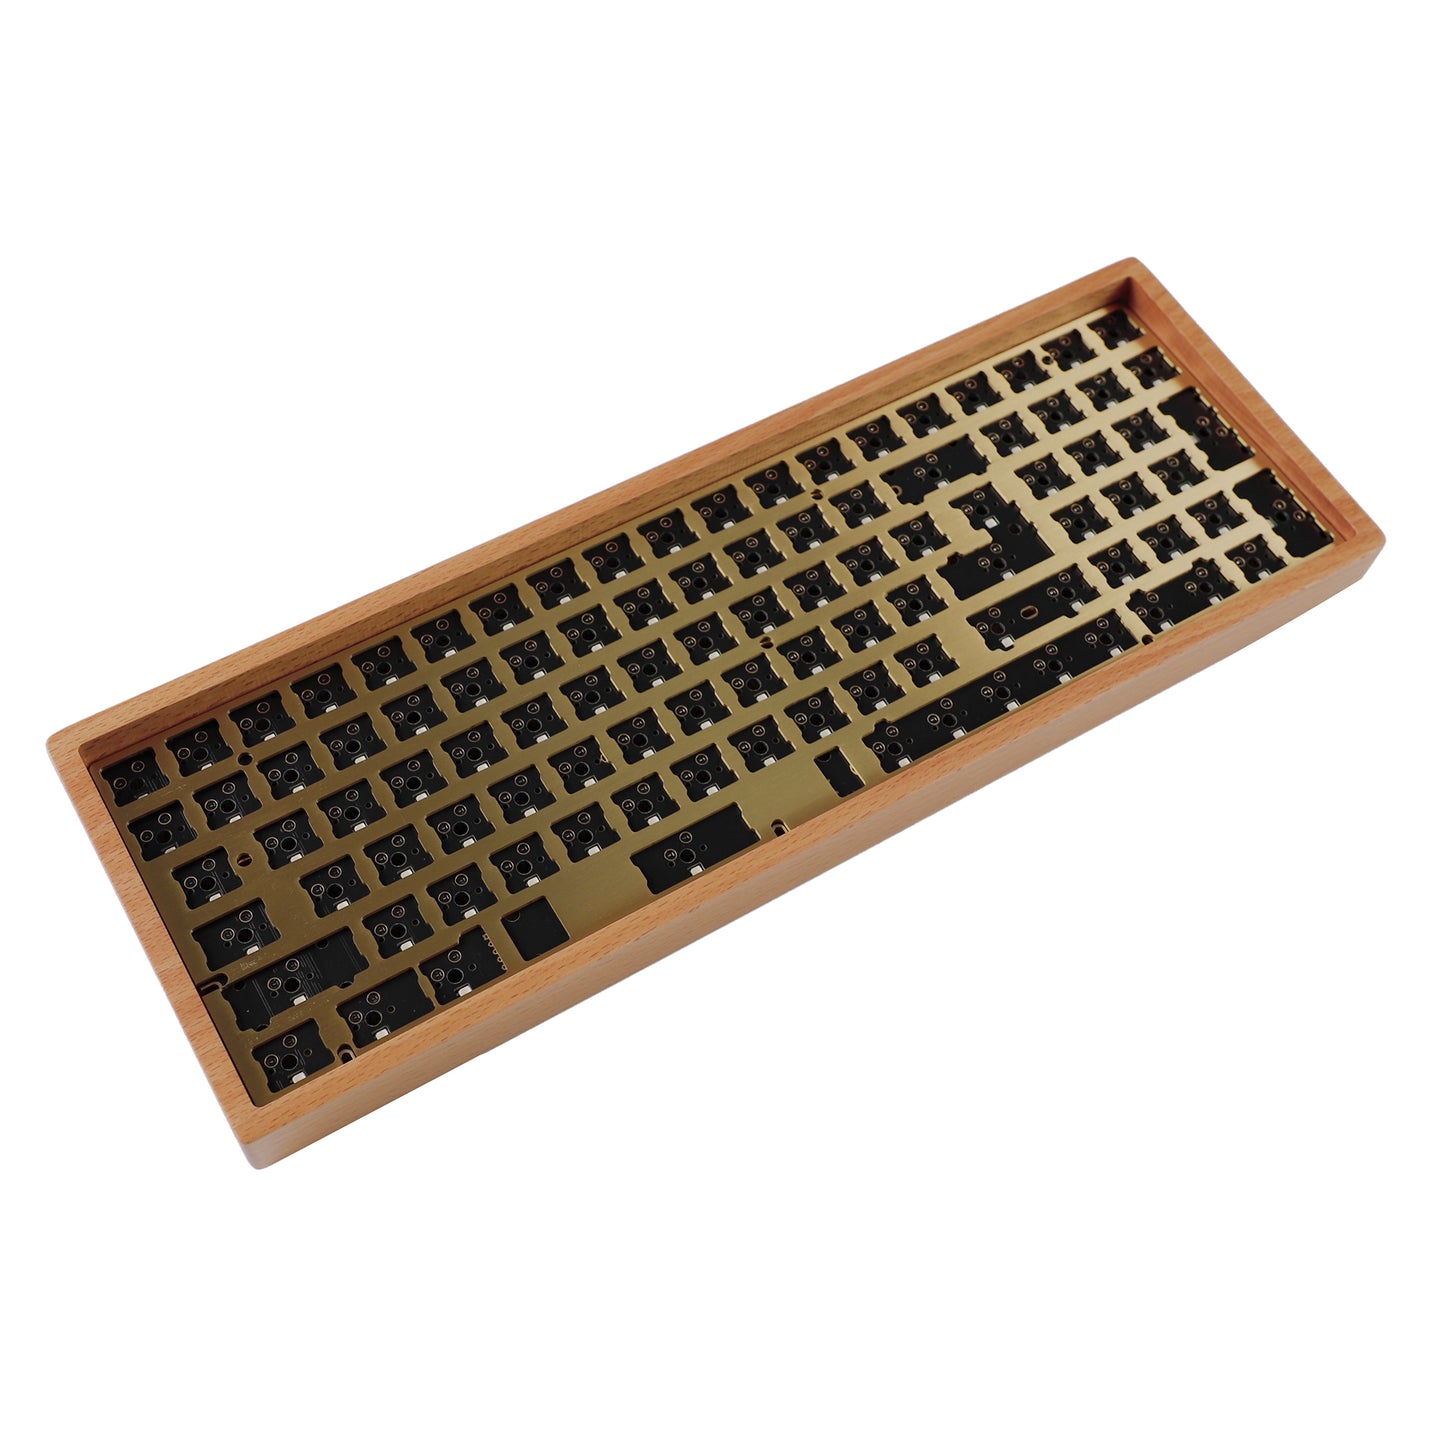
YMD96 RGB Wood Kit: Wood Case (Walnut or Beech)+ Alu Plate/Brass plate +96pro RGB Hot Swap PCB + OEM PCB Snap Stabilizers needed + Rubber Feets + Screws + Switch Puller+ USB A to C Cable
Upgraded Parts
Change OEM PCB Stabilizers to Black Clear Gold screw-in stabilizers, add 10 pcs links,Click Here
Add Walnut Wood Wrist Click Here
Add Beech Wood Wrist Click Here
Add Switch Option Click Here
Use sidelit keycaps better for rgb south facing backlit leds.Below is the link to the recommended keycaps, if you like you can check it out
OEM Keycap recommendation Click Here
Cherry Keycap recommendation Click Here
Details
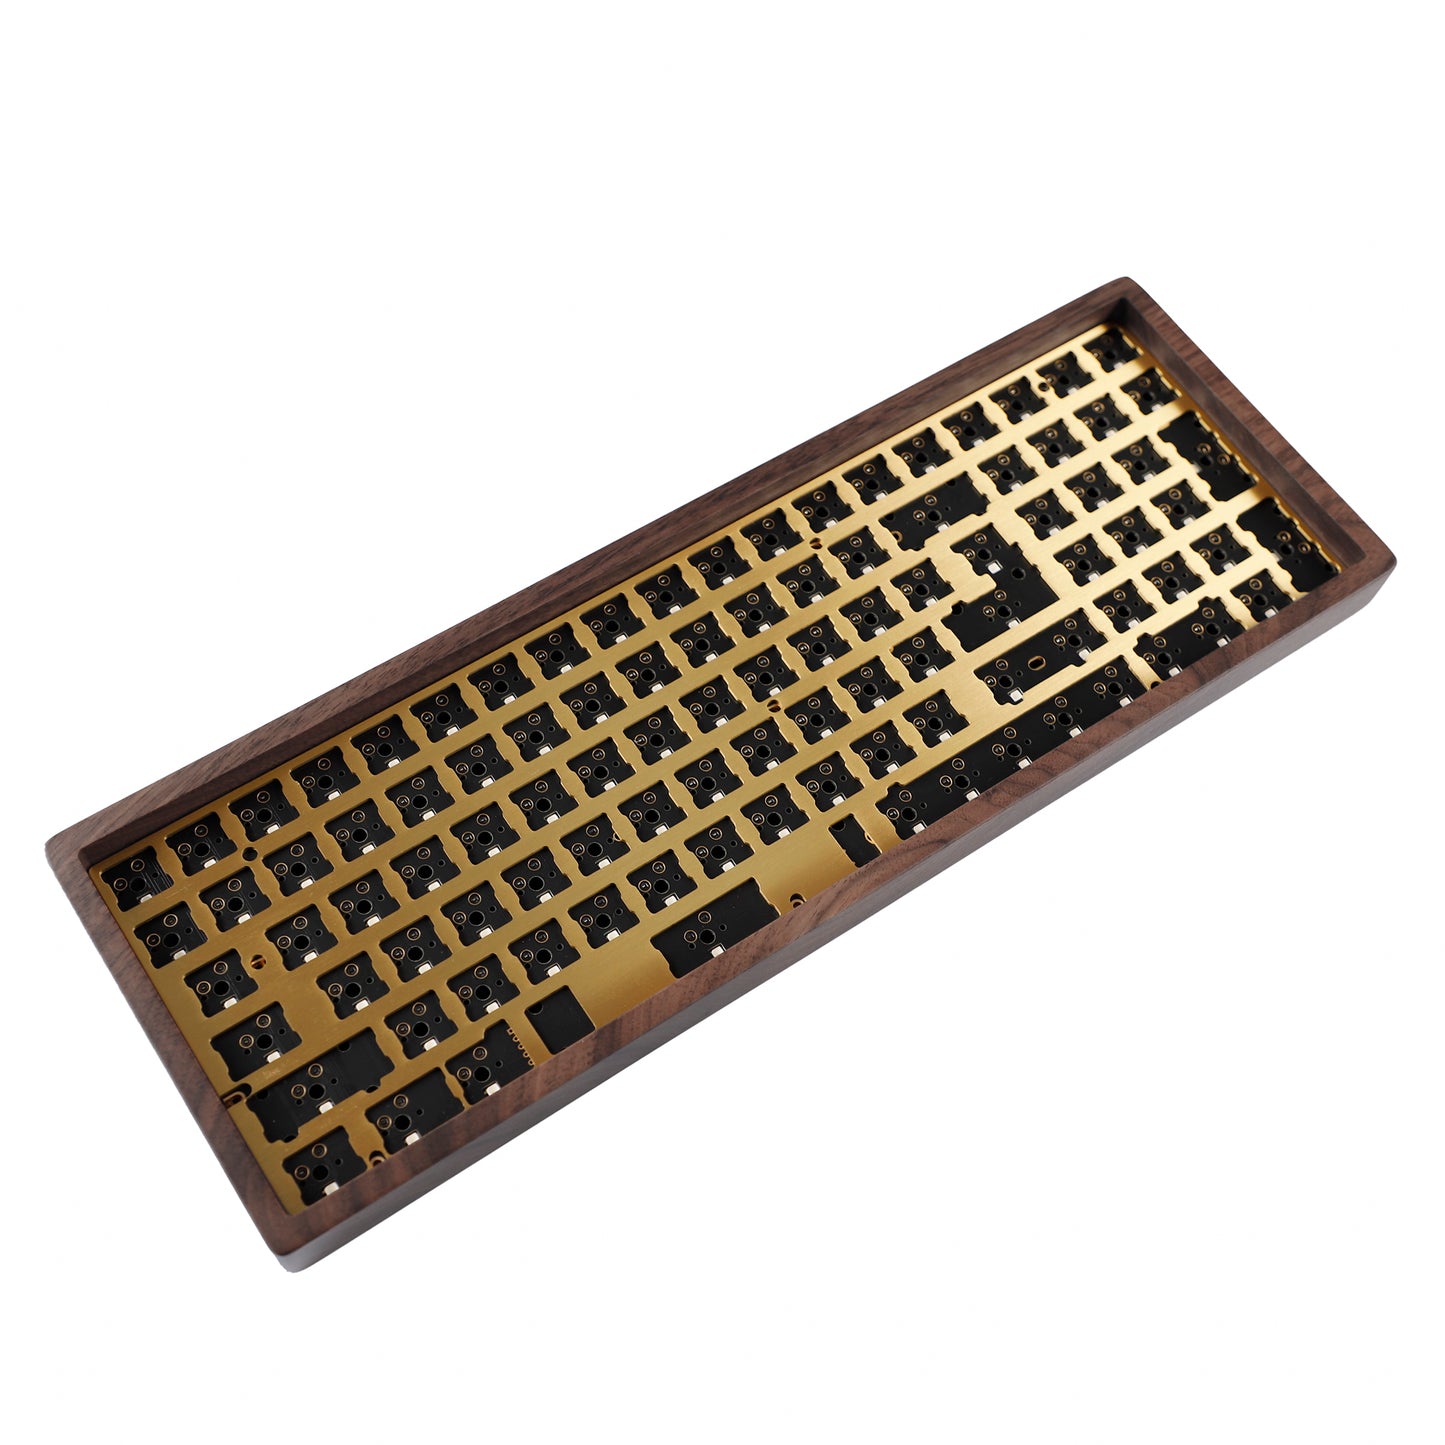
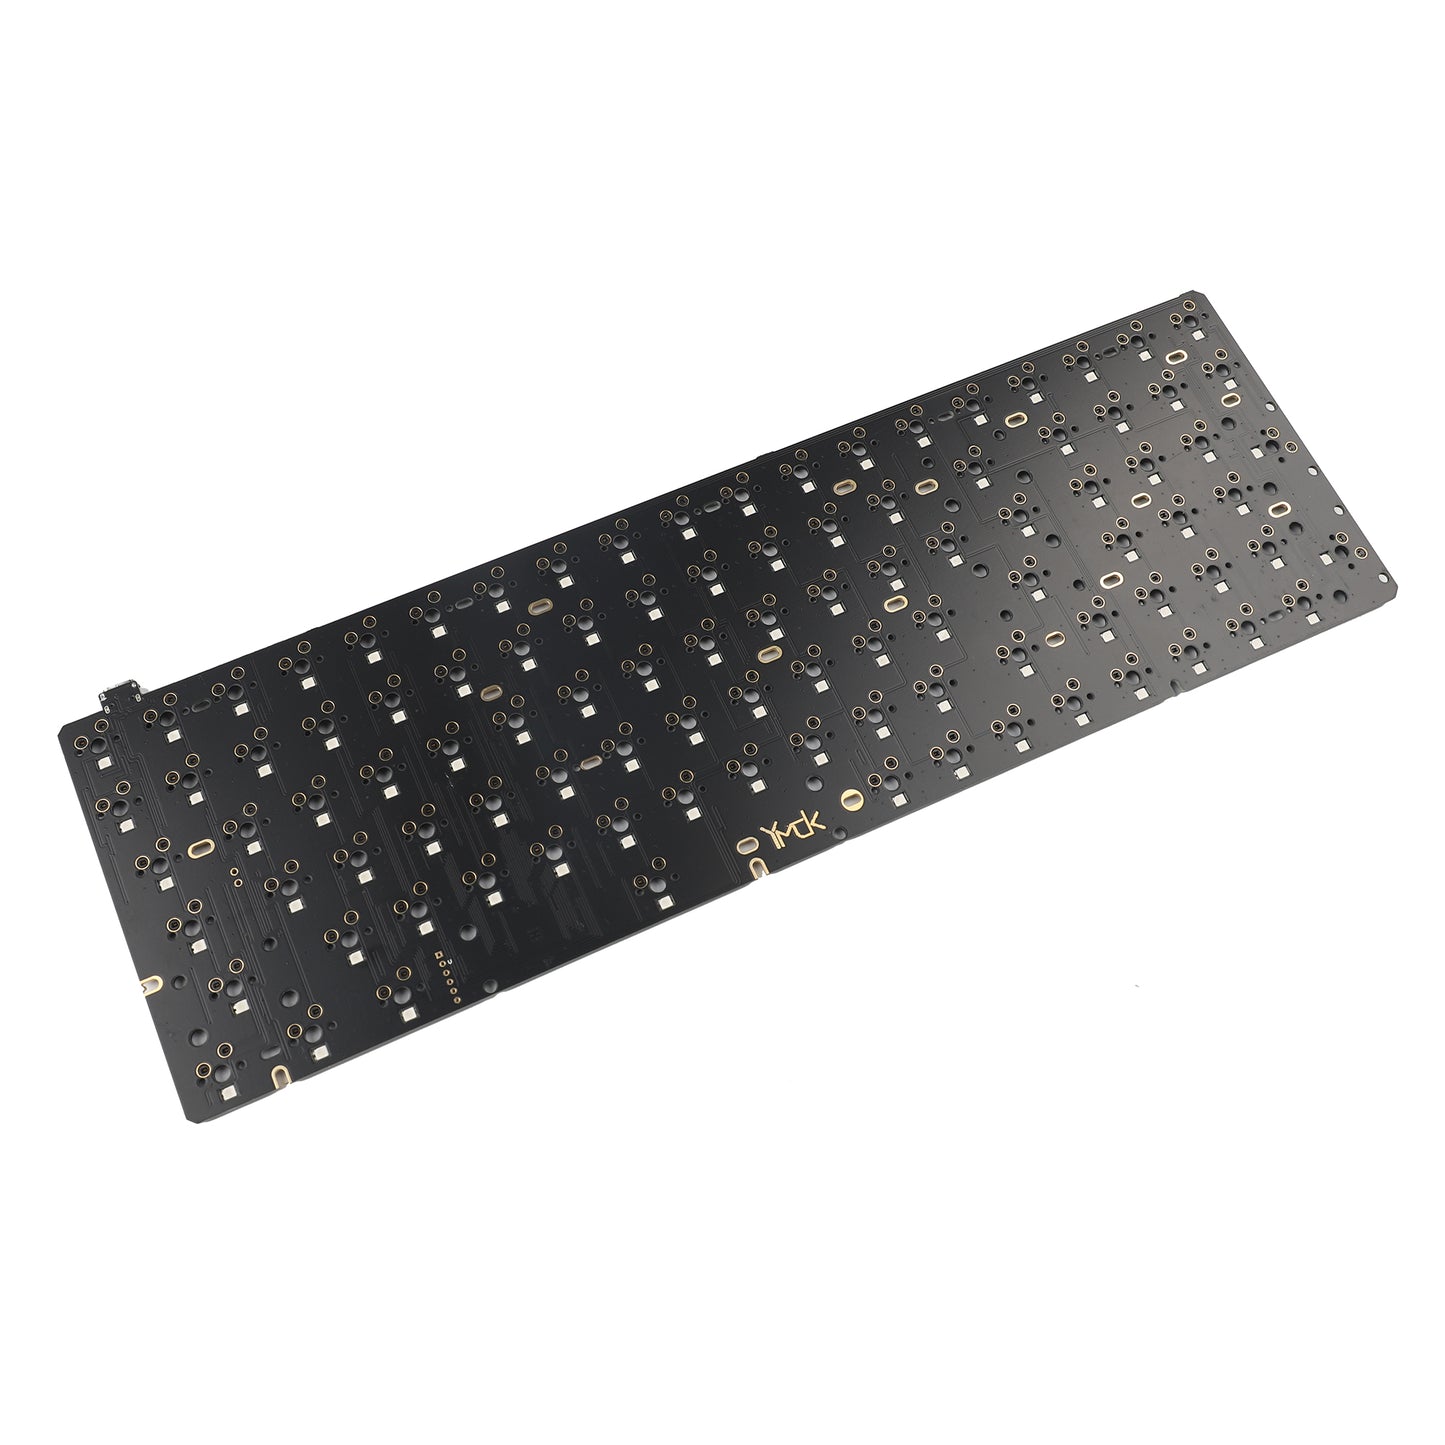
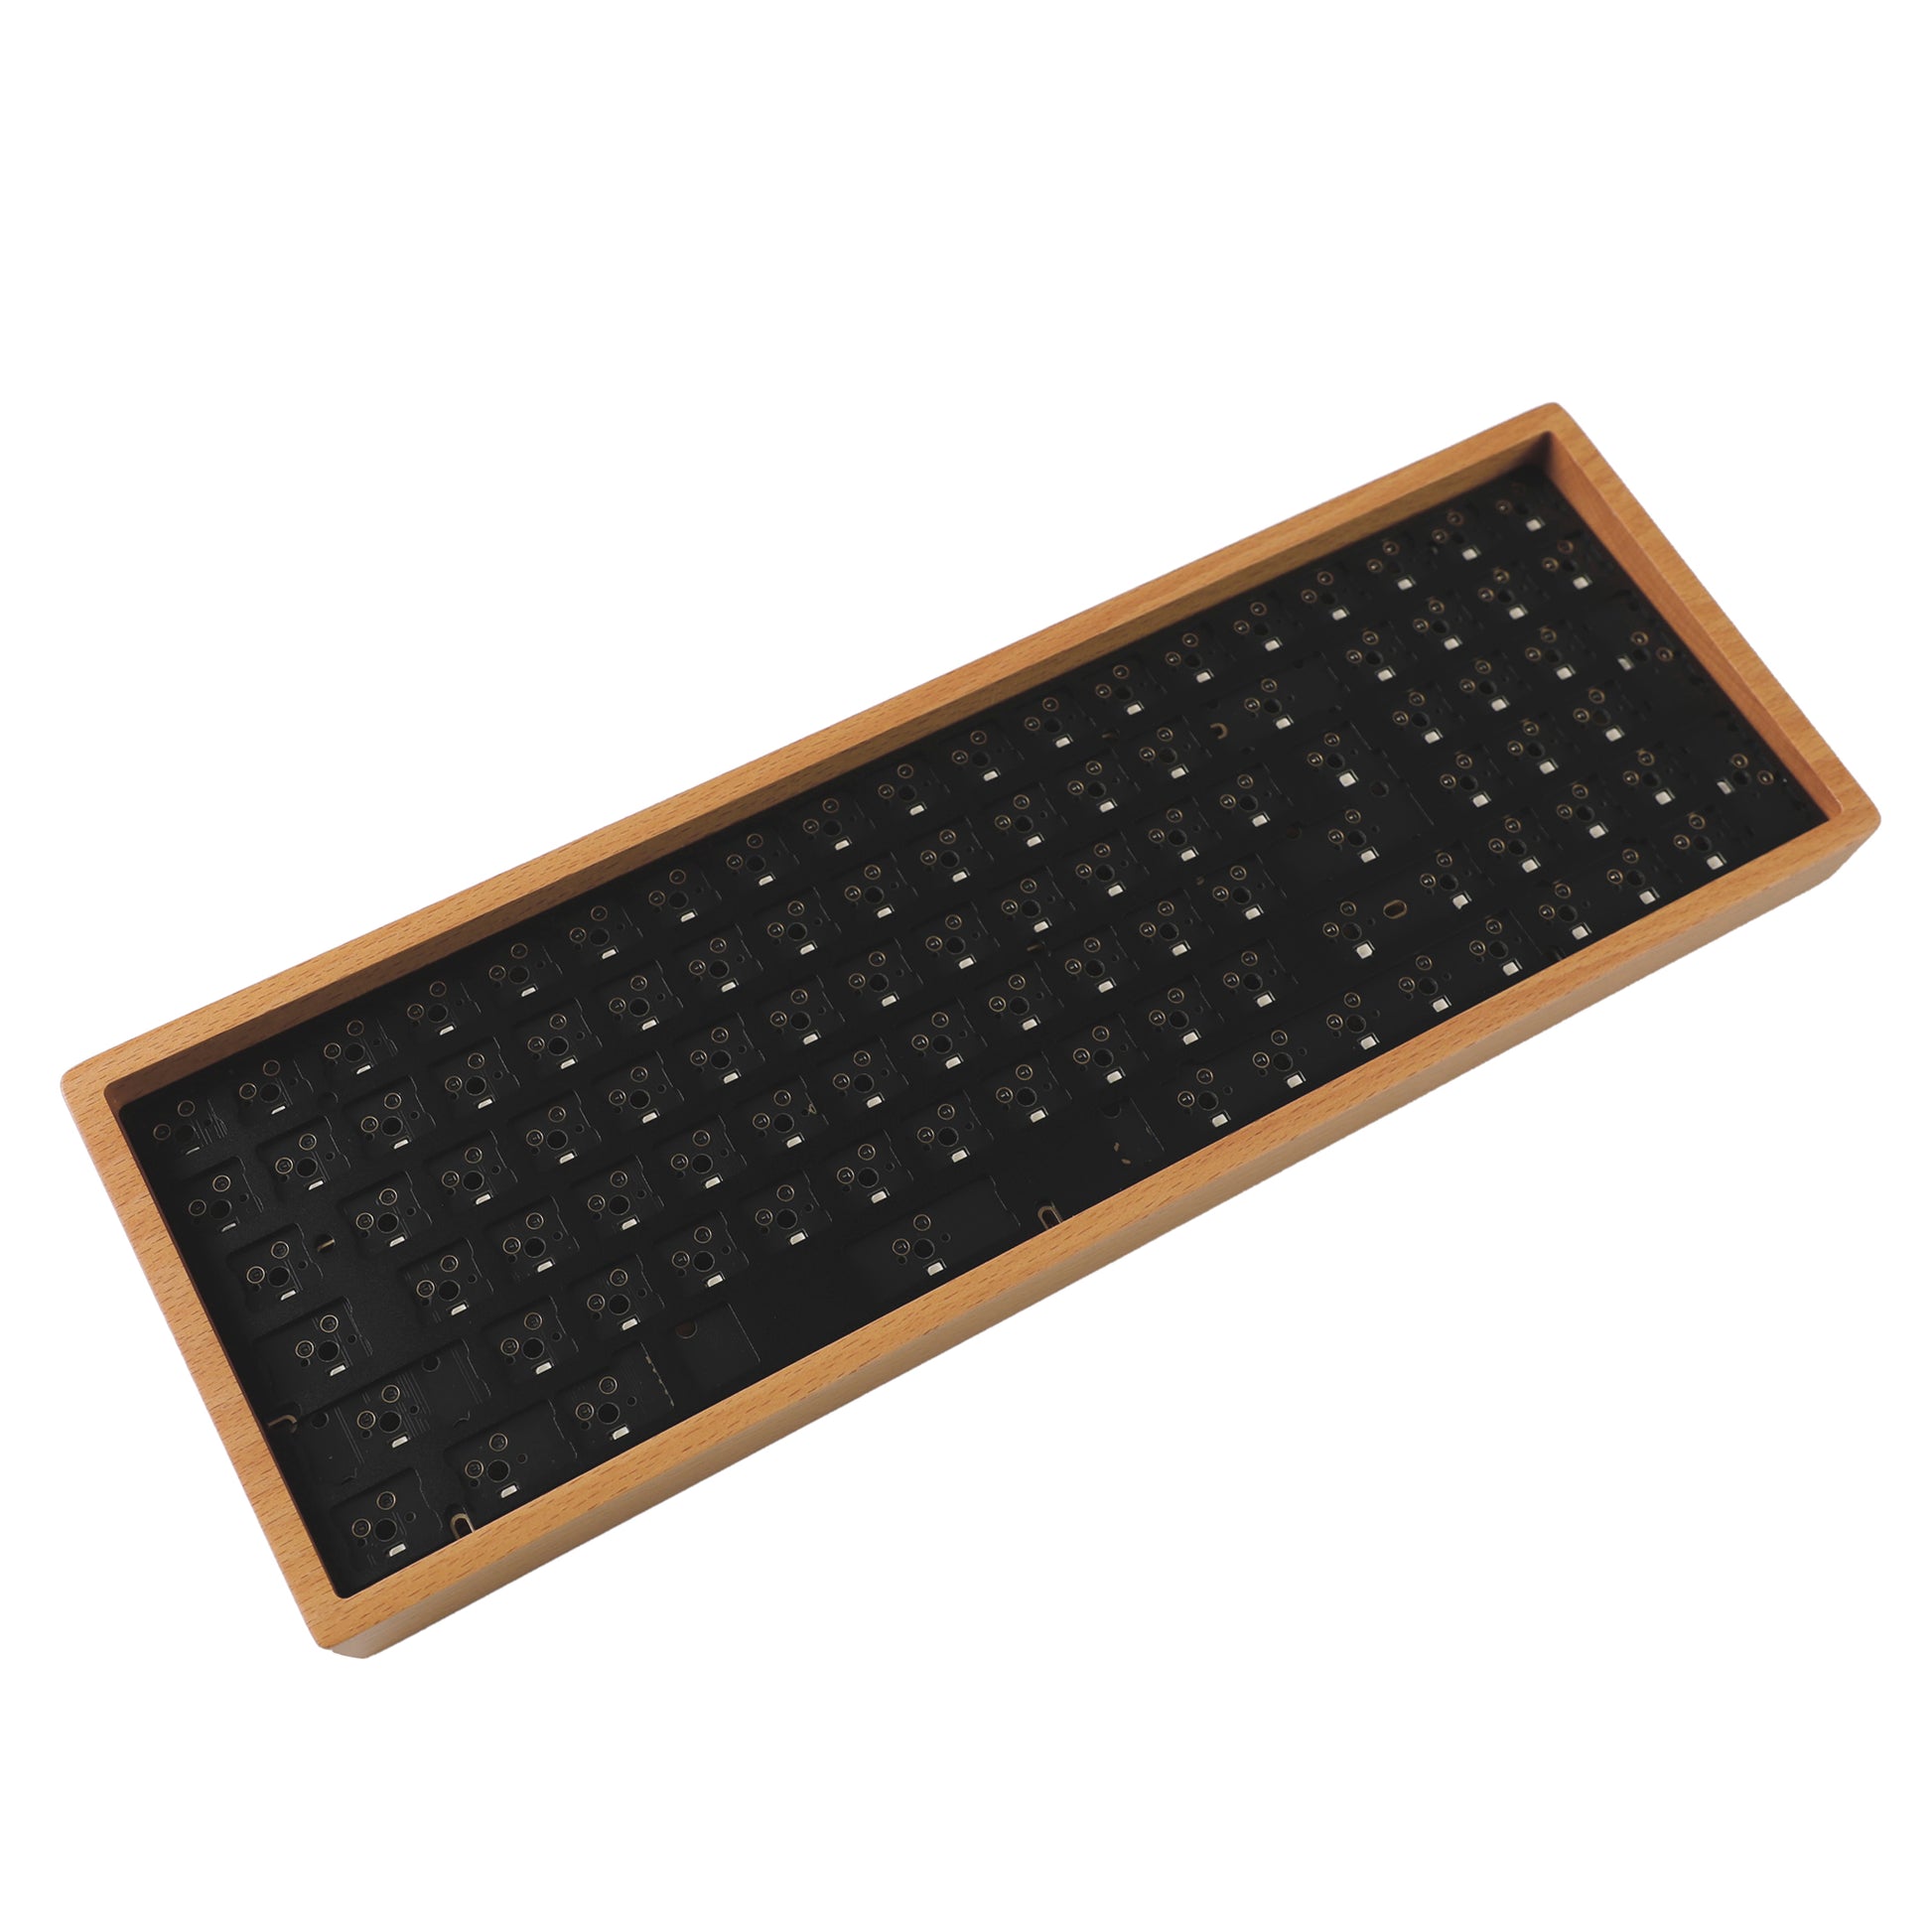
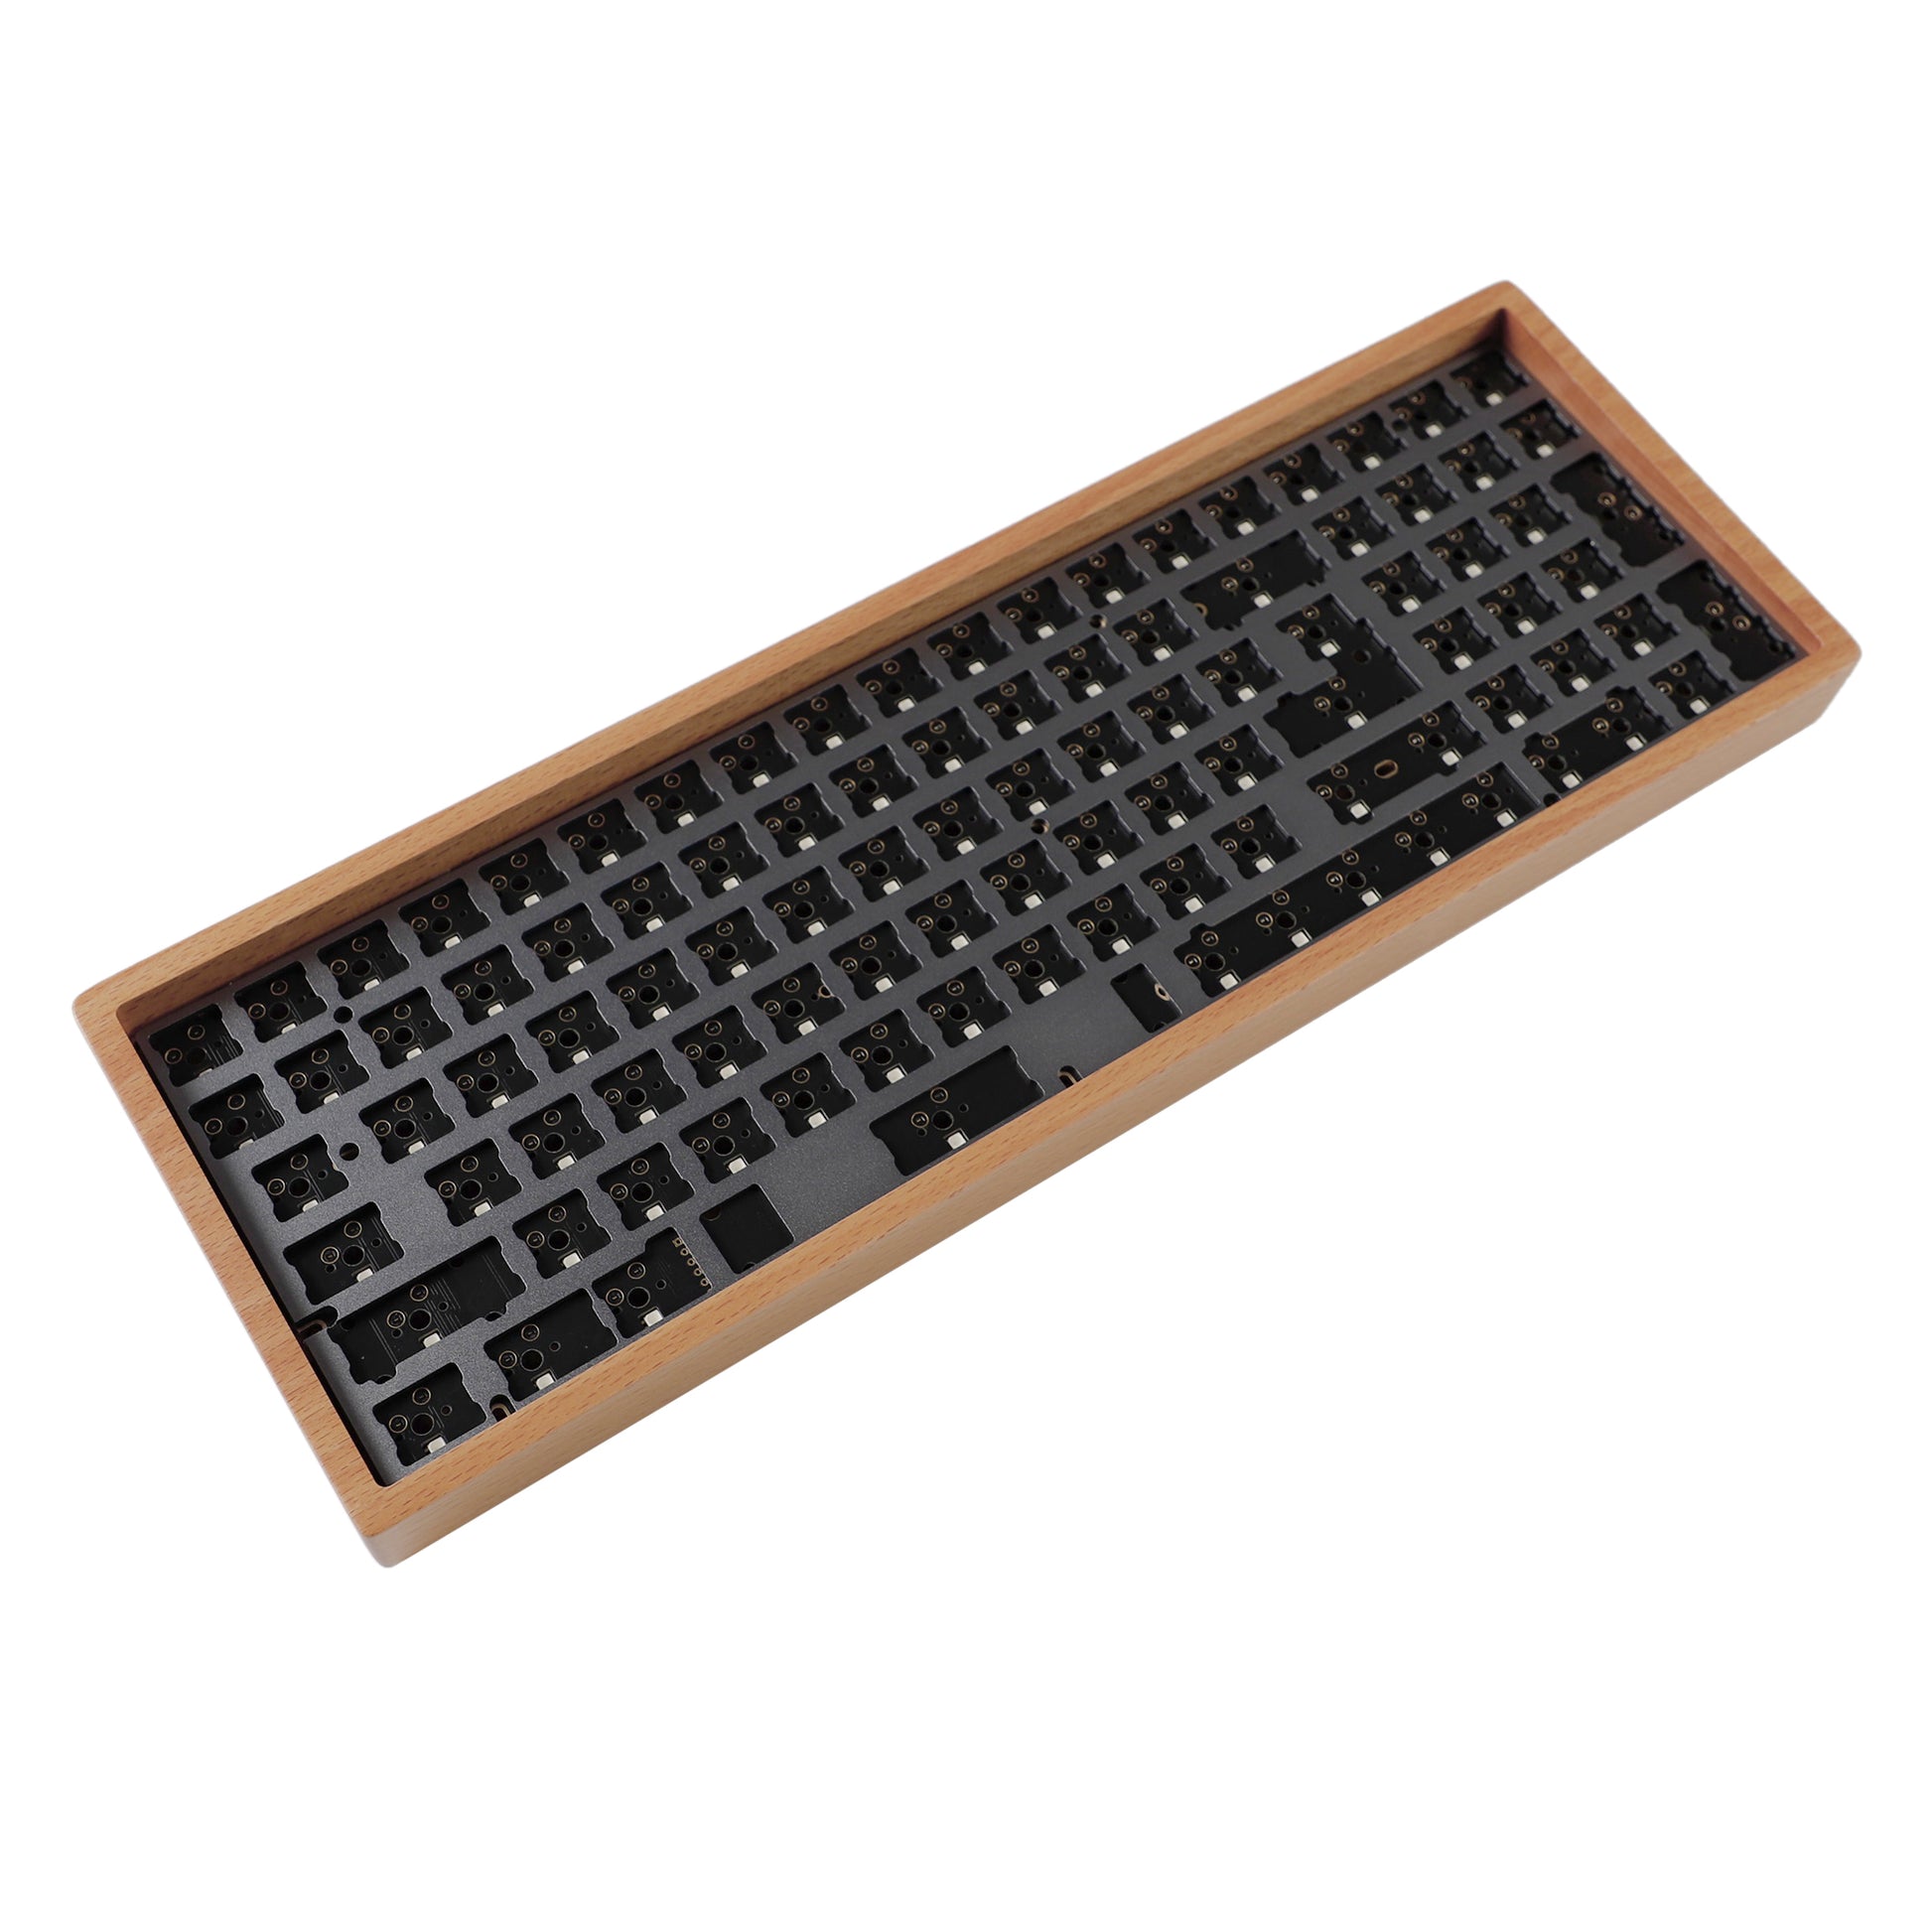
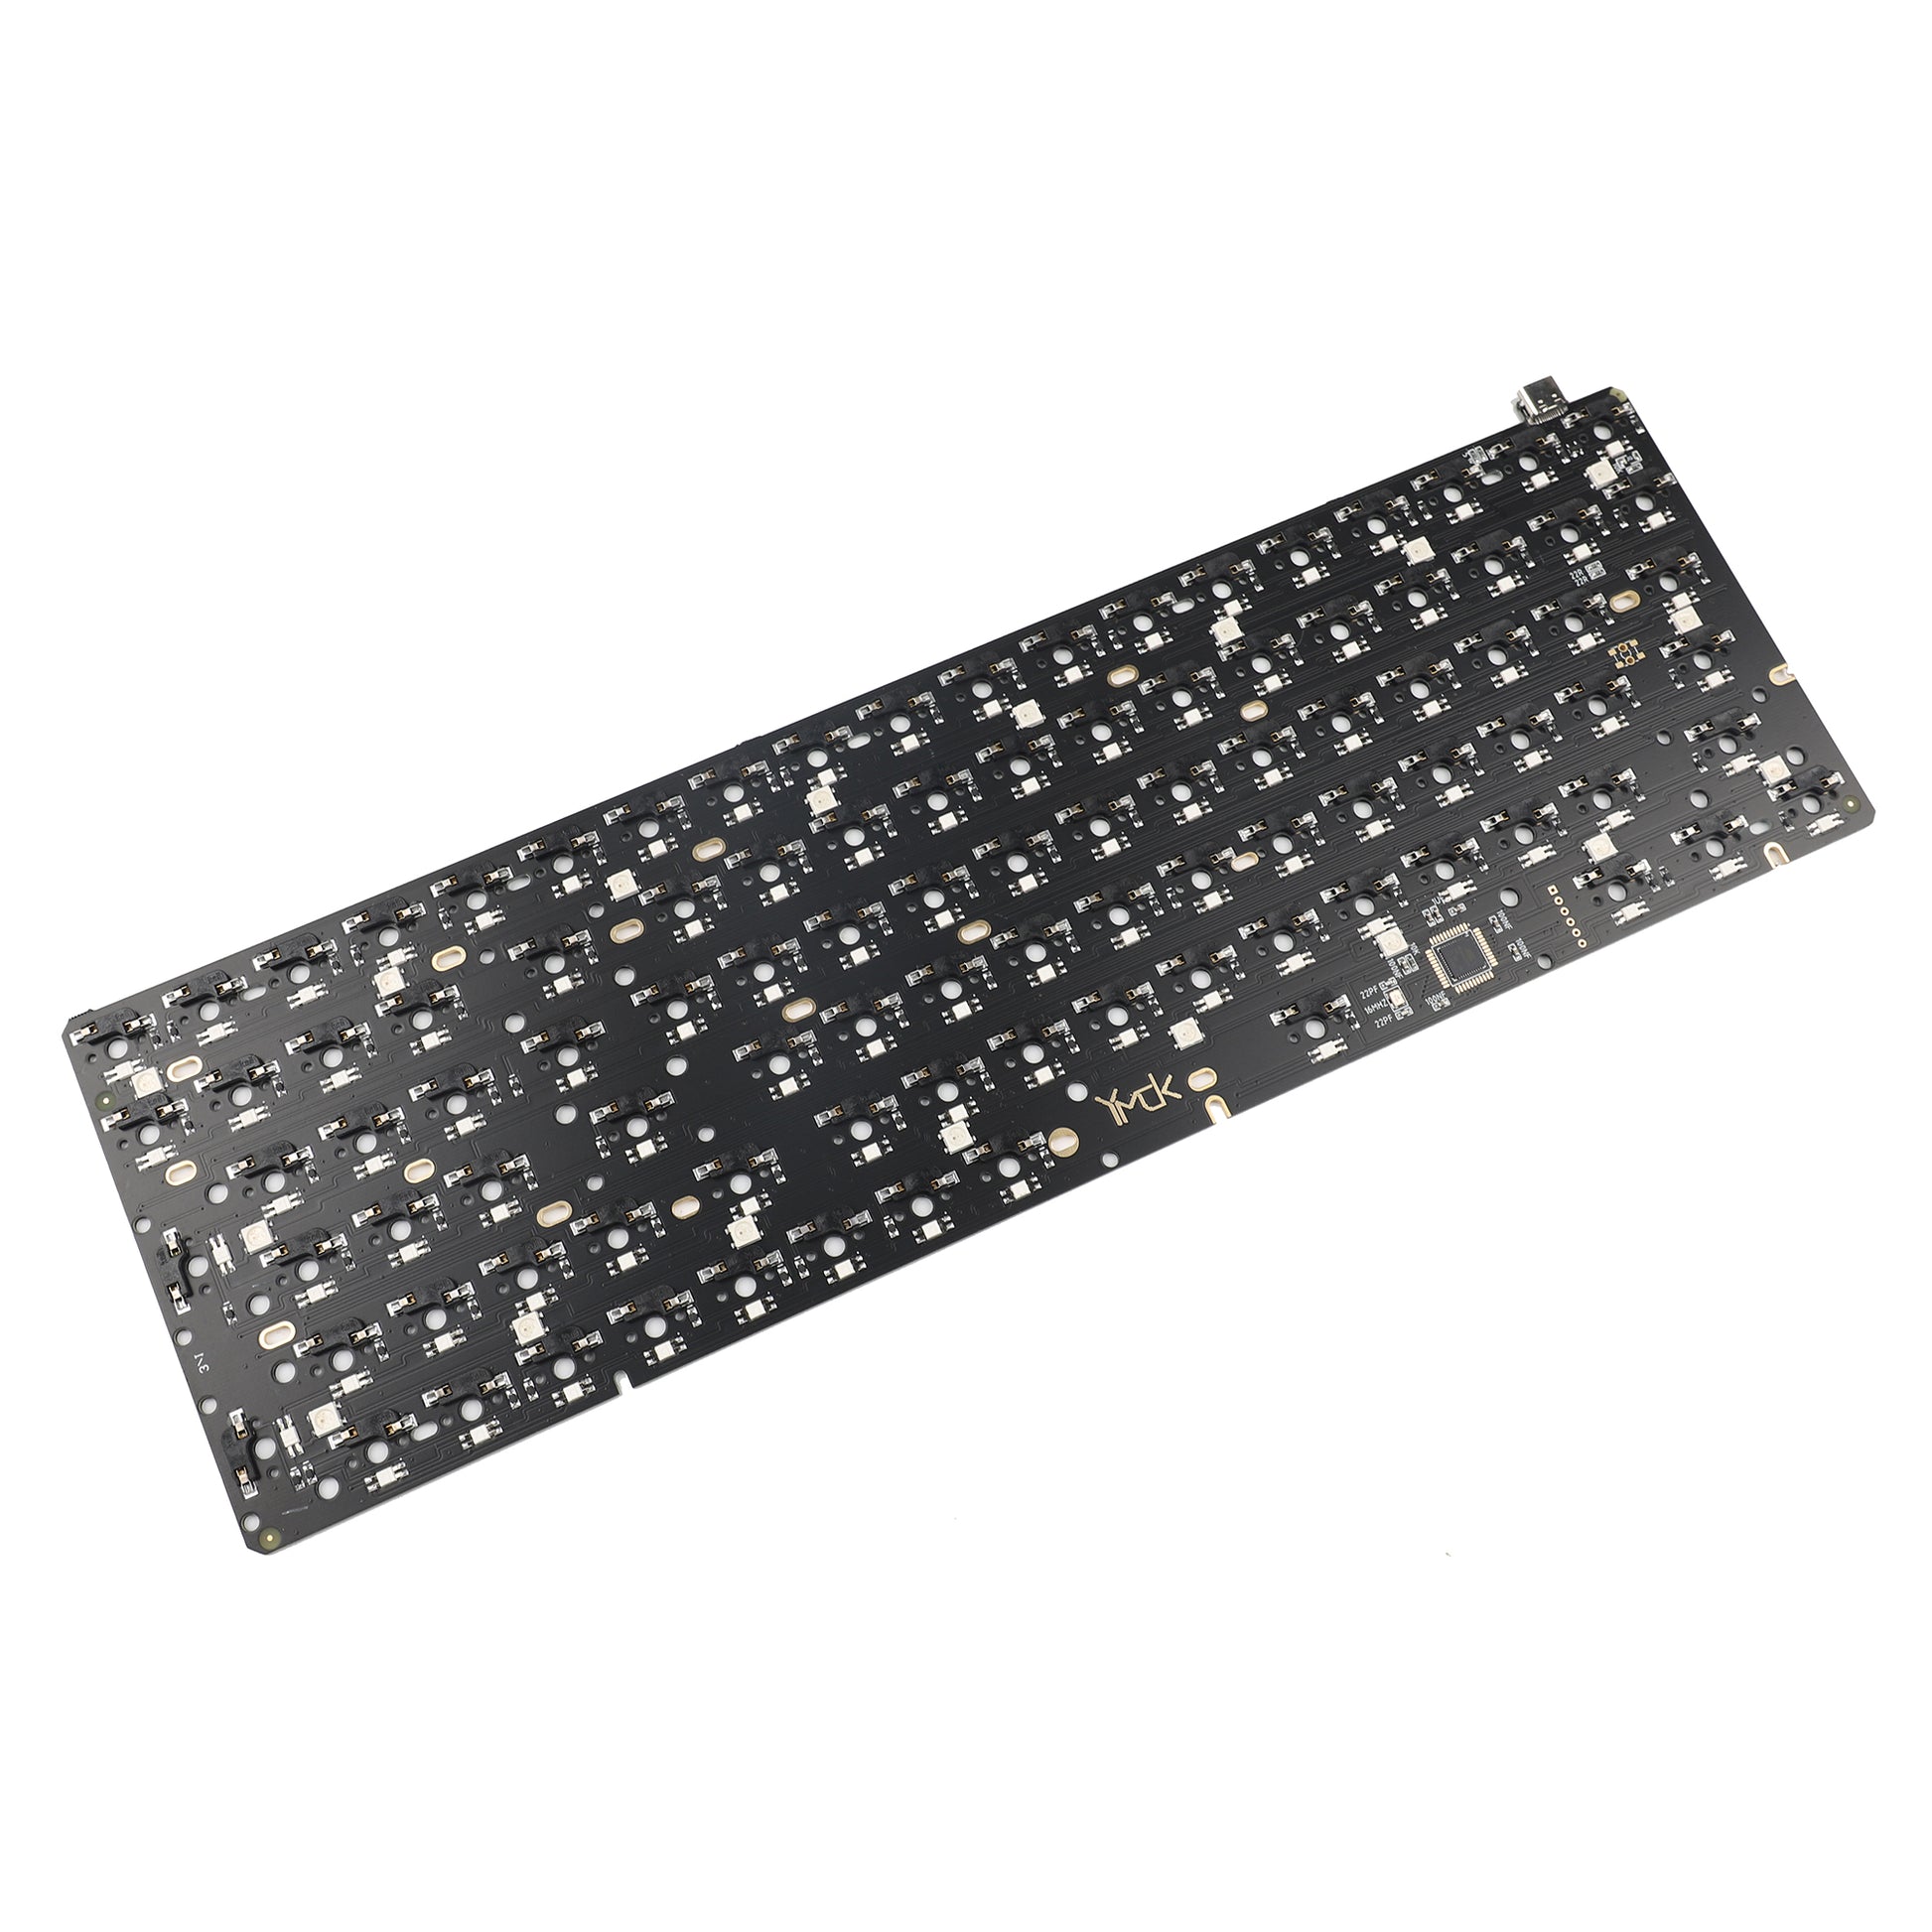
96 Pro RGB PCB:
PCB Size about 360*112mm,weight about 0.159kg
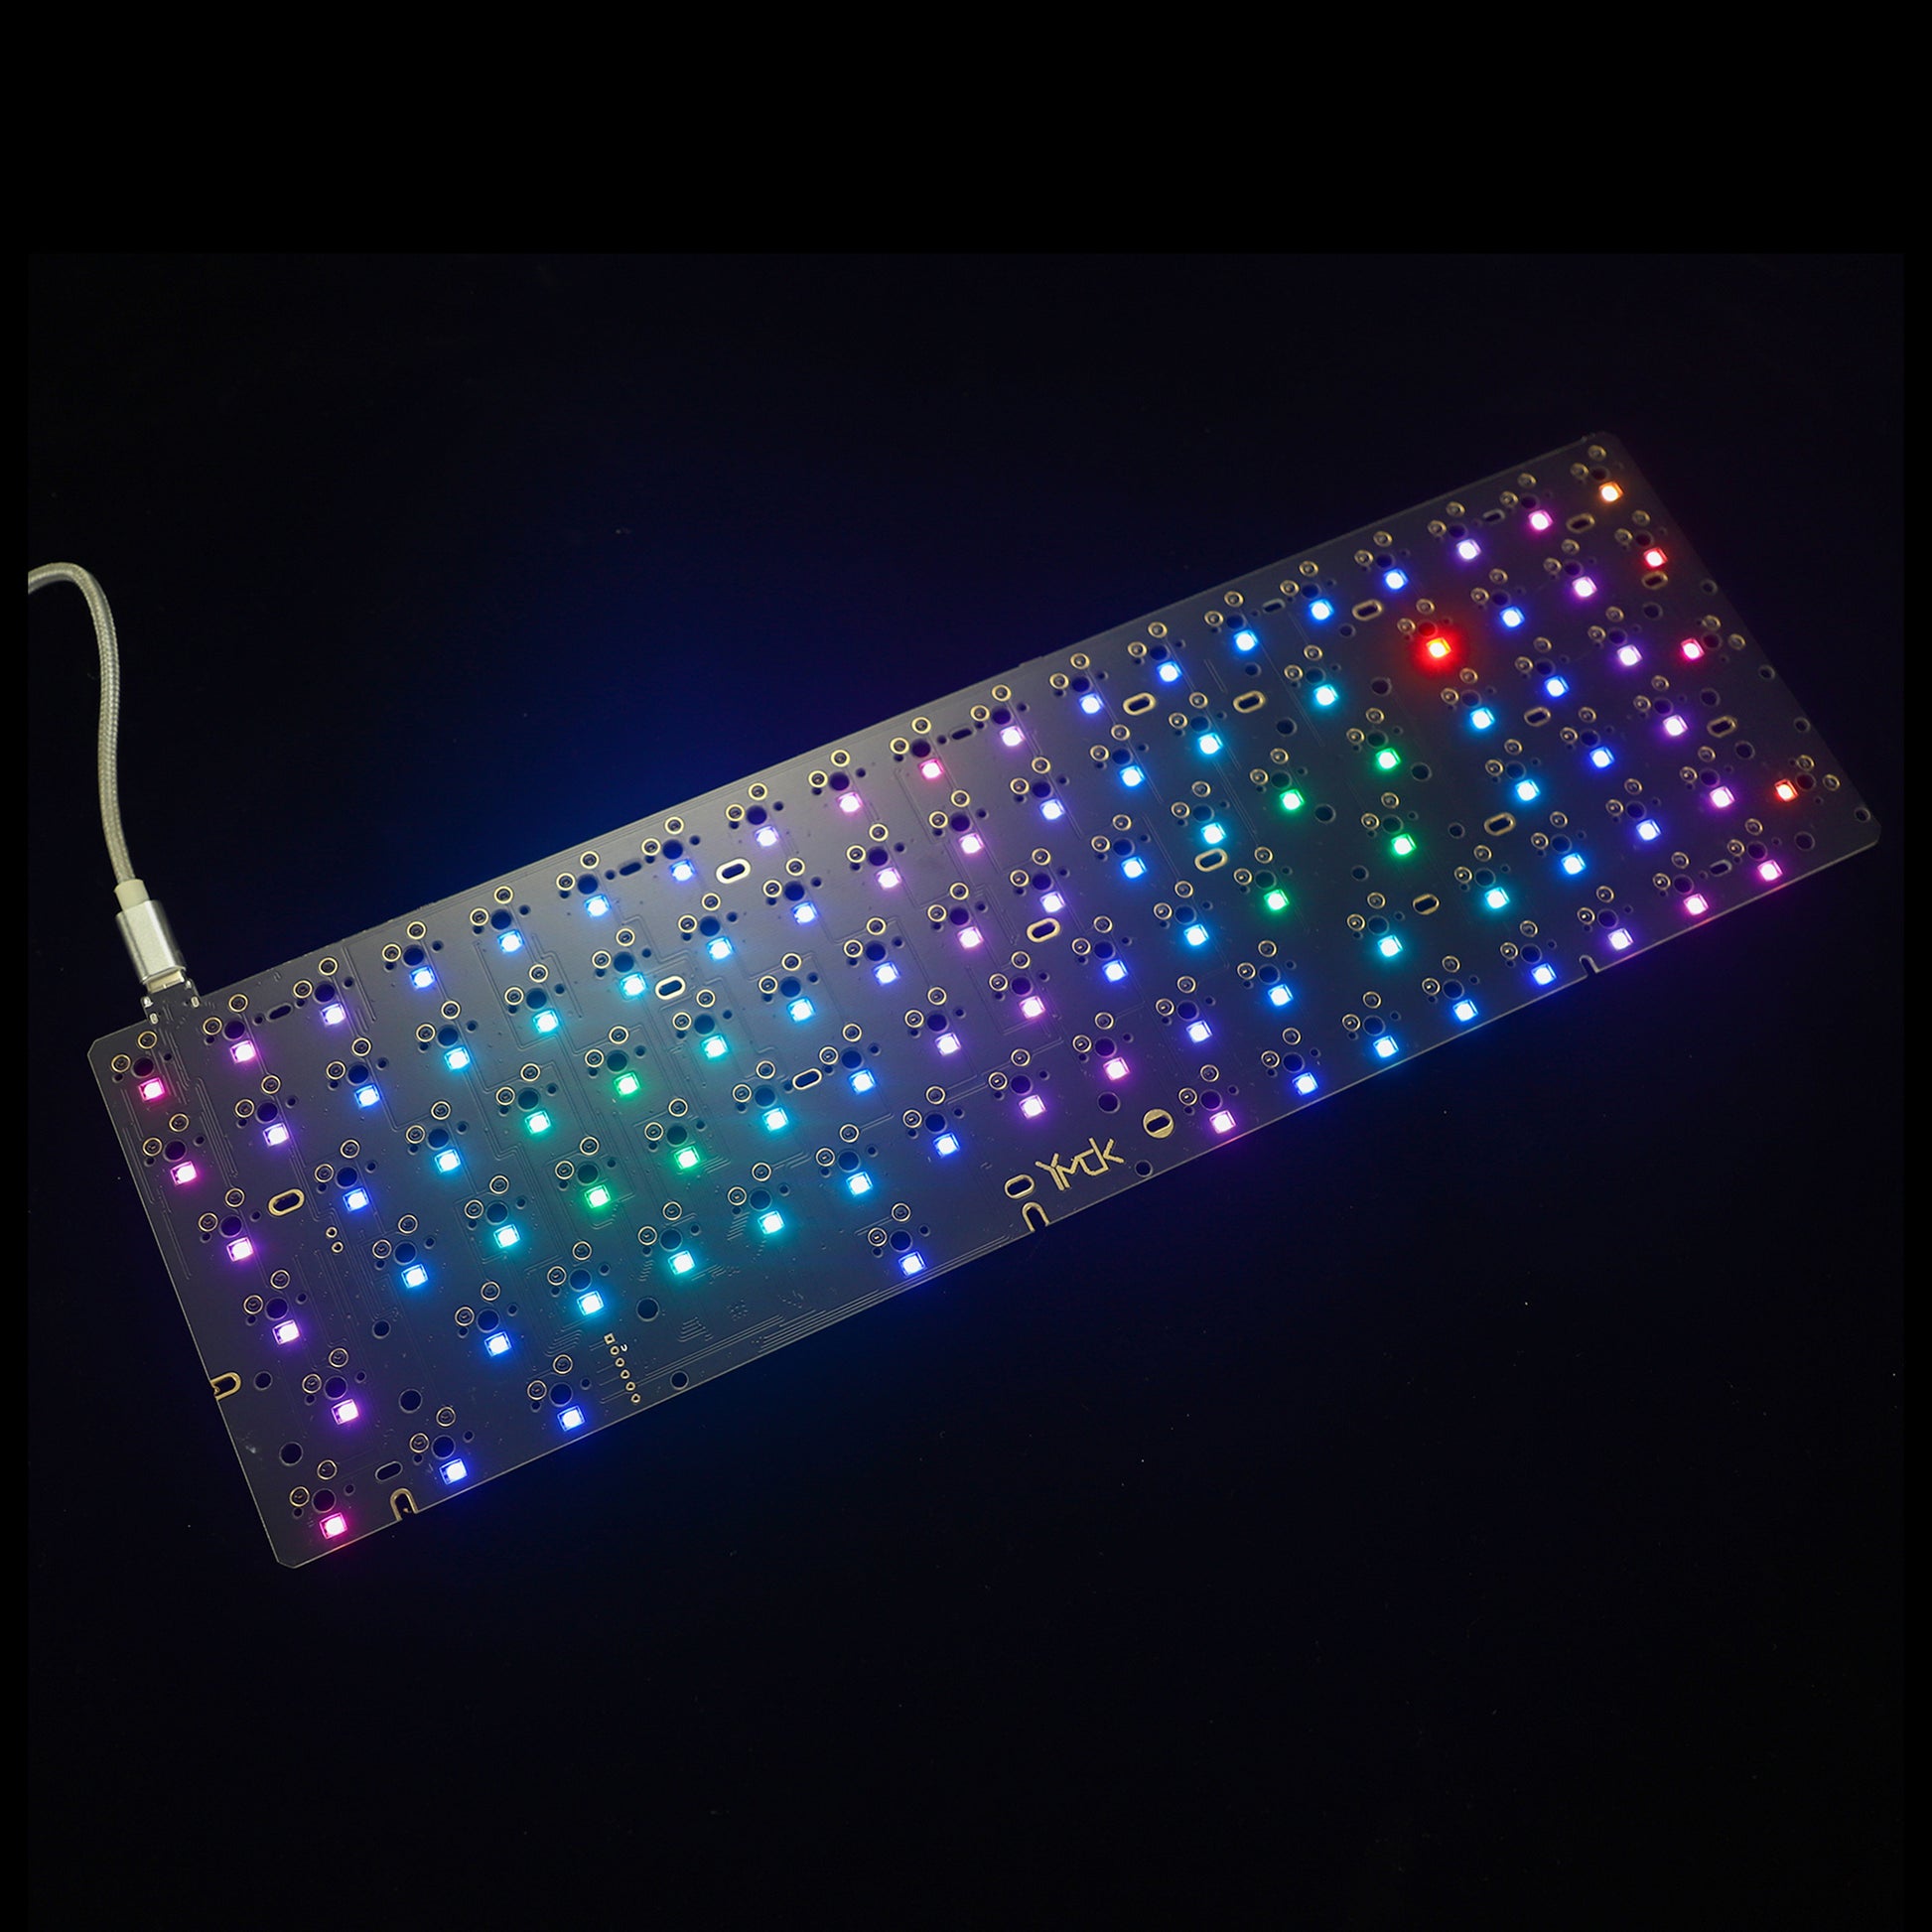
RGB 96 is south direction.However it only support 1 layout as below
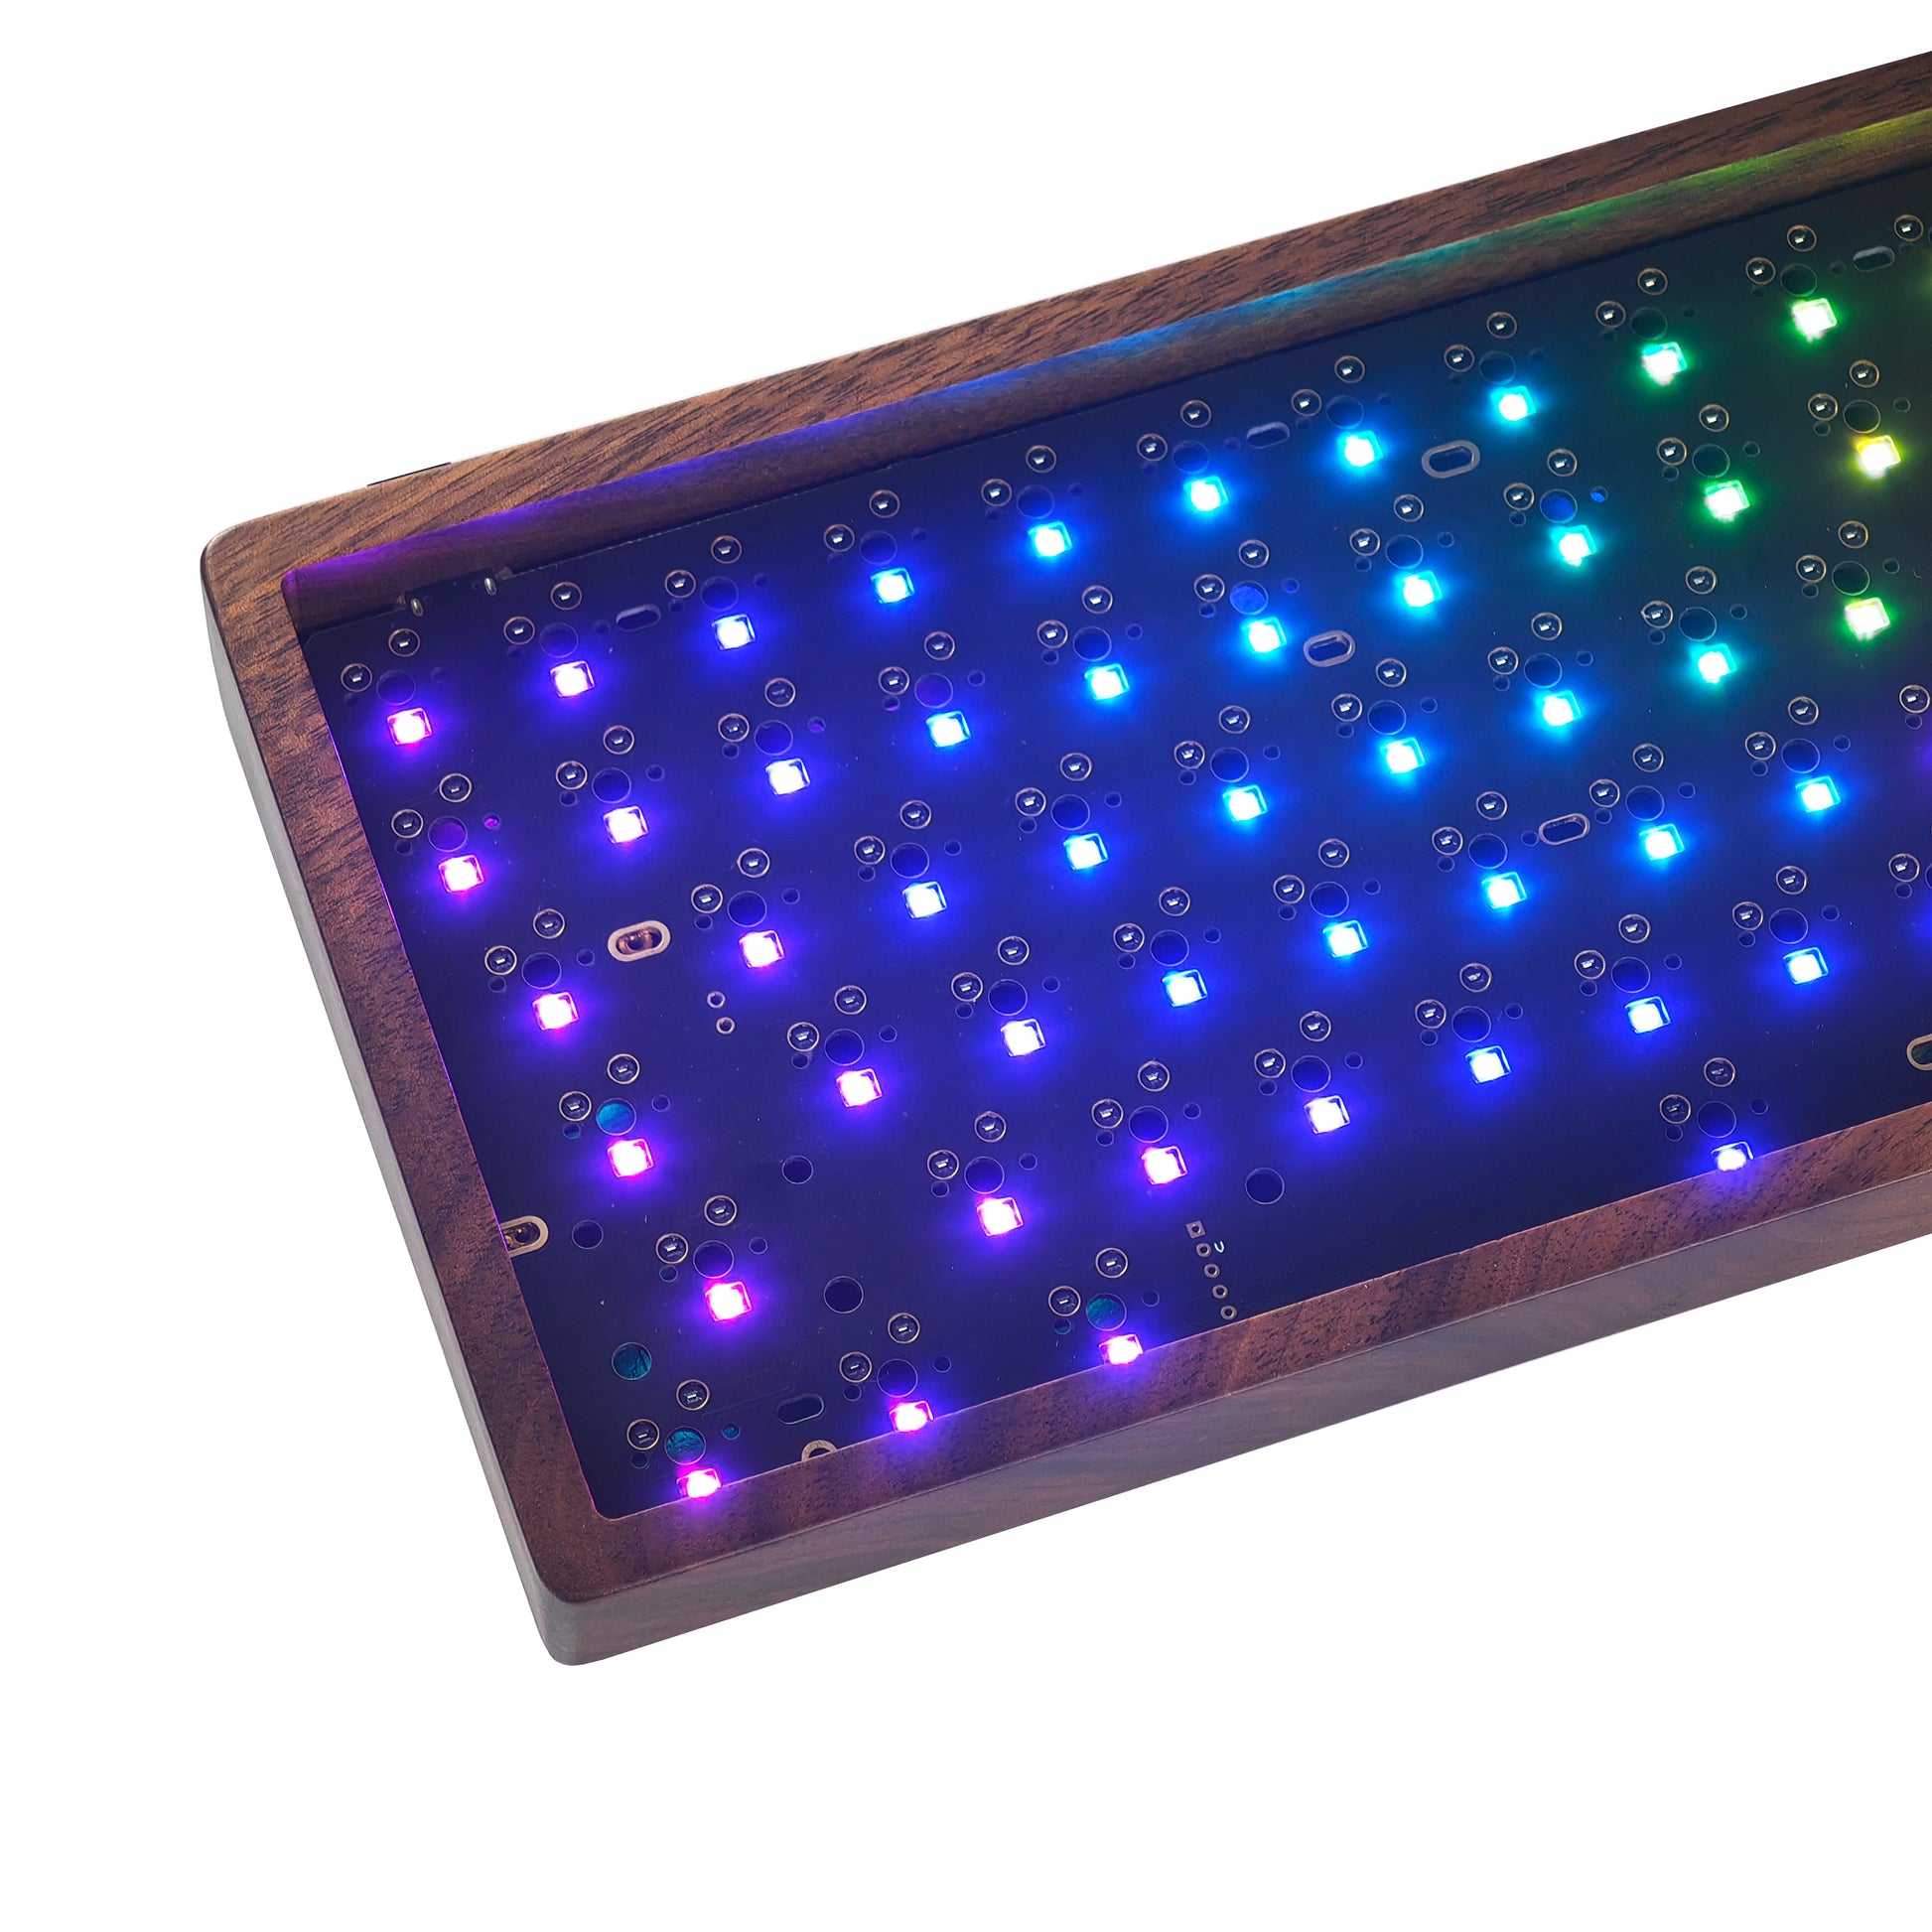
Newest RGB south facing layout C ANSI hotswap PCB,upgraded rgb backlit and underglow.Fit via only now.
Use sidelit keycaps better for rgb south facing backlit leds.
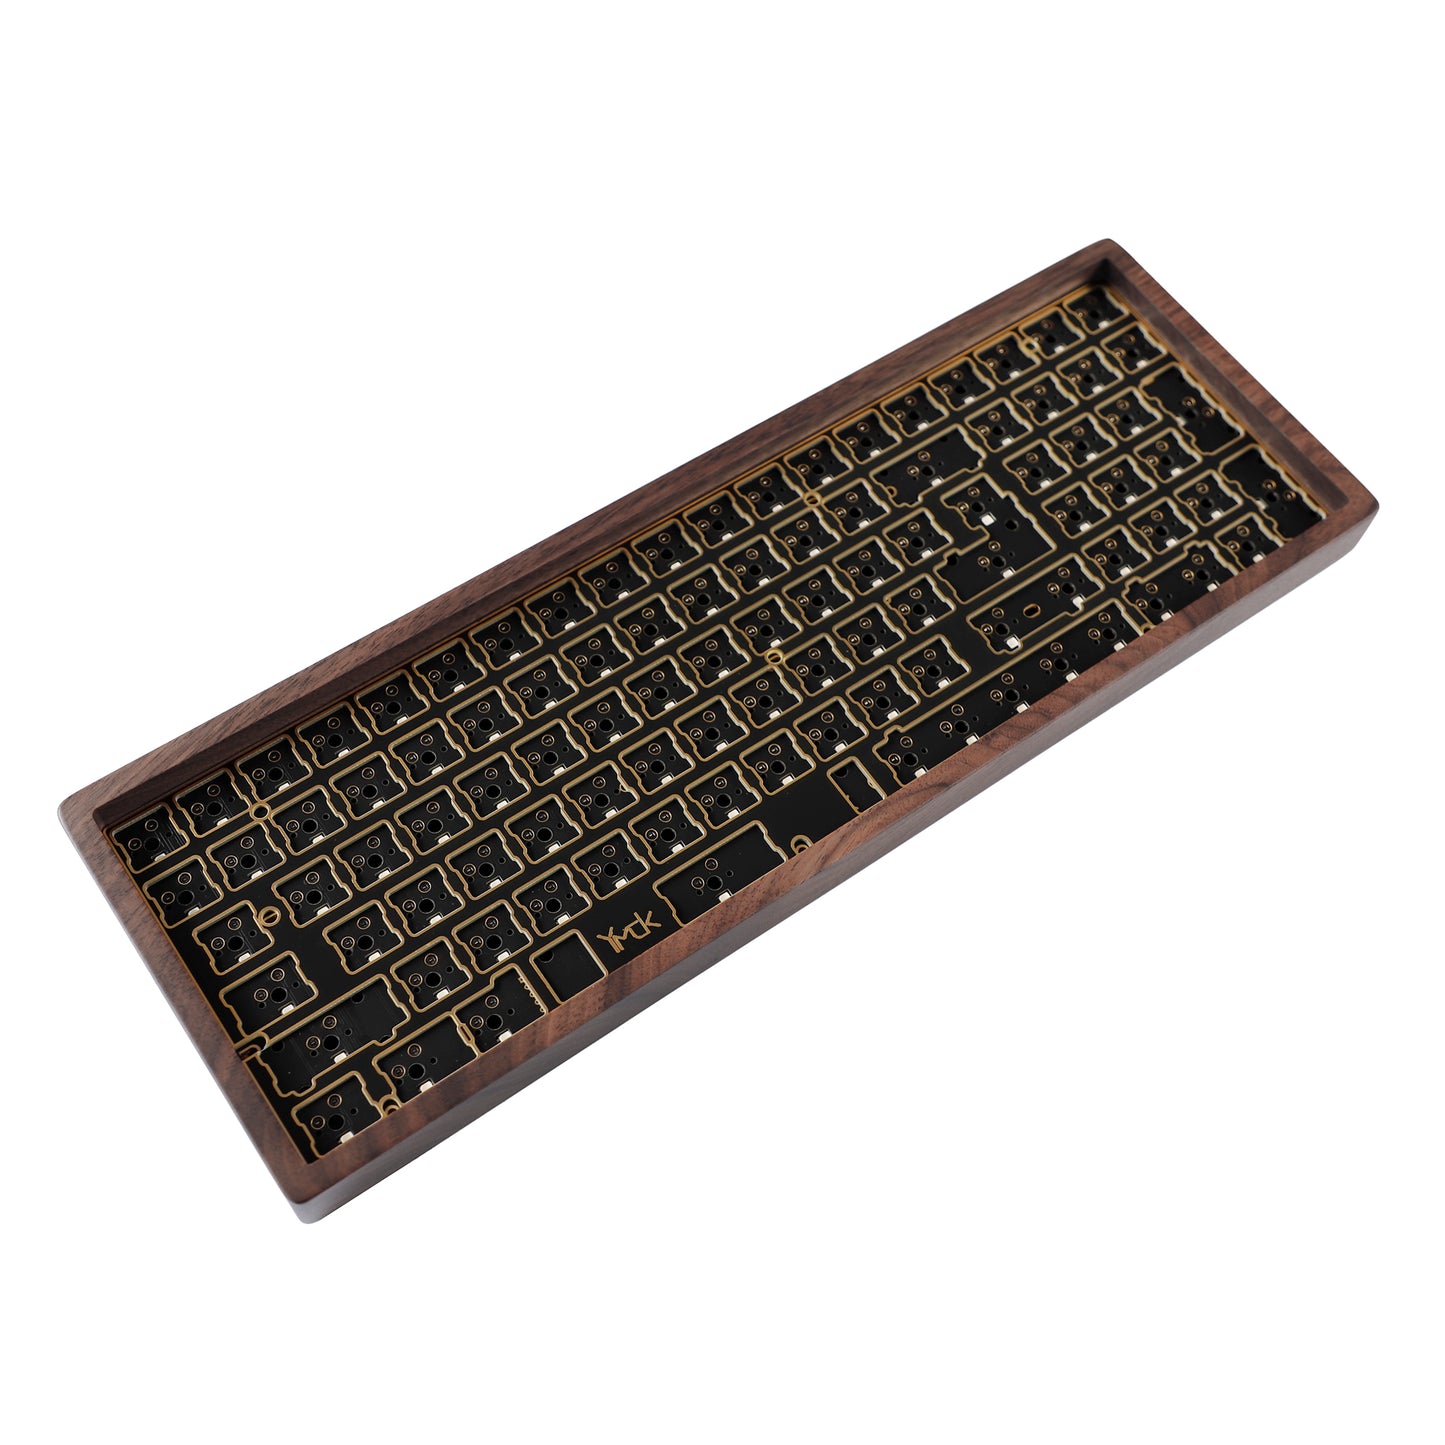
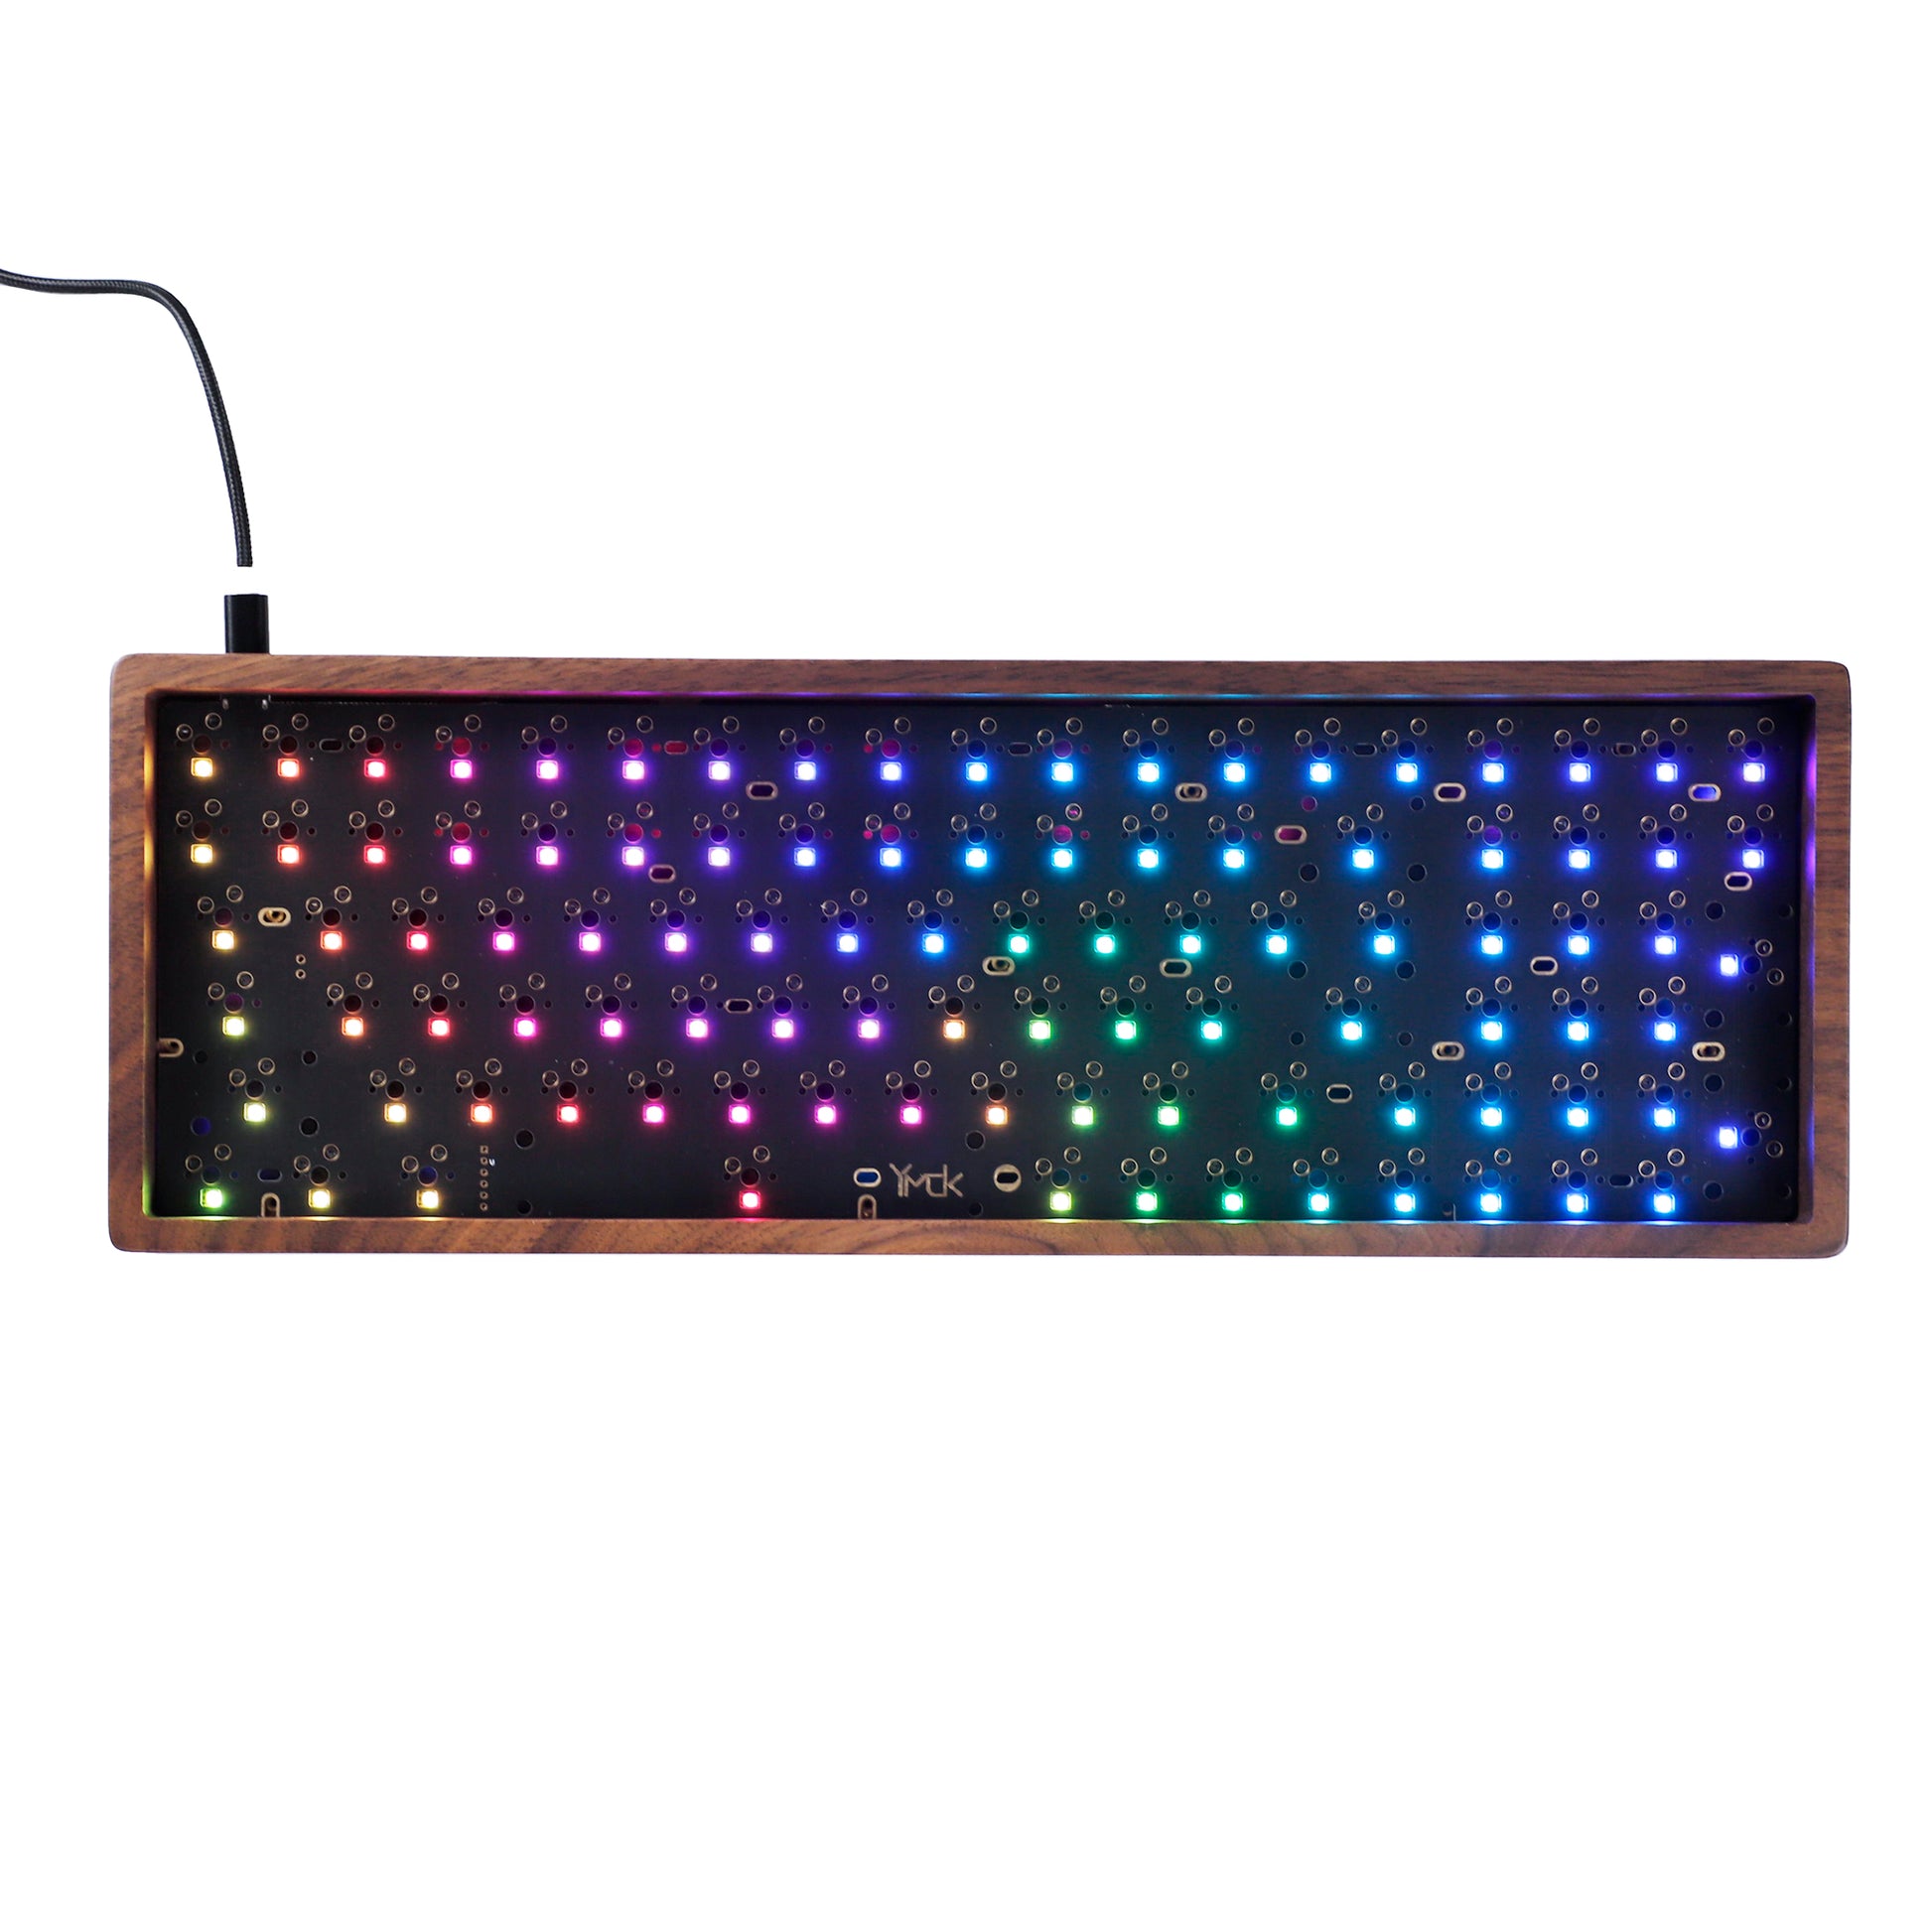
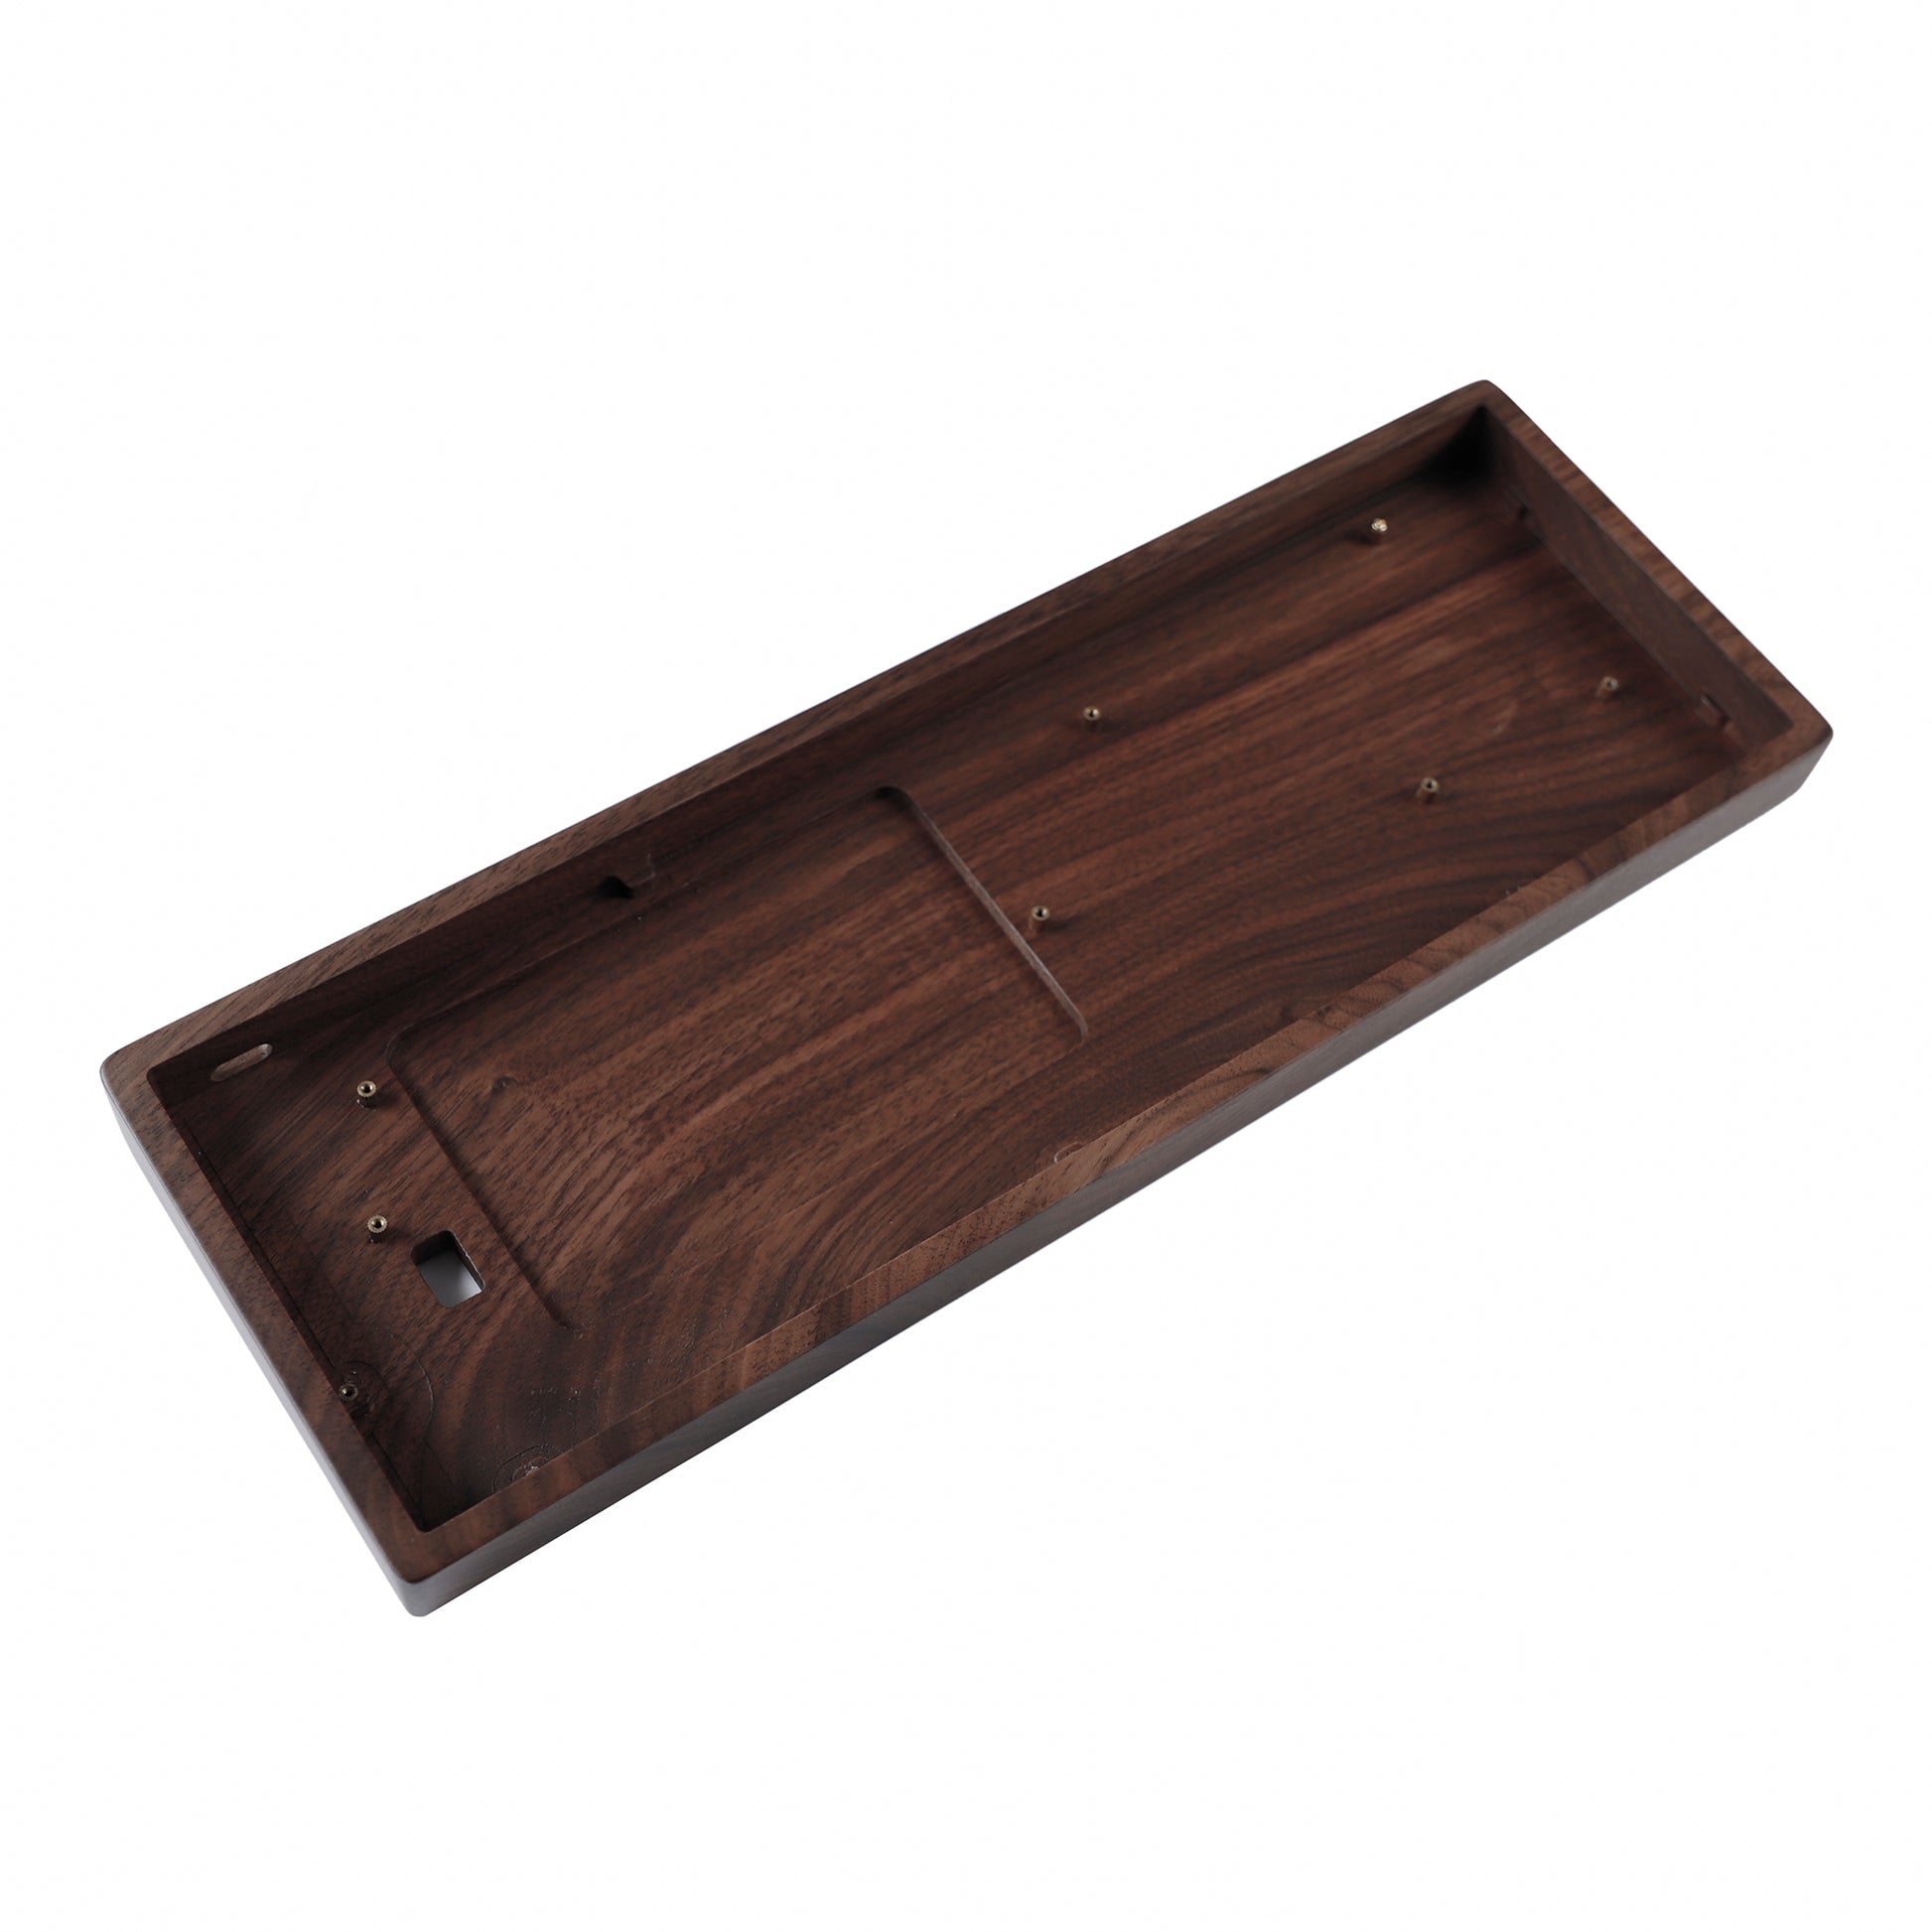
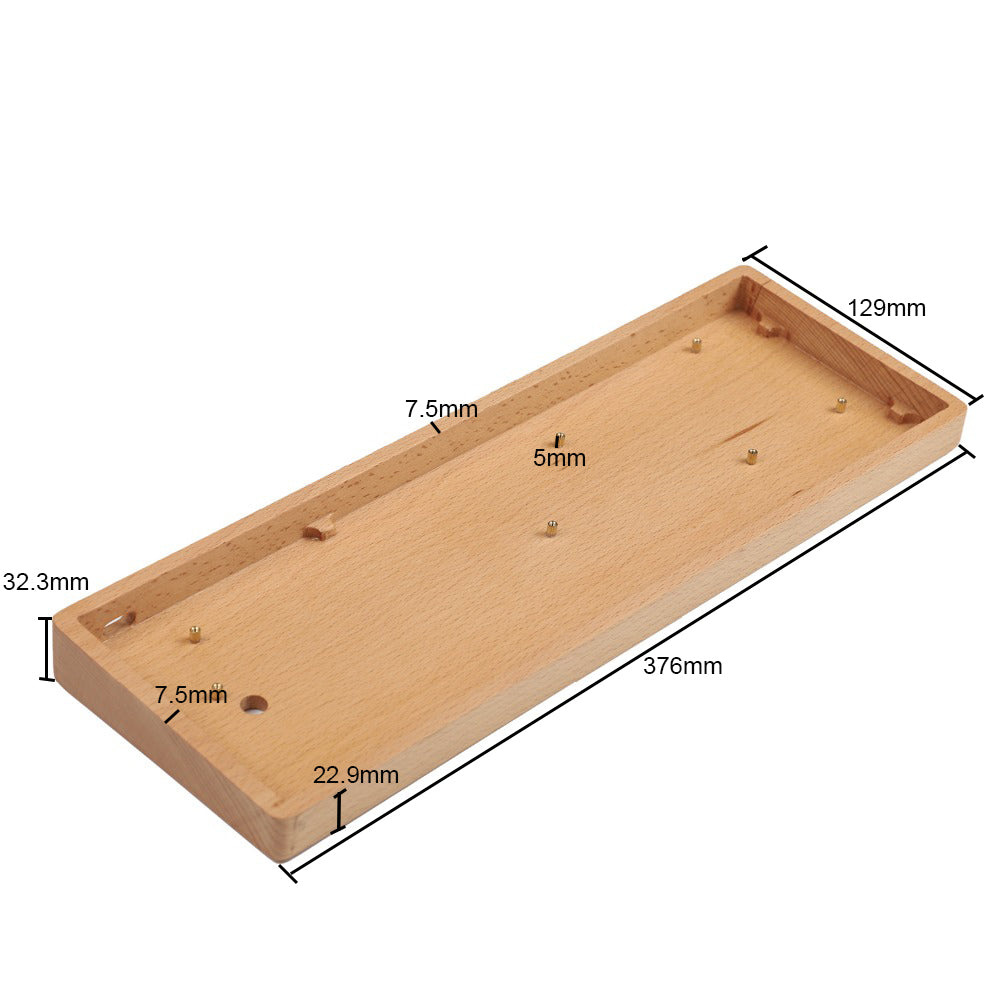
Walnut Case:
From 100% to 90%-96 layout,keep some function keys but make the keyboard of size smaller.Create a full integrated keyboard from 100% to the new version-90% special layout.Change the way in keyboard of using totally,96 will be a better layout.
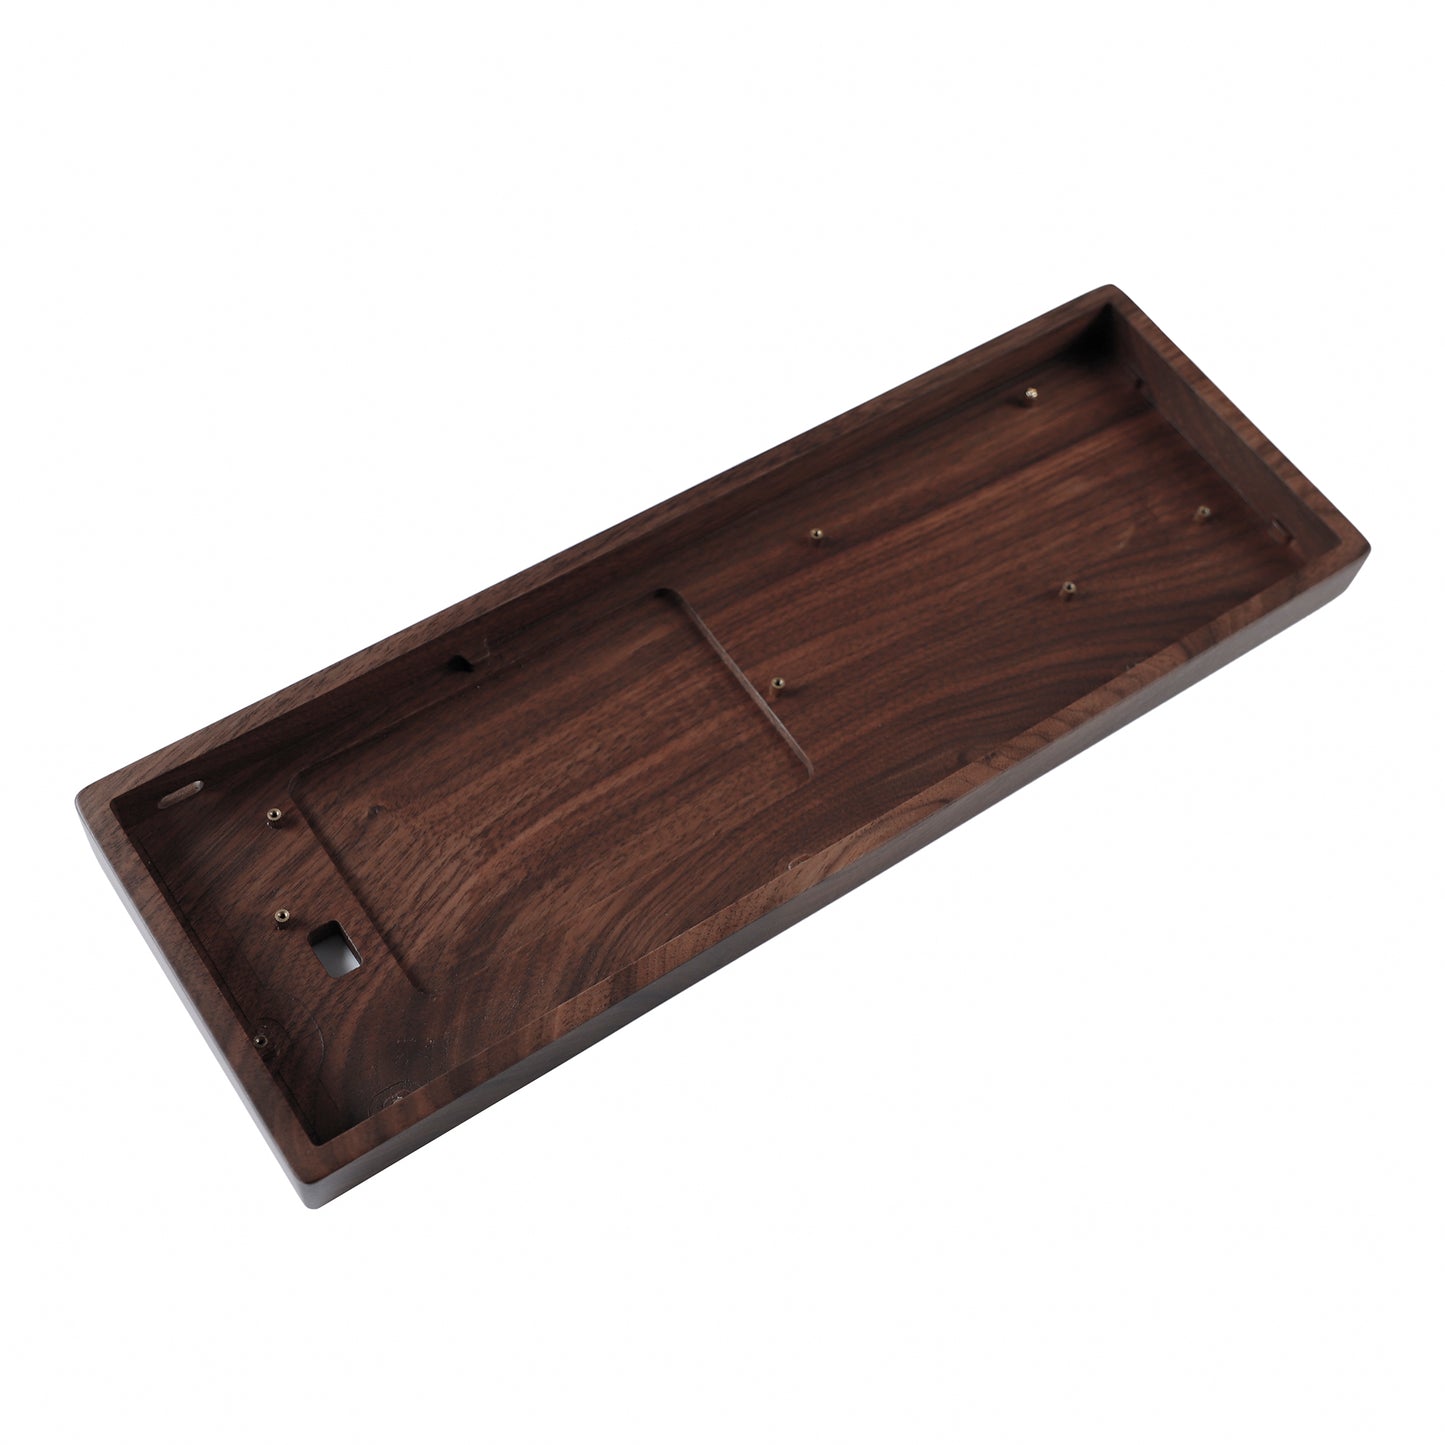
Customized walnut/beech wood case,wood case of the surface pattern is different because of the material.The wooden case surface has protective oil wax to prevent the shell from oxidation and corrosion.
Wood case of the different lifes will create the different touches and temperature differences,so wood case of feature all is different in using.
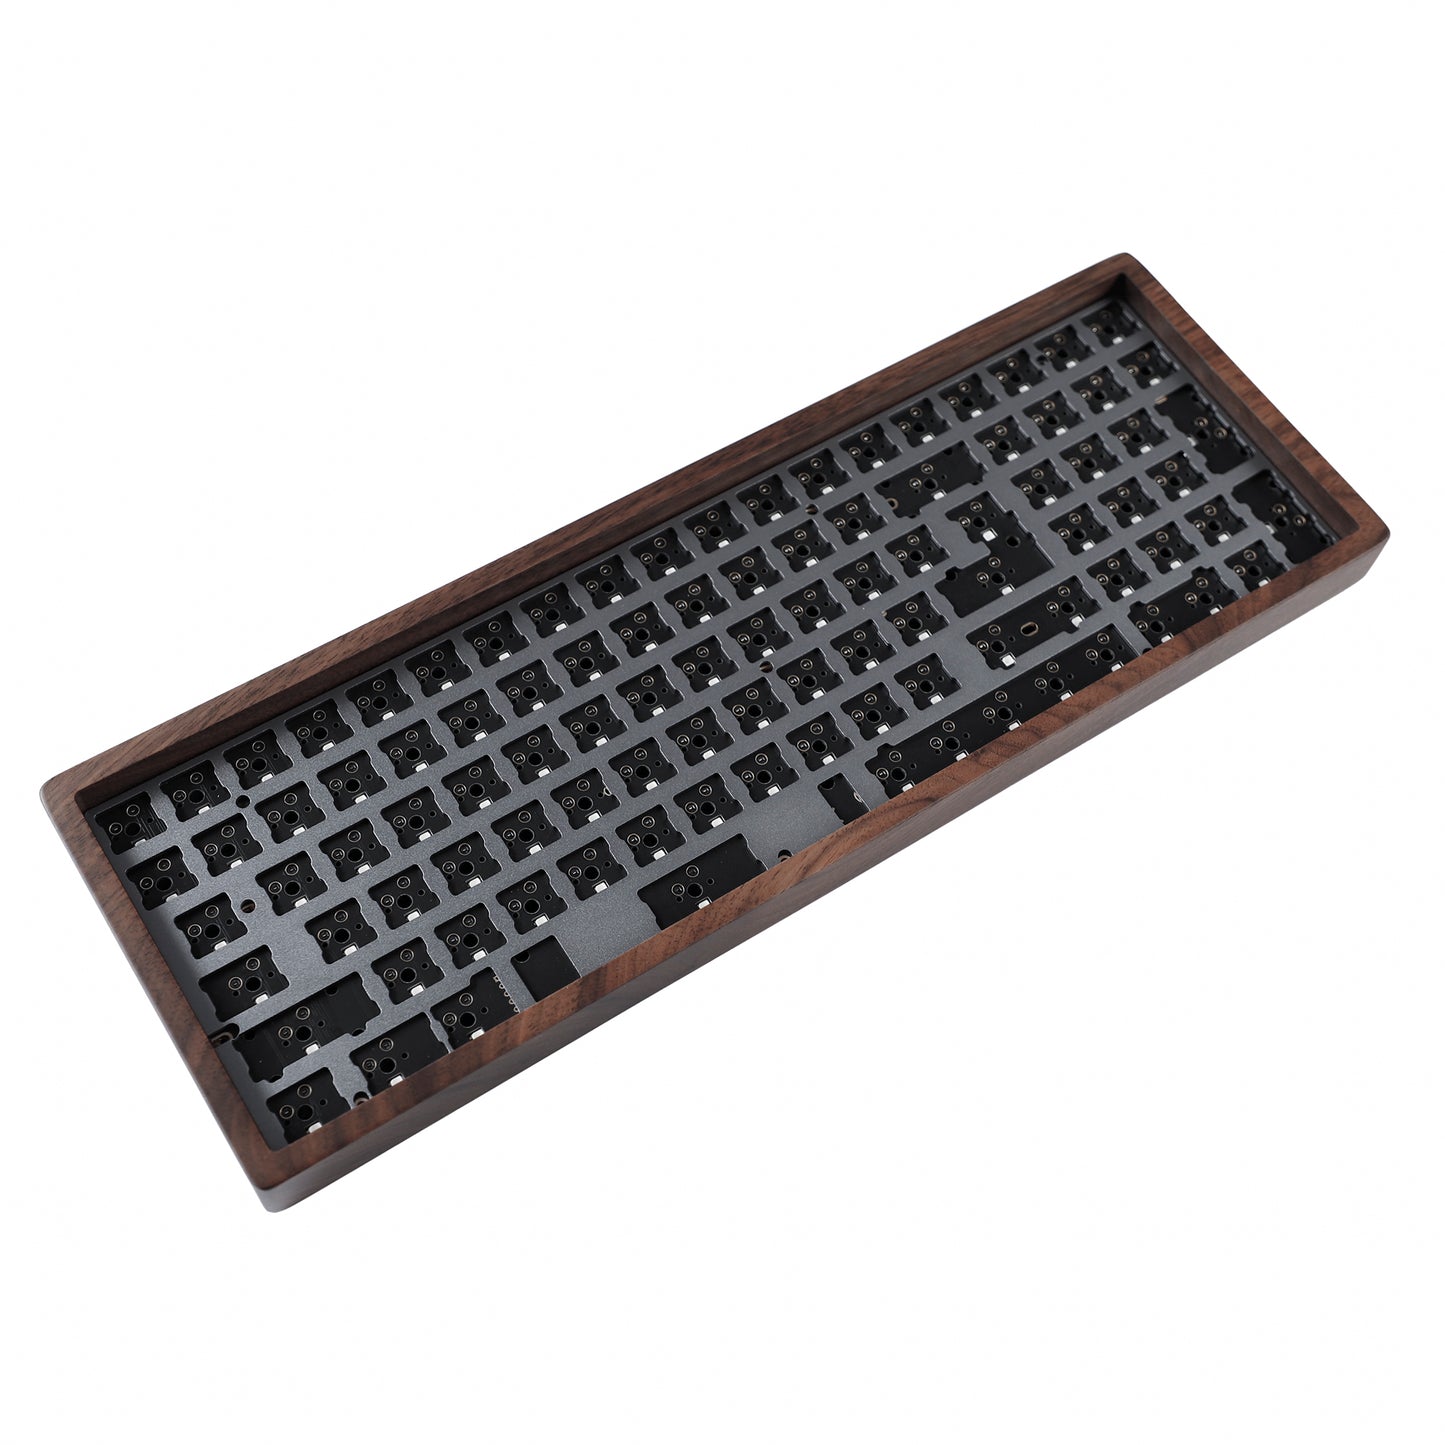
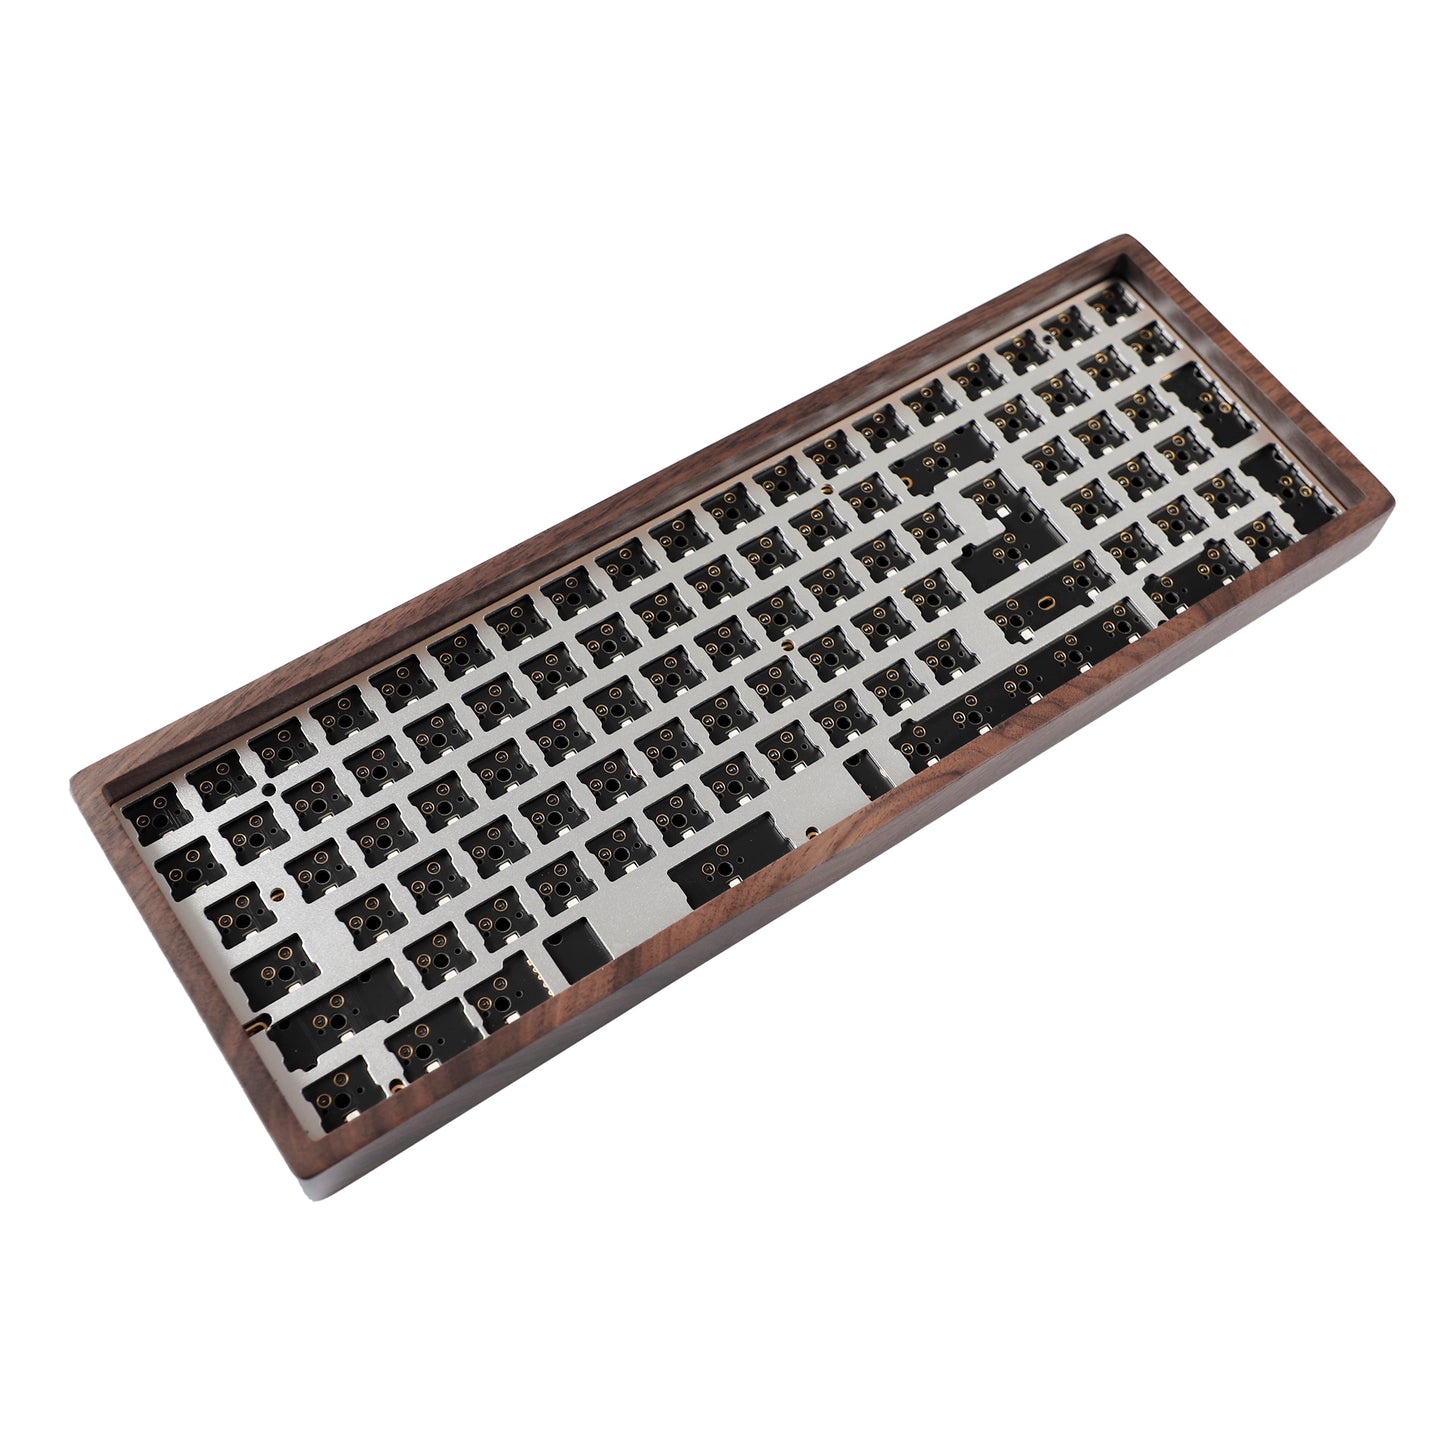
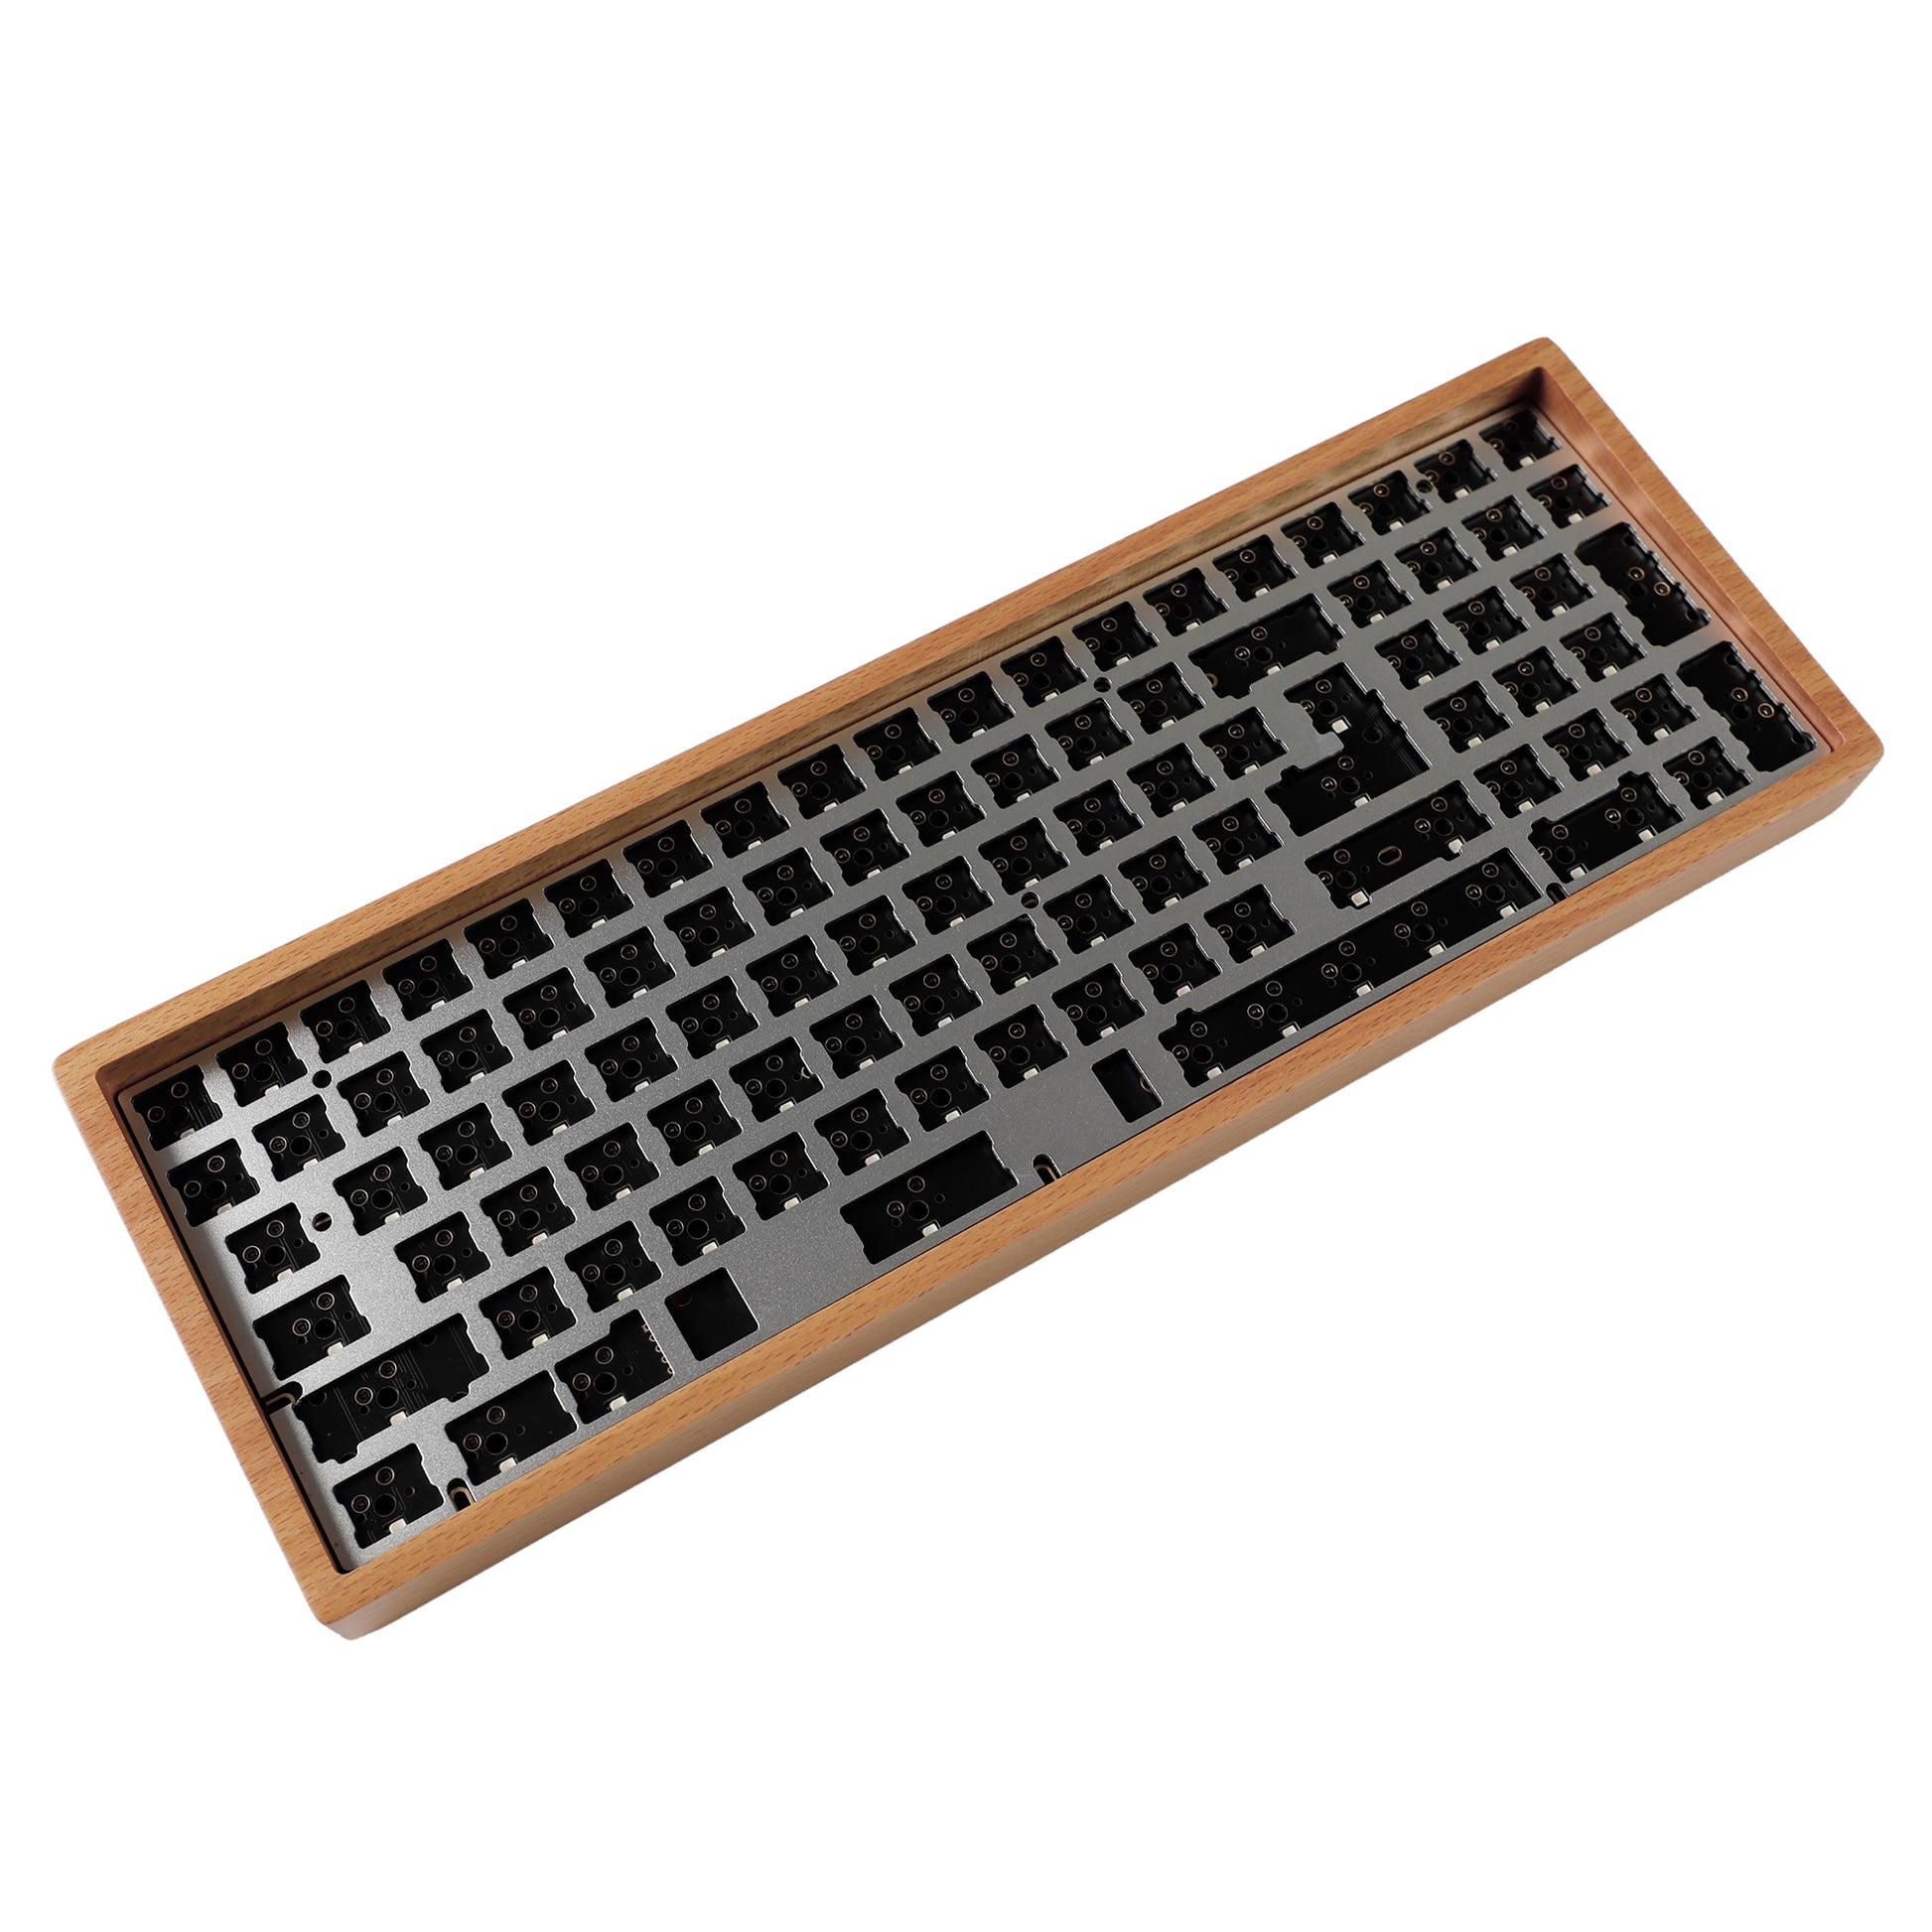
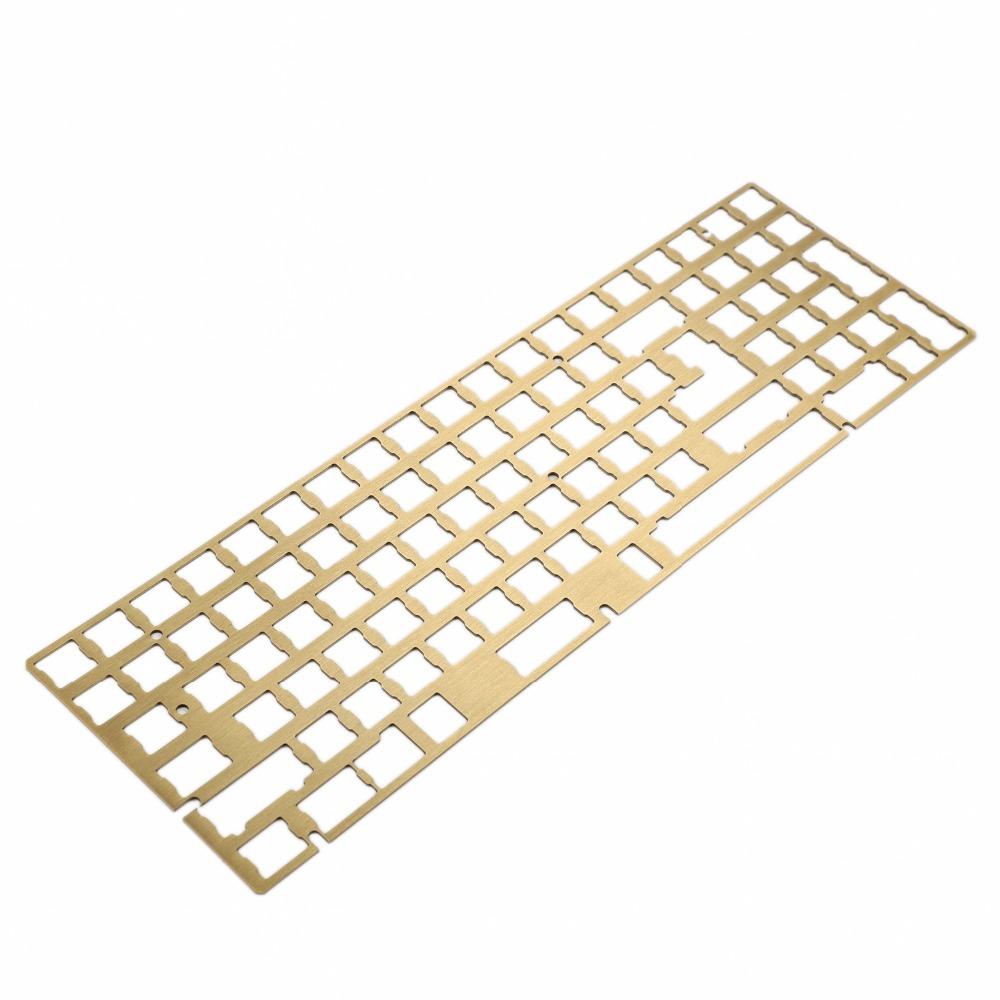
Anodized aluminum/brass plate,keep two options for handle feels.We have recently also produced FR4 fiber plates, which is another option.
Kit Size: 379*131*23-33 mm.
Note
How to install PCB plate kit
1.Install stabilizers to PCB at first
2.Amount around 5-6 switches onto plate corners and middle part totally
3.Amount these switches pin to PCB socket totally.After PCB plate fixed,plug other switches in around 90 degree is ok.When plugging you can put PCB onto desk which can avoid big damage when plugging switches.
4.If there is any big resistance when plugging switches,especially when you use kailh switches,don’t put it in forcely.Make sure the switch pin is not bent and the switches is around 90 degree.
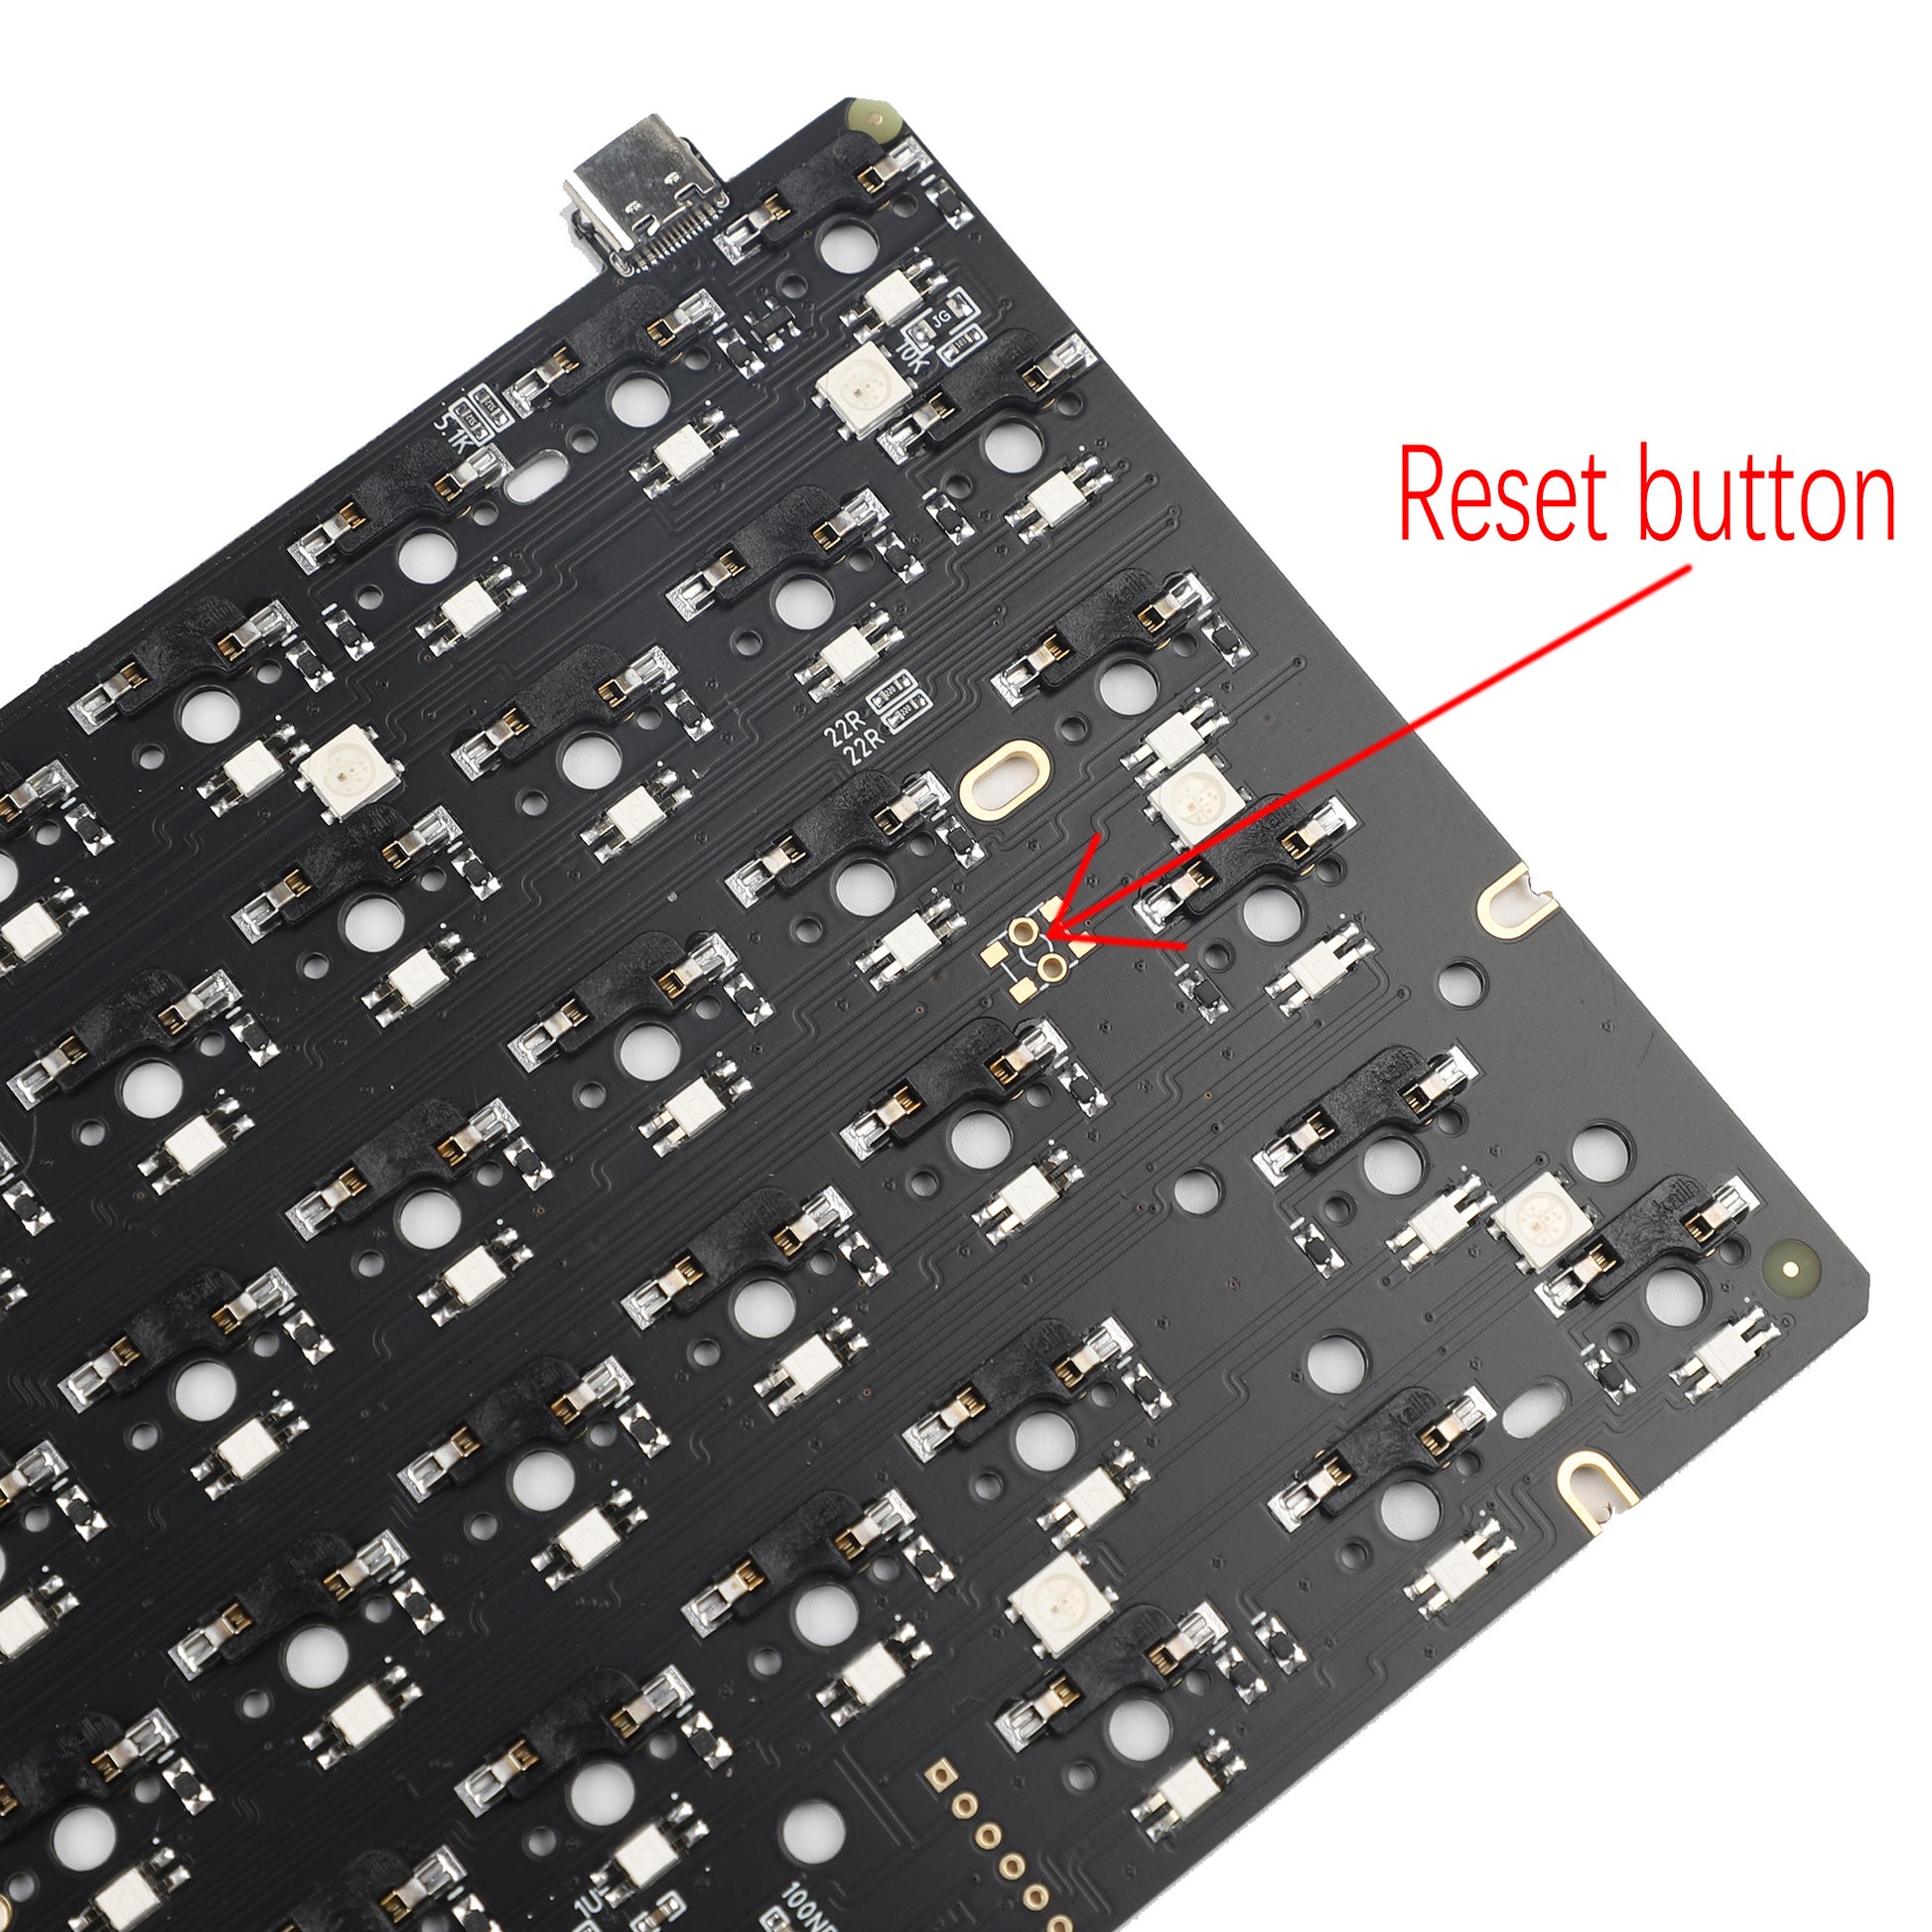
5.After plugging switches,if 1 or 2 key not working,check the switch pin whether it’s bent at first.Then check whether the back socket is plugged loose.
Even hotswap PCB don’t need to solder as normal,however the socket is easily to be plugged loose or off after many times replacing,so if you can prepare a cheap solder iron in hand,1 hotswap PCB can use for many years.We sold many brand hotswap PCB now,these are experience from many customers.
Layout Supported
VIA Manuals
https://drive.google.com/file/d/1eBvQjY5-e5uK_vIpmb9n9SduSxviCUkM/view?usp=sharing
Images Display
Kit