
YMDK
YMDK Split 75% FL84 Forever Love 84 Hotswap RGB Programmable PCB(Support VIA VIAL)Only Hotswap PCB
YMDK Split 75% FL84 Forever Love 84 Hotswap RGB Programmable PCB(Support VIA VIAL)Only Hotswap PCB
Couldn't load pickup availability
Package Included
Only FL84 RGB Hotswap PCB + Switch Puller + C to C USB cable + A to C USB cable
The link sells the FL84 PCB, which can only be used in the YMDK FL84 case. Below is the link to the kit. If you need a keyboard, Click
Details
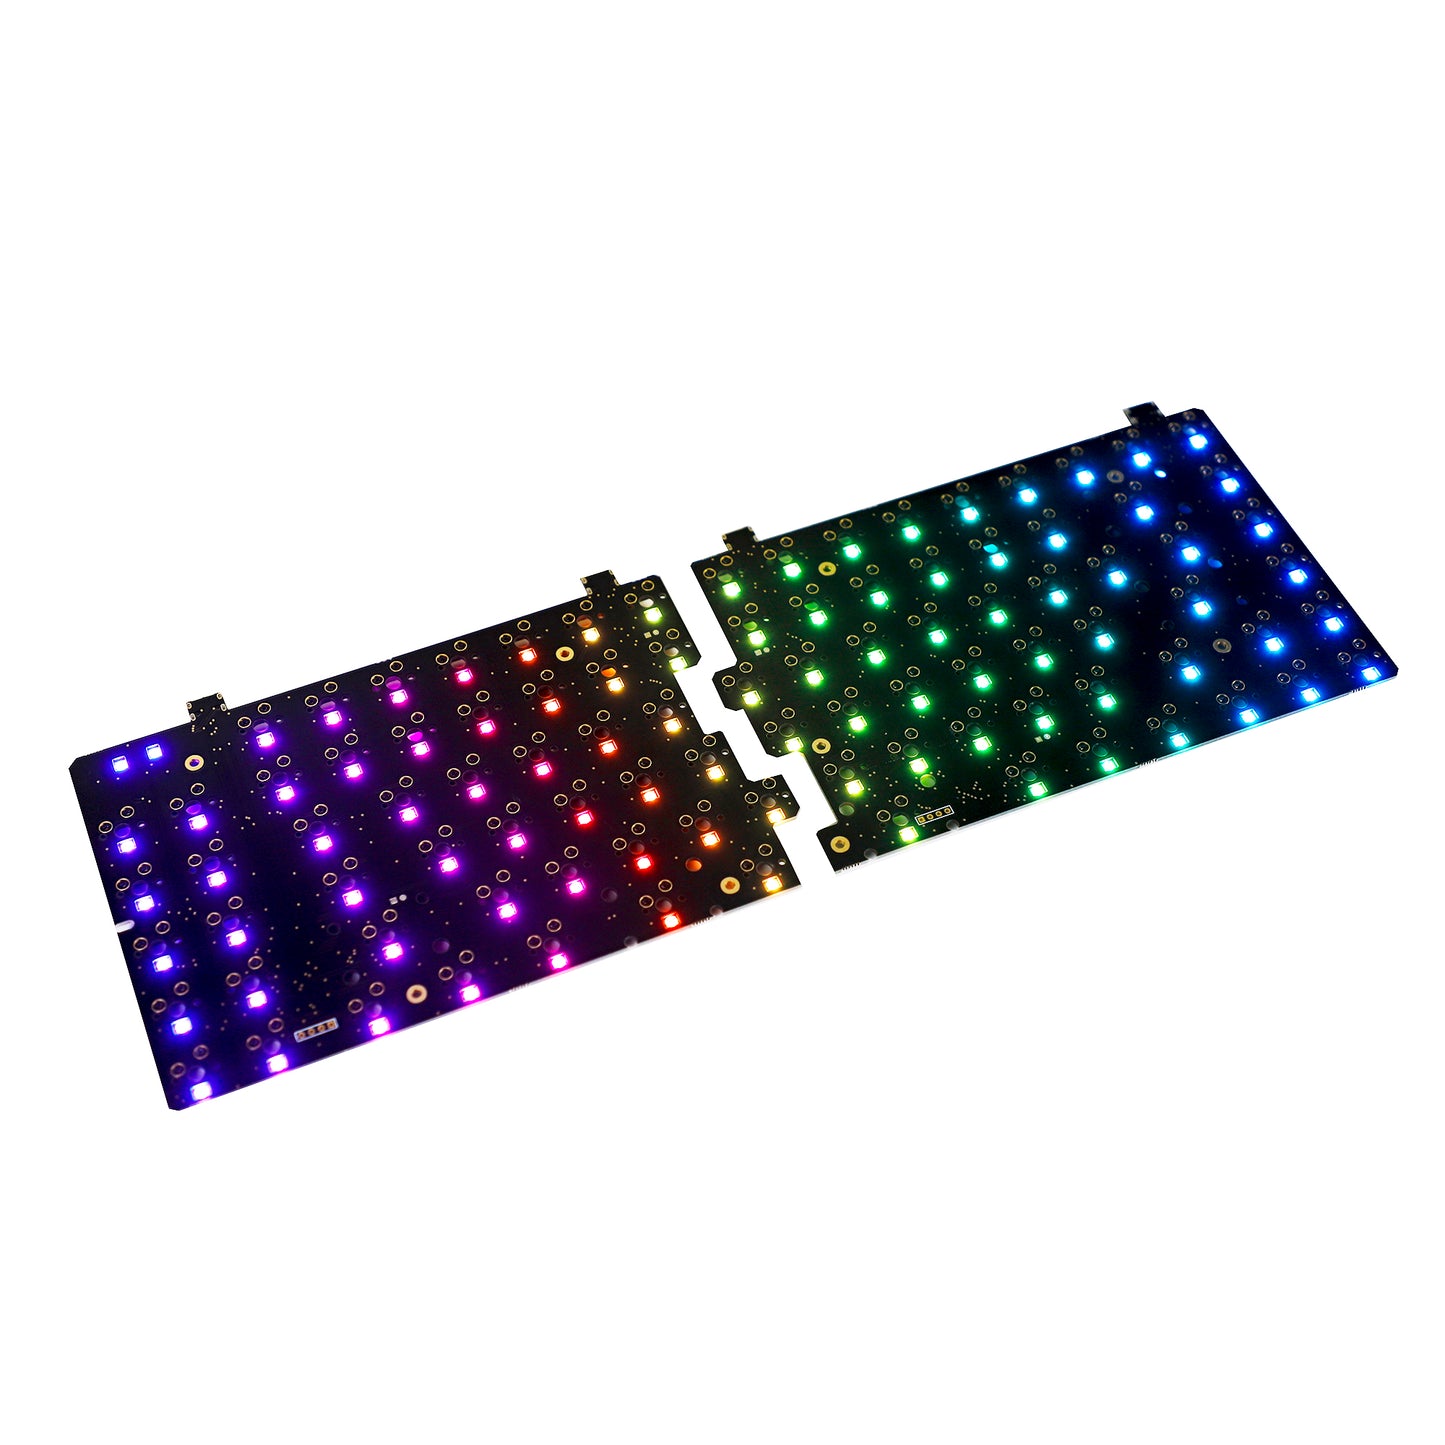
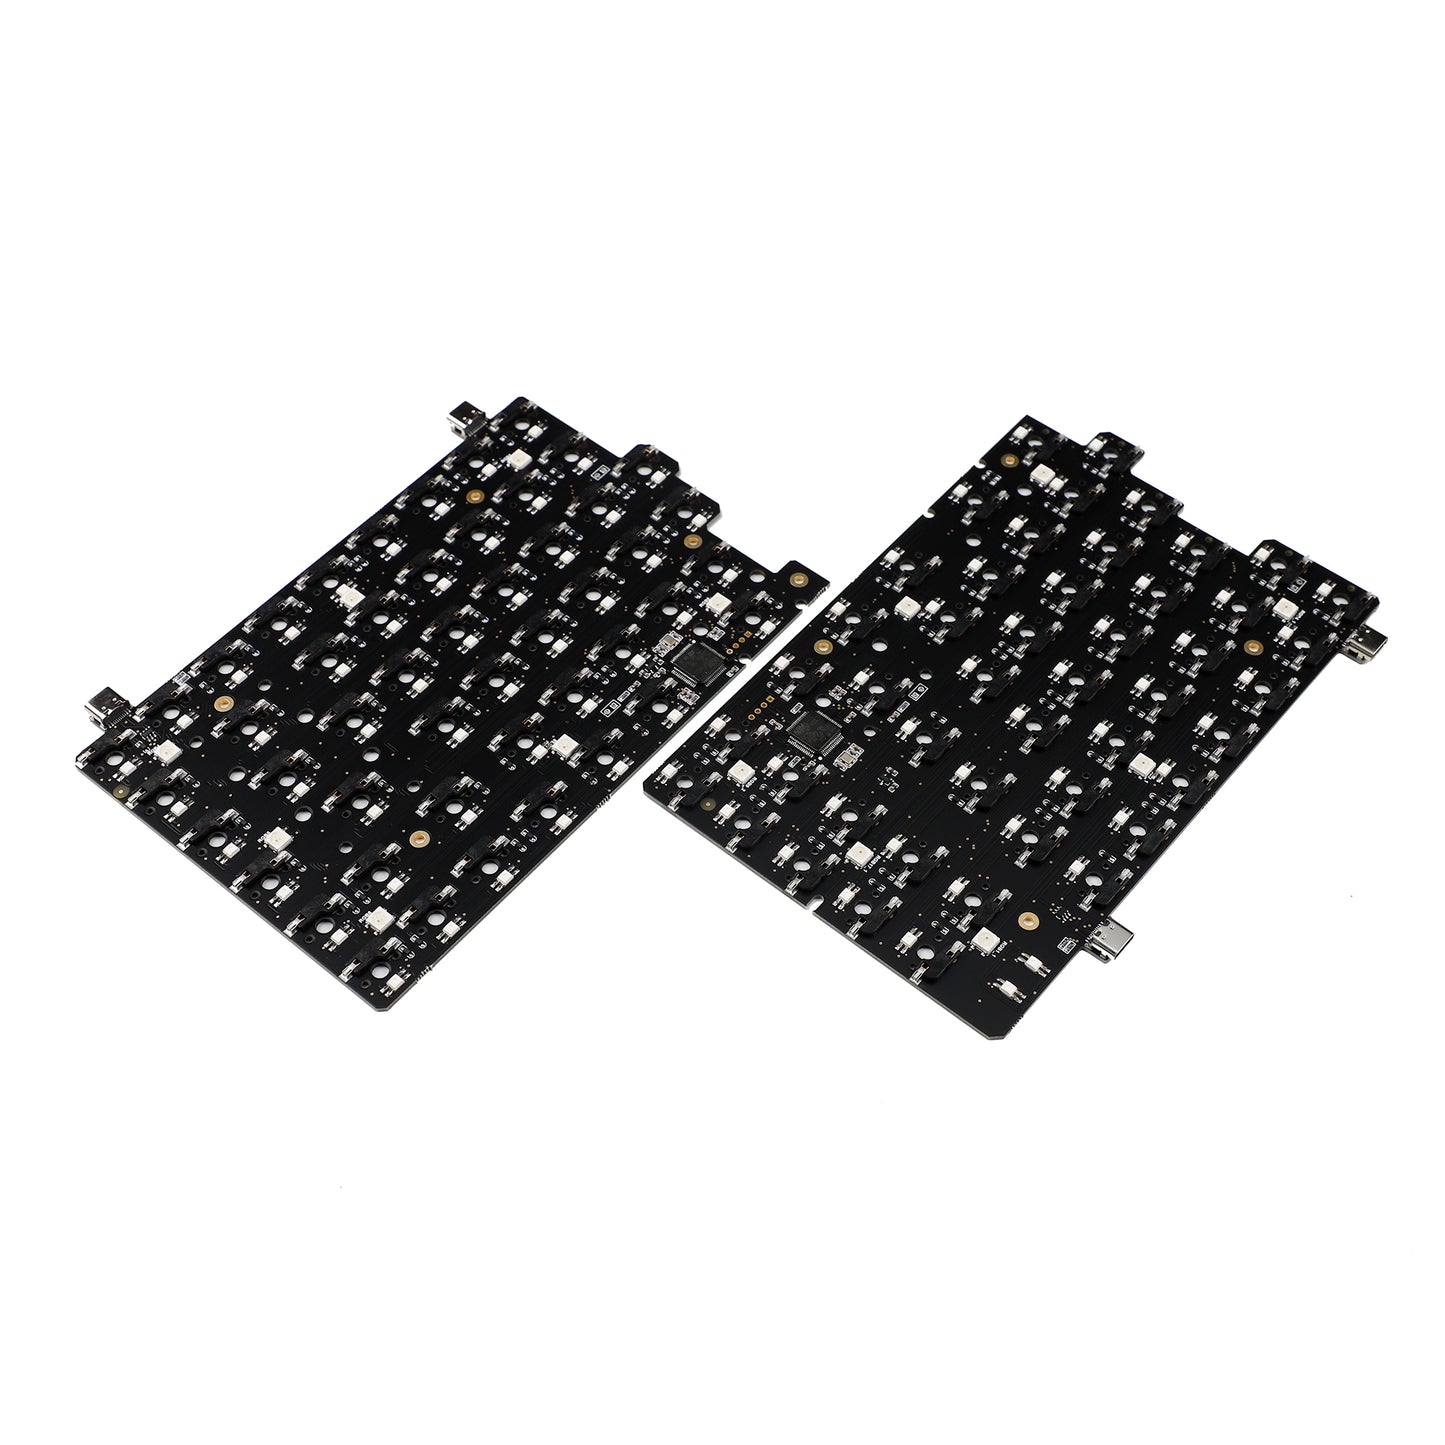
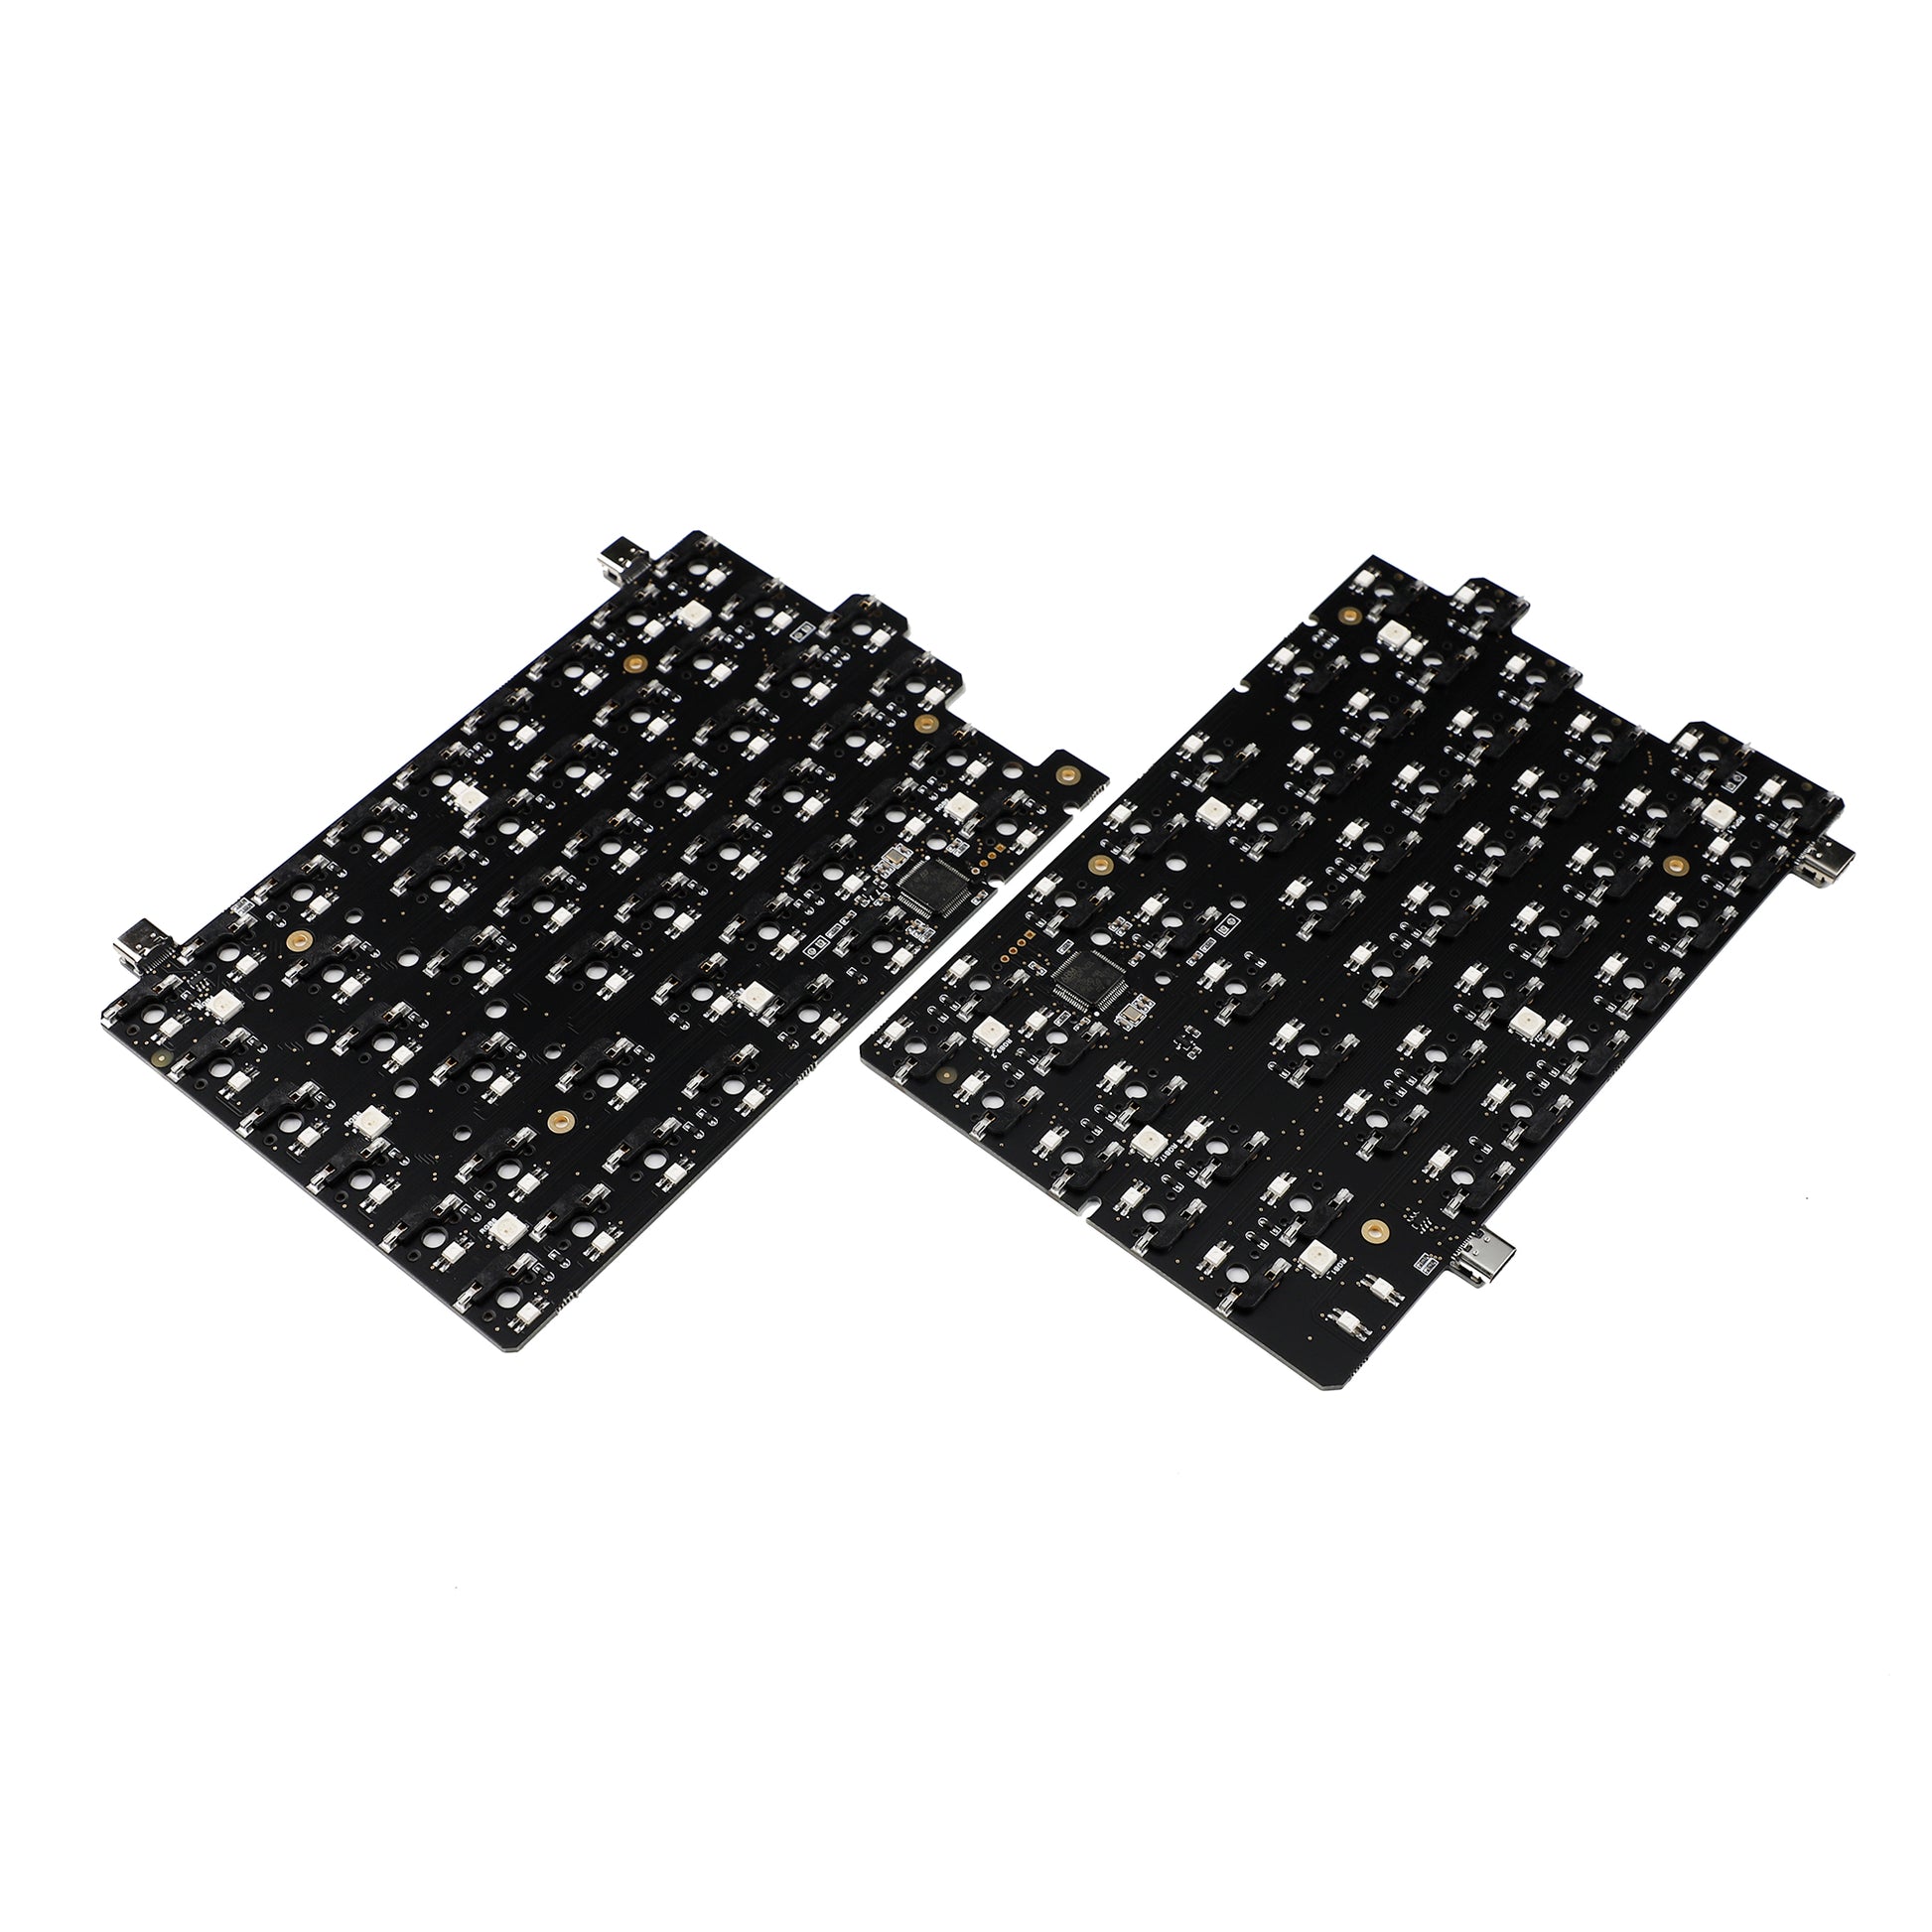
There is switch RGB and underglow RGB both.We have setup the top left 2 leds as capslock Numlock indicator led as default.
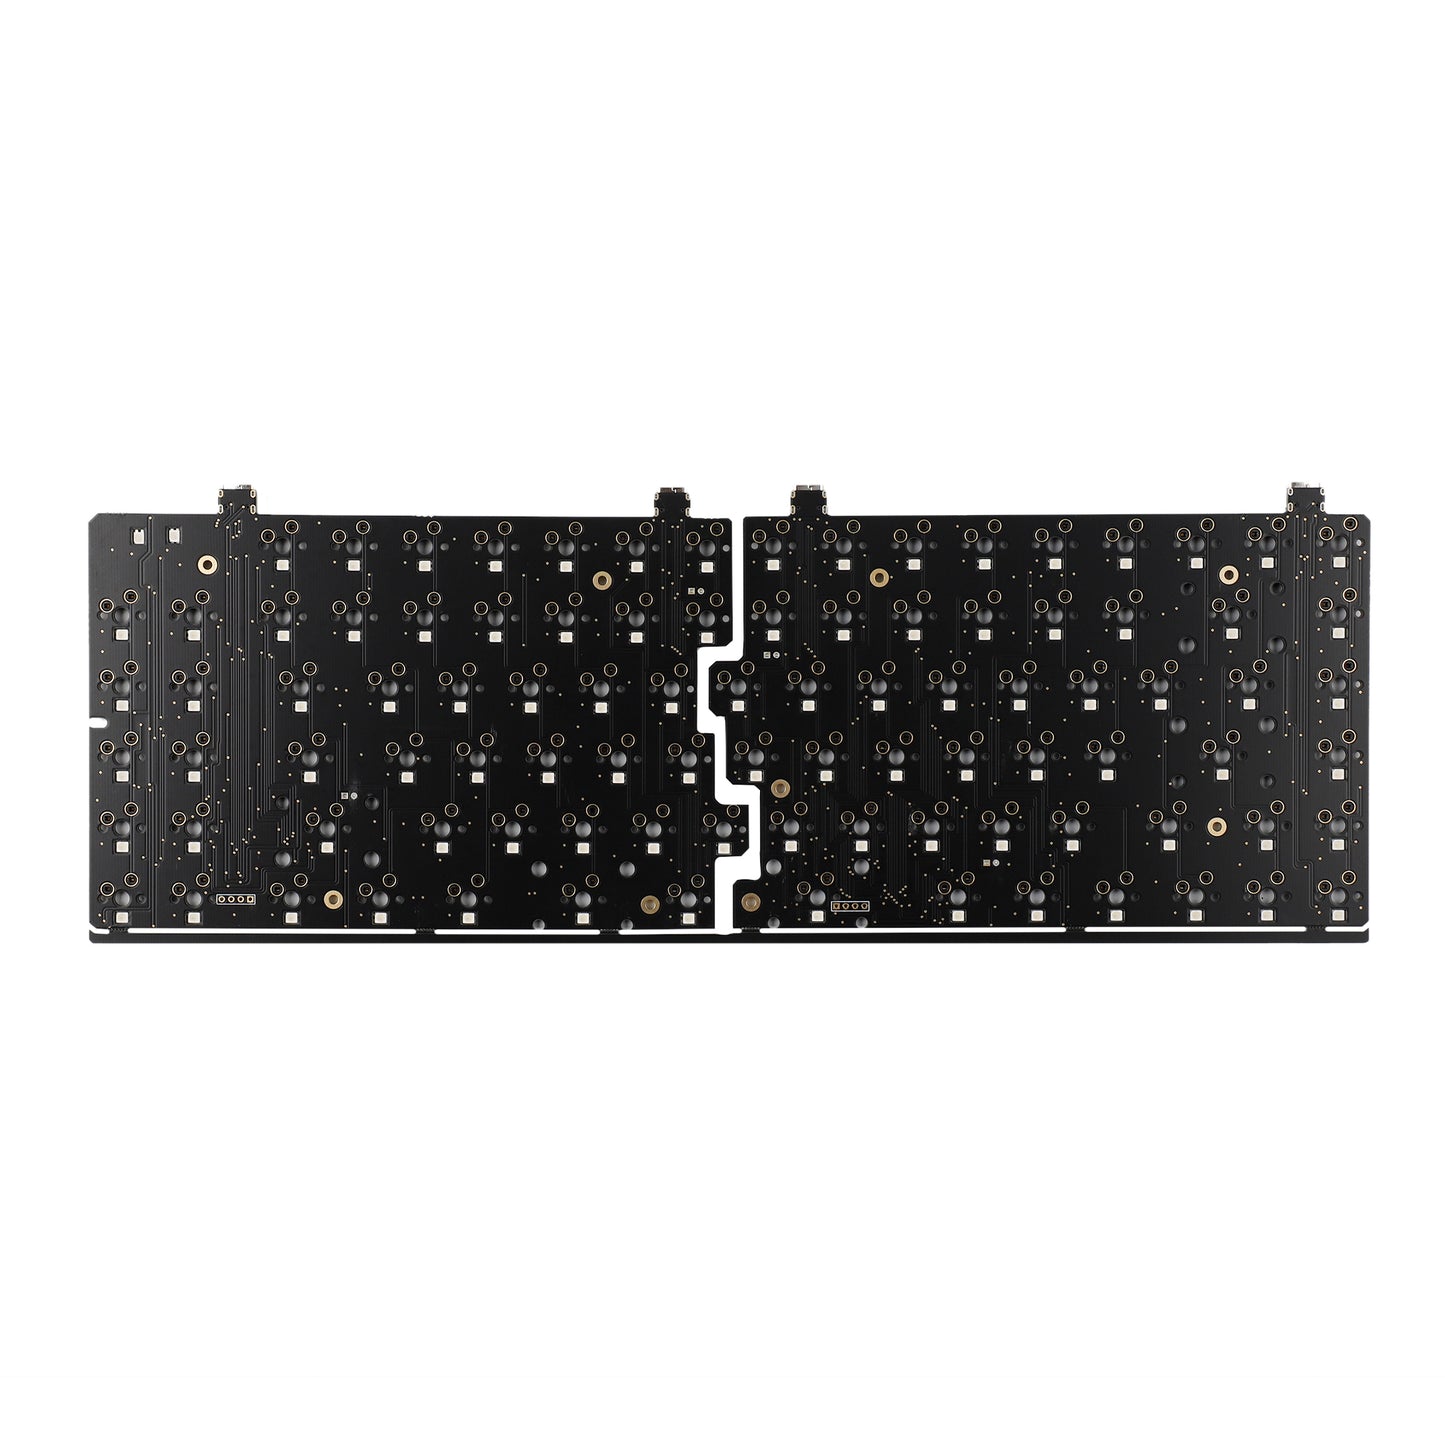
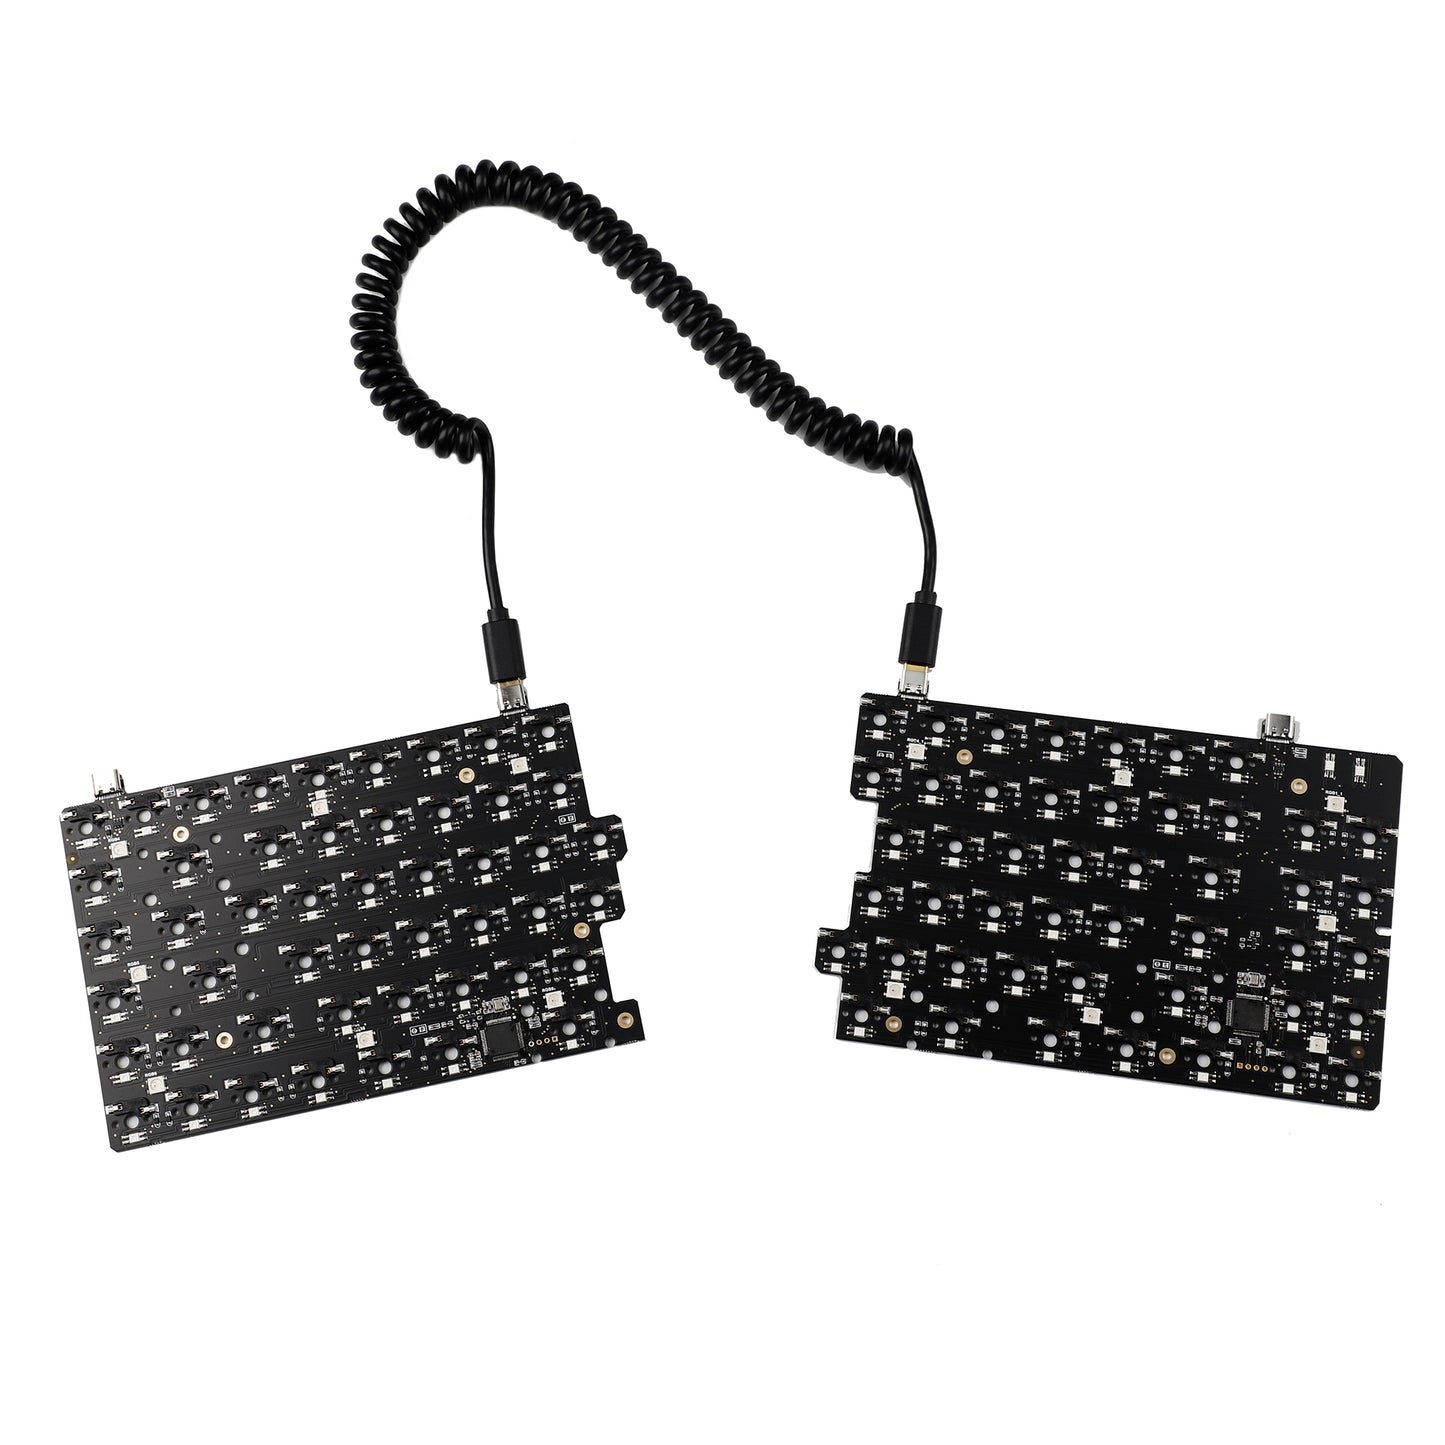
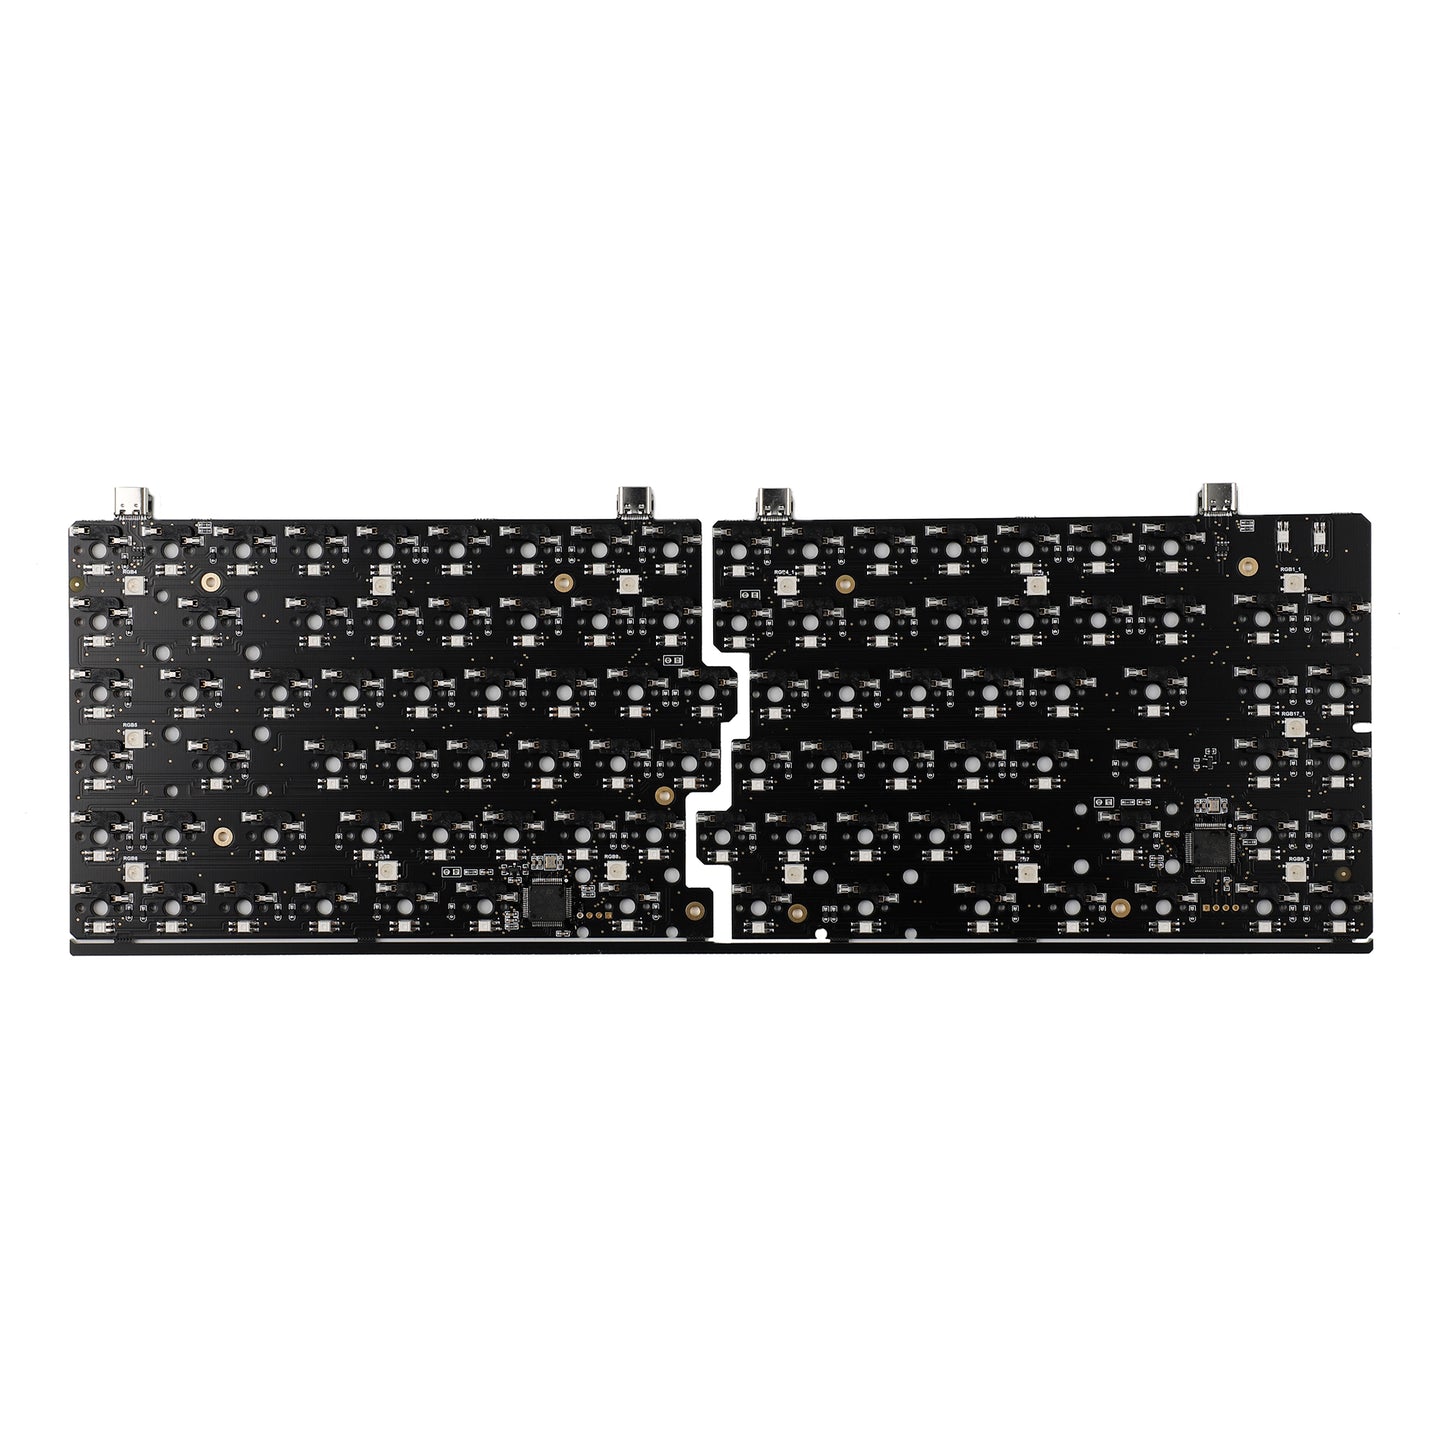
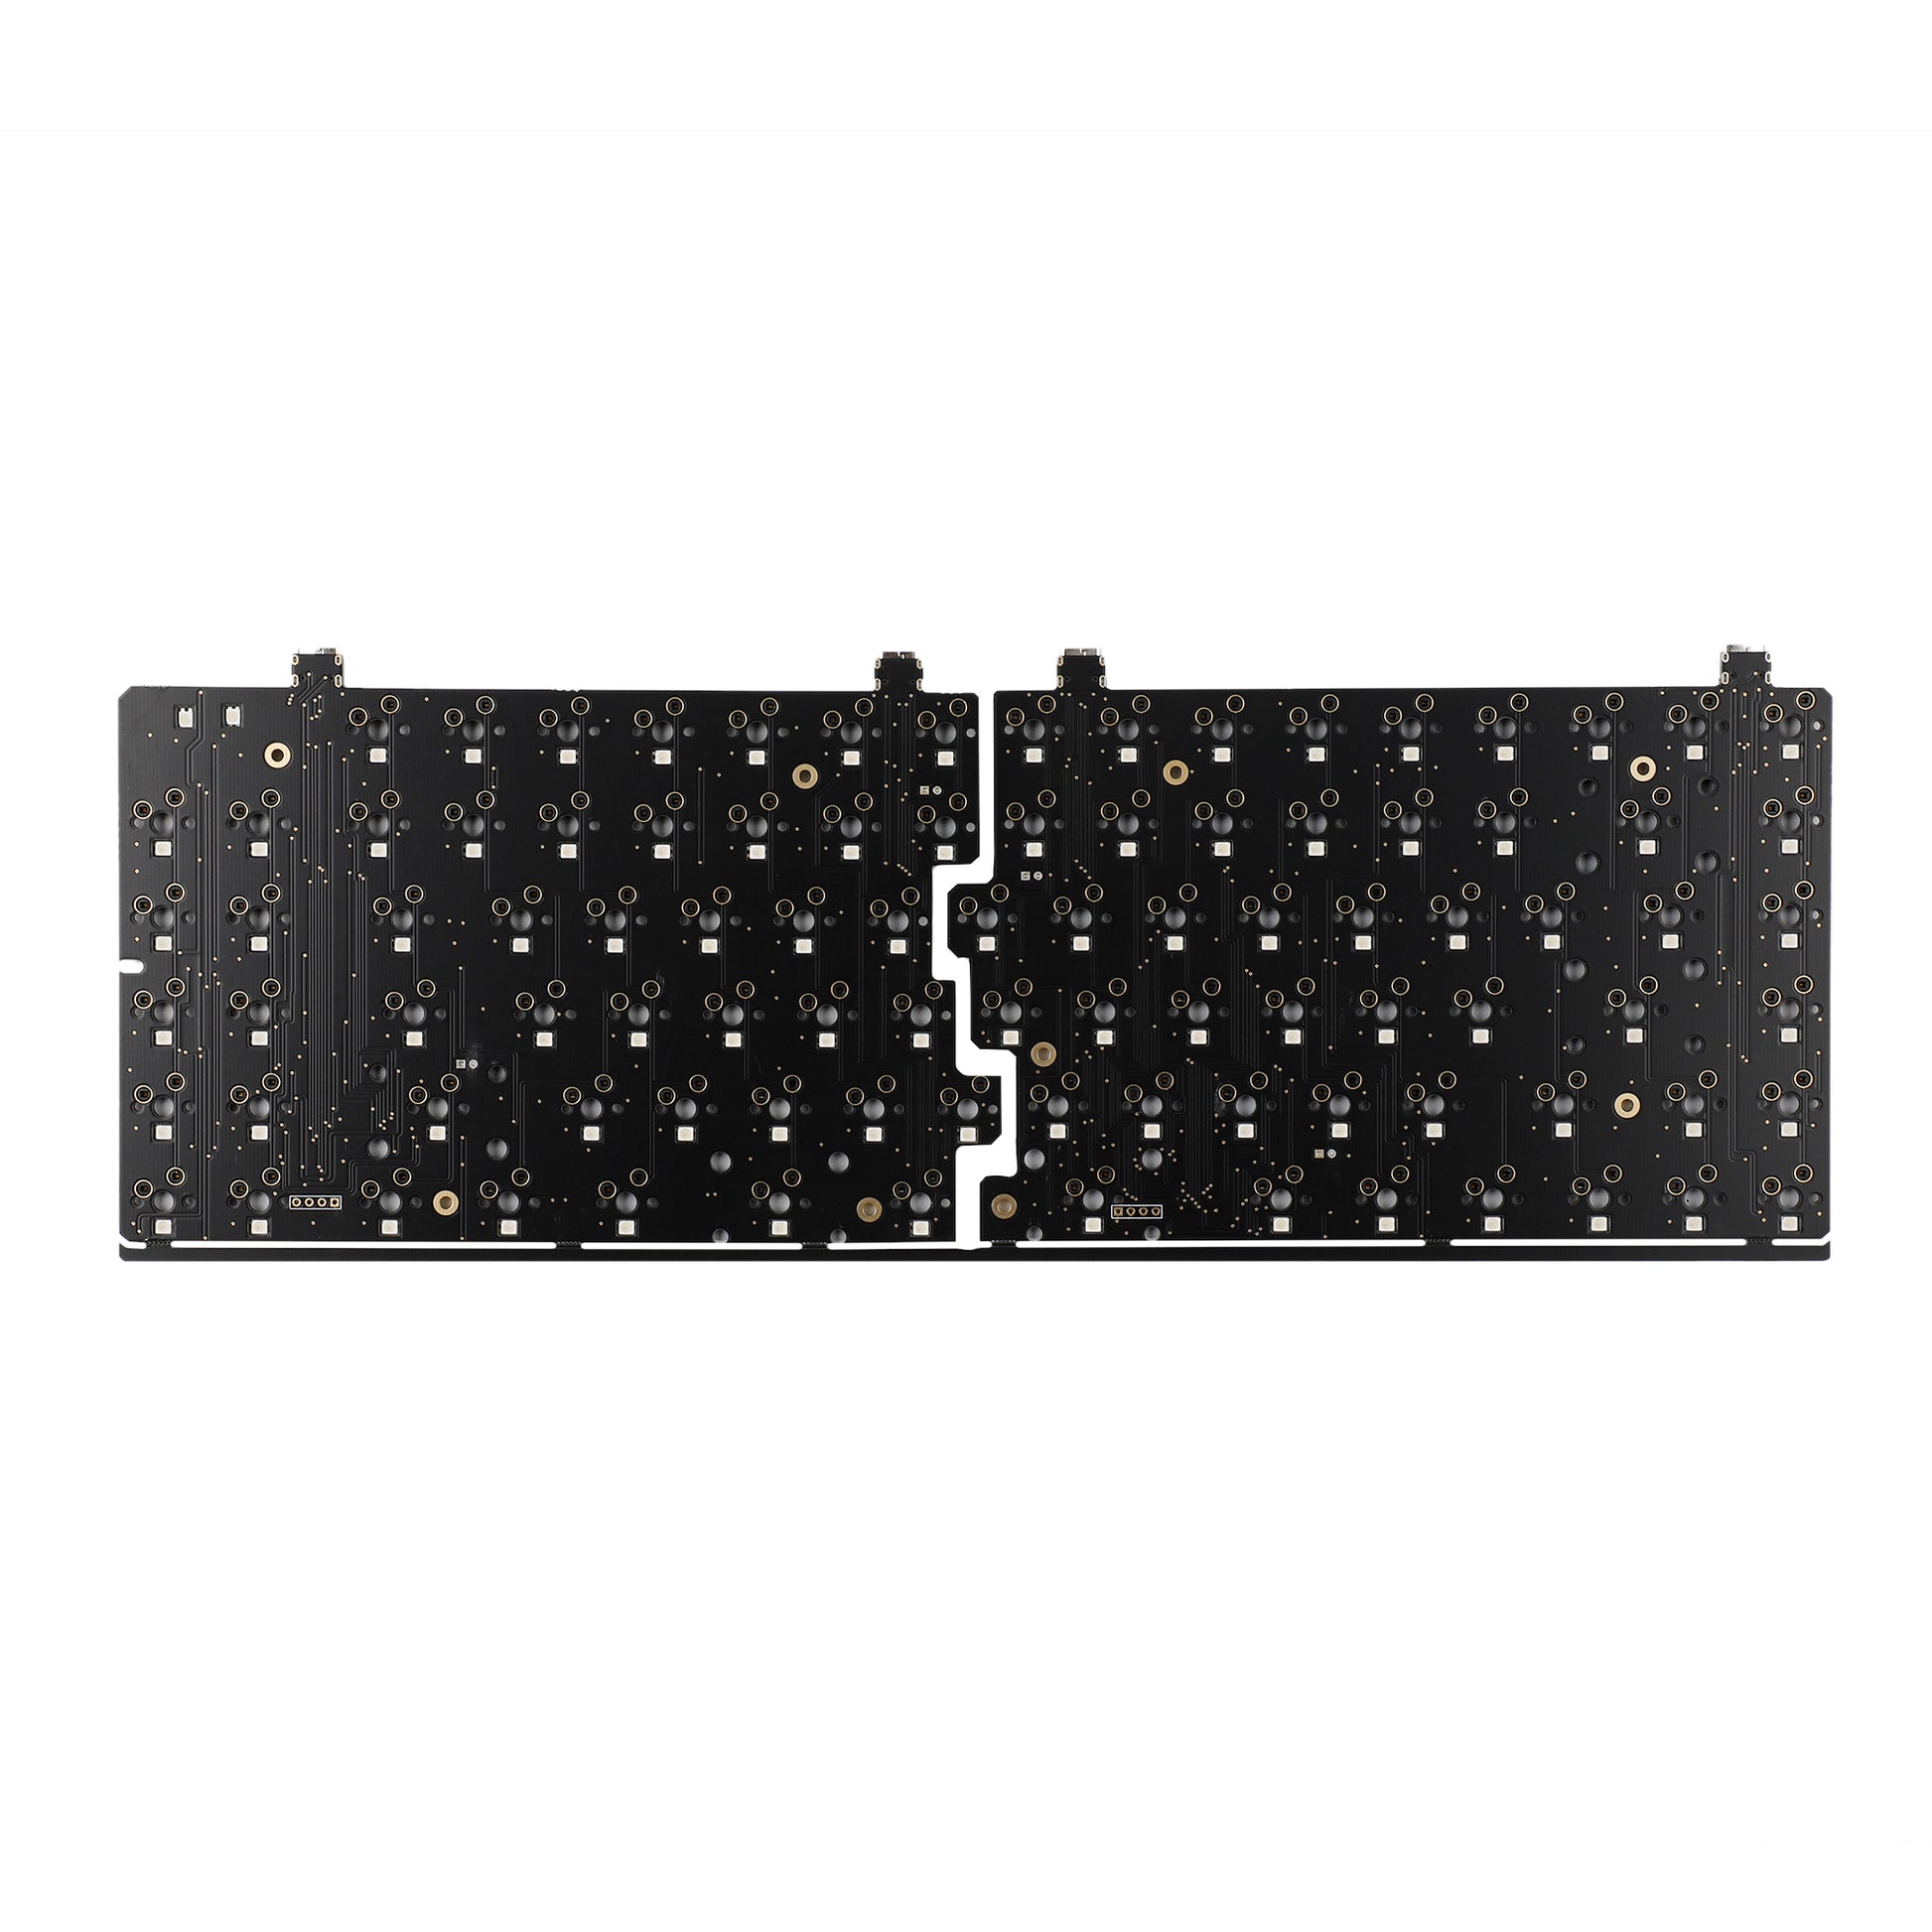
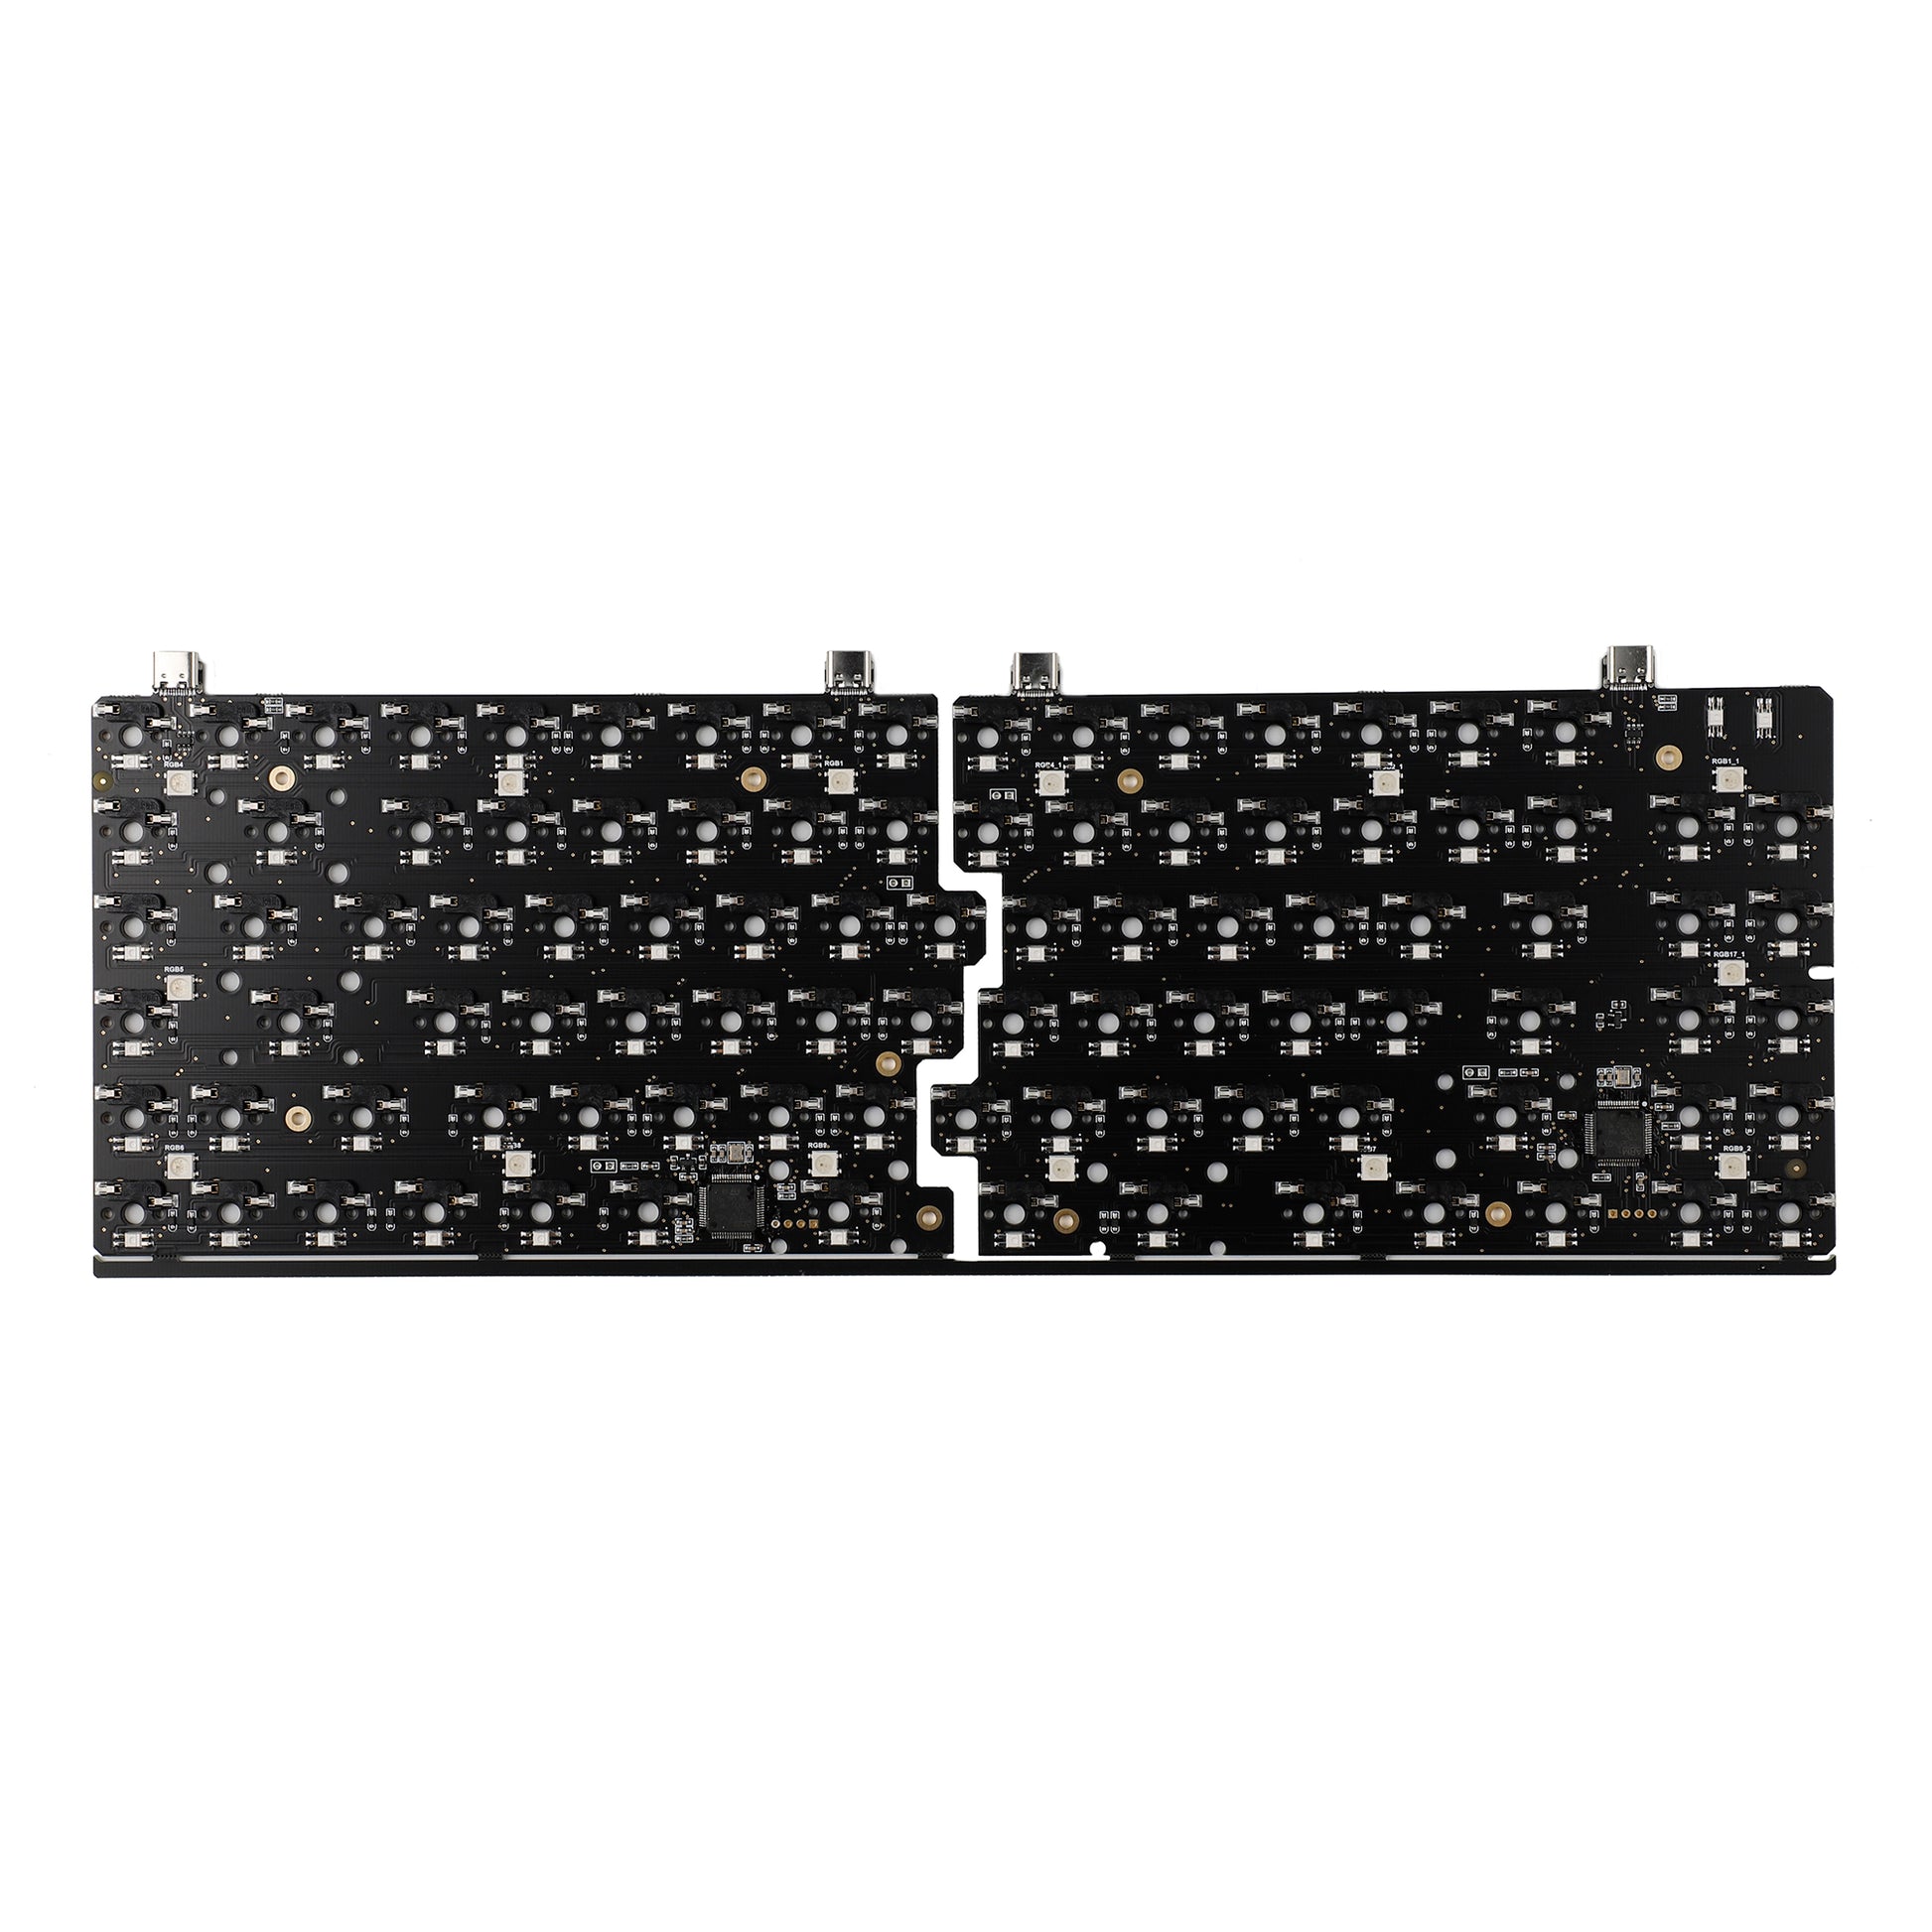
This Keyboard use stm 401 chipset whose flash memory is 256k.There are chipset on both left and right PCB.We also designed 2 USB C port on both left and right PCB for different customers’ preference.Middle 2 ones are used to connect 2 PCB halves.Far Left and right ones are used to connect to PC.
Take care : If you connect to PC from the far right USB C,remember the firmware and keycode led effects that you use is stored in right PCB chipset.The same to far left USB C.
This keyboard can use as 2 separate board.If you connect far left and right USB C to computer separately,it needs to modify 2 board separately on VIAL.If you have connected 2 PCB halves already,don’t plug far left and right USB to PC at the same time,or it won’t work.
In one word,this keyboard can use as a full 84 board and use as 2 small boards.Can connect from left port and right port.Only need to note which part USB C you connect to PC then which chipset firmware it will use.
STM chipset does’t use qmktoolbox anymore.If you want some special functions,contact our technician to specially design the file for you.And you can press reset keycode (as default Fn+esc),and there will be USB storage showing up,drag the file inside is ok.If you forgot to setup reset keycode,can contact our customer service to help you solve it.
This PCB support VIA and VIAL both.We suggest VIAL software which can detect directly and it has more functions.If you need to make your own files, please contact our customer service staff for technical support
Pls find the manual and software as below link
https://drive.google.com/file/d/1zre2Hz6OT4gQmYDKpSarctvtYlLe4X34/view?usp=sharing
Tips For Assembly
1.Before plugging switches,please test the PCB by the switch puller presented.Just shortcut 2 end of socket is ok.And then start to assemble.
2.Install stabilizers to PCB
3.Screw PCB to upper case,this is optional,not a must.Need to screw copper stand to upper case at first and then screw PCB to copper stand.
4.Plug 4-5 switches to the plate corner and the middle part.
5.Insert these switch pins to PCB socket totally (this should fix the PCB plate place)
6.Plug other switches to plate PCB is ok.We suggest you use a hand to hold the PCB back when plugging switches to avoid the PCB socket plugged loose or off.